

Stay in the loop! Be sure to follow-me on Instagram and Facebook! You can also follow me on Pinterest to see what I’m inspired by and find inspiration of your own!
As I discussed in my last post, last year we purchased a new bed. When looking at how we were going to need to rearrange the layout in the bedroom, I realized it would be an opportunity to update our furniture. I prefer older, more rustic or country style furnishings, and felt we could revamp the whole bedroom. Luckily my wife does too, so the task of getting her buy-in for it was rather simple. The only problem was, furniture can be expensive, especially the furniture that I tend to want (here’s looking at you Restoration Hardware). Not that I have any qualms about high quality furniture being expensive. I just have qualms about seeing high dollar amounts leaving my bank account. Feeling somewhat confident that nothing could be as bad as my first build, I decided I would research some DIY furniture.
After a few days of browsing the web, I found a few pieces that I thought would fit well. Again I talked to the wife for buy-in about my master plan to build all of our furniture, and she agreed. Well, not so much agreed, but more like snickered at the thought of me trying to build something. I think she was actually more curious to see what kind of disaster I would create, but she didn’t say no, so I ran with it.
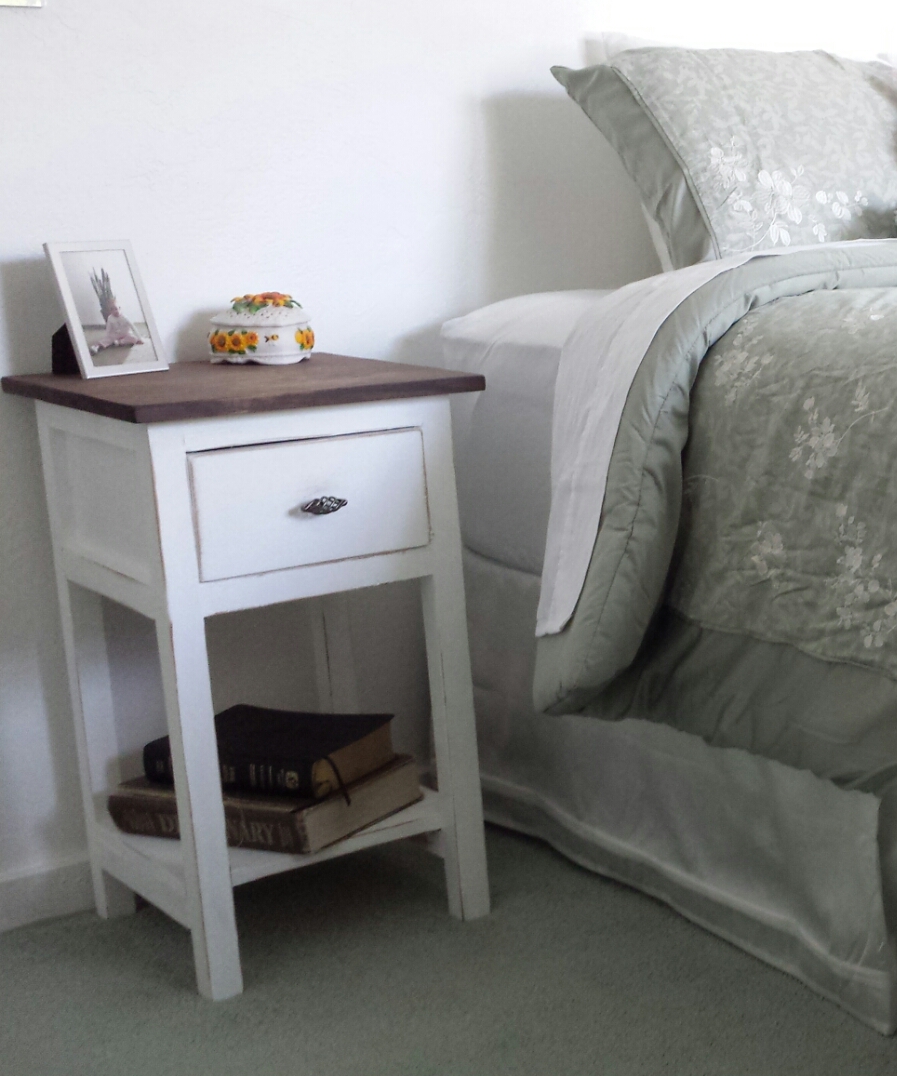
I decided to build the nightstand first, but did it knowing that it would be complimented with a nice headboard a week to two after. Unfortunately, several other projects seemed to get in the way, and I didn’t get around to building the headboard until many months later. In retrospect, the delay was the best thing that could have happened, as during that time I kept reviewing ideas. Originally I wanted to go with a farmhouse style headboard I saw on Ana White. For whatever reason, the week I was planning on building the bed, I decided to look around a bit more. I swear I looked at every headboard out there, and then almost by accident stumbled upon these plans. Sure it was a plan for a twin bed, but I was pretty sure I could modify the plans to fit what I needed, so out came the tape measure and calculator and away I went. The time between building my nightstand and building this headboard, while frustrating at the time, allowed me to become more familiar with DIY and woodworking. I printed Ana White’s plans and drew up my own plans and hit the lumber yard.
The Build:
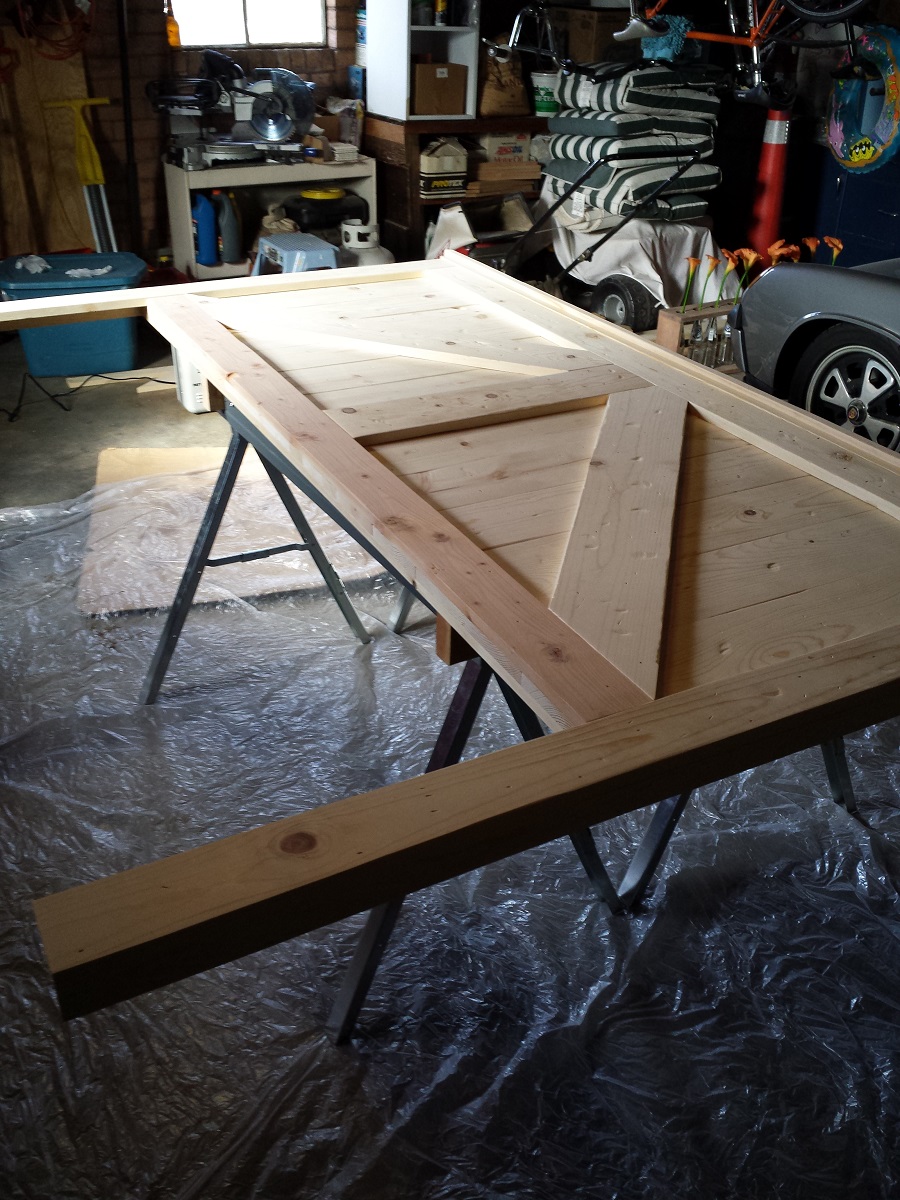
The biggest modifications for the headboard was adjusting the panel boards. I needed to find a way to get several boards to fit to the dimensions that I needed. I also felt that using 1×4 and 1×3 lumber would be too small for a king bed, so I decided to go with 1×4 legs (as opposed to 1×3 the twin plans called for). I also figured out how to get the exact width I needed by mixing various sized boards together.
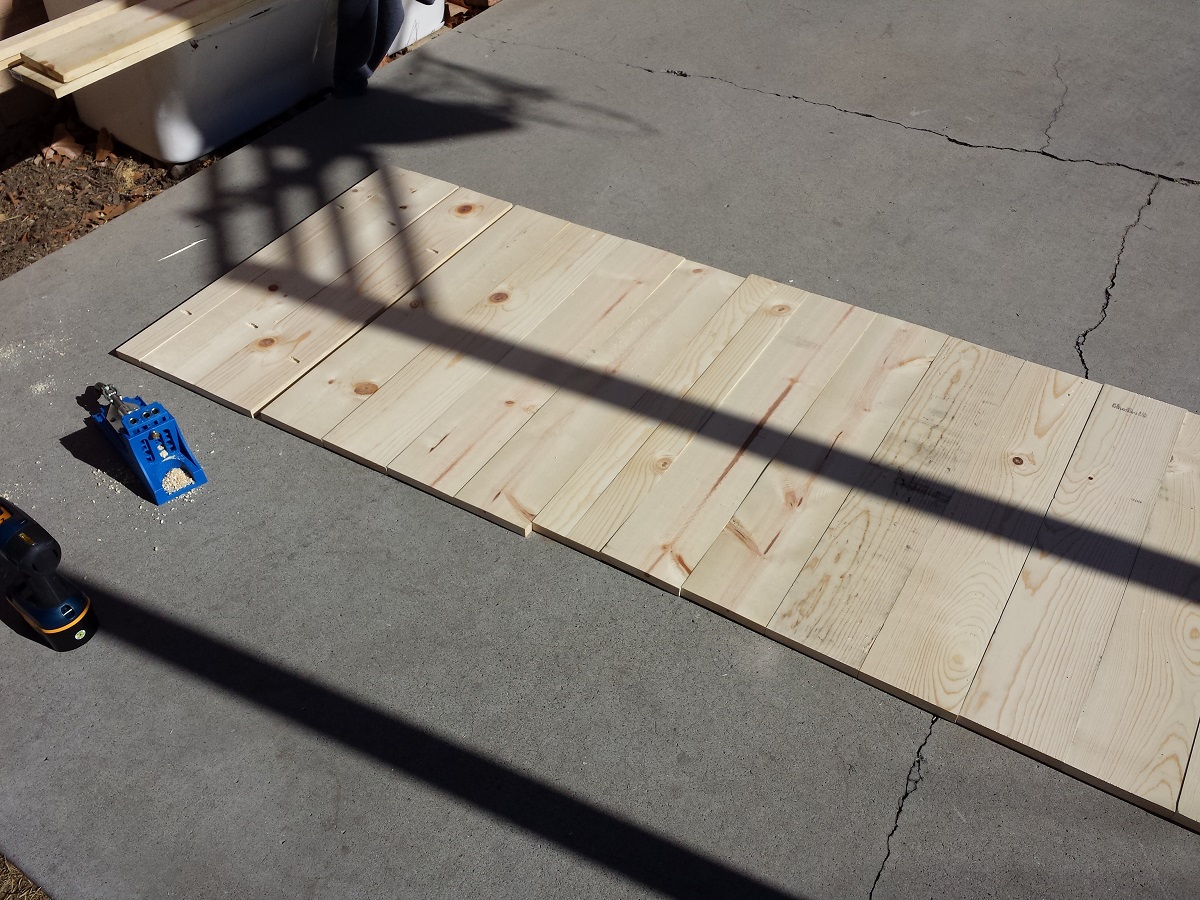
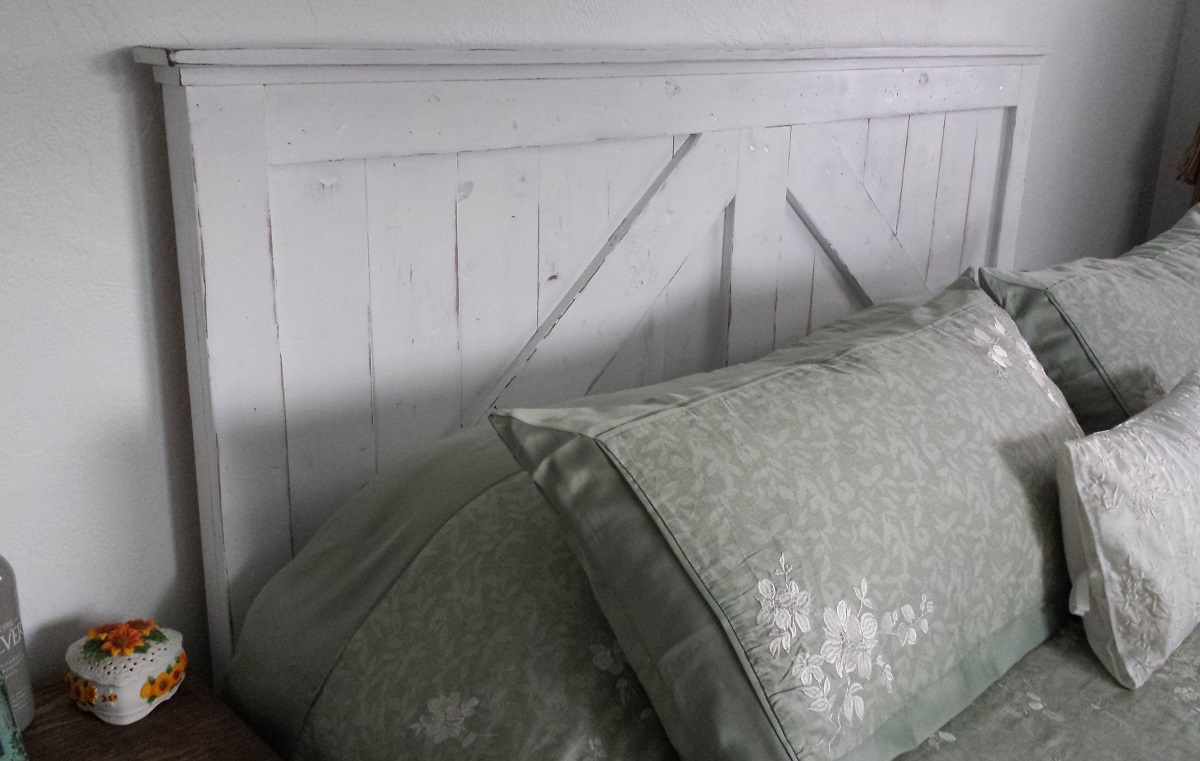
I figured out that (12) 1×6 boards coupled with (4) 1×4 boards would give me the exact width I needed. The hardest part was determining how I wanted to space the 1x4s throughout. I settled on having (1) 1×4 on each end and then (2) 1x4s together in the center, evenly spacing the 1×6 boards. This would essentially “hide” the 1×4 boards as they would be covered by the legs on the sides and the trim in the center. As I was cutting each piece, I made sure to distress it with various things: hammers, rocks, screwdriver, etc.
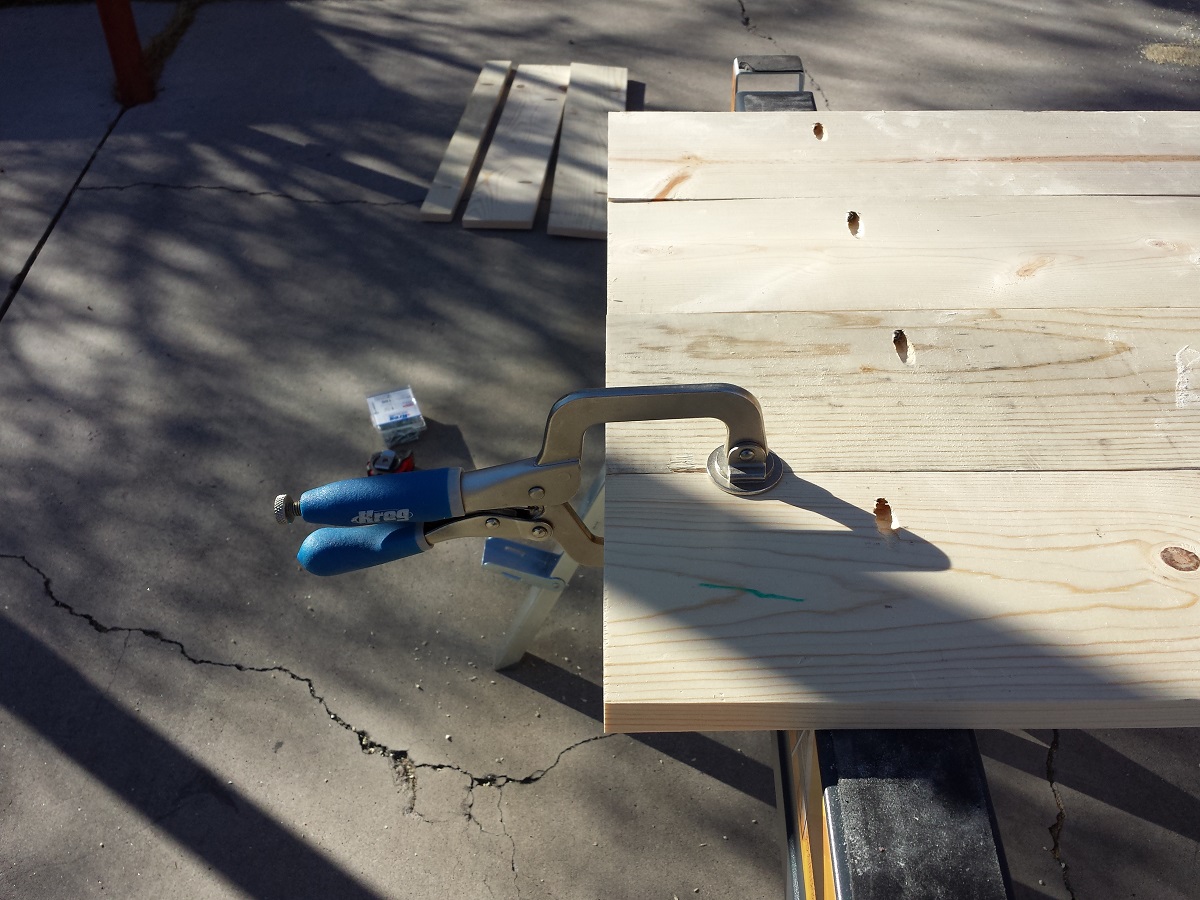
I also decided to pocket hole the panel boards together for extra support and strength being the span from end to end was so much longer. Being that everything on this headboard was so much bigger I felt it wouldn’t hurt.
Once I had the back panel created, the rest was essentially following the steps in the plans.
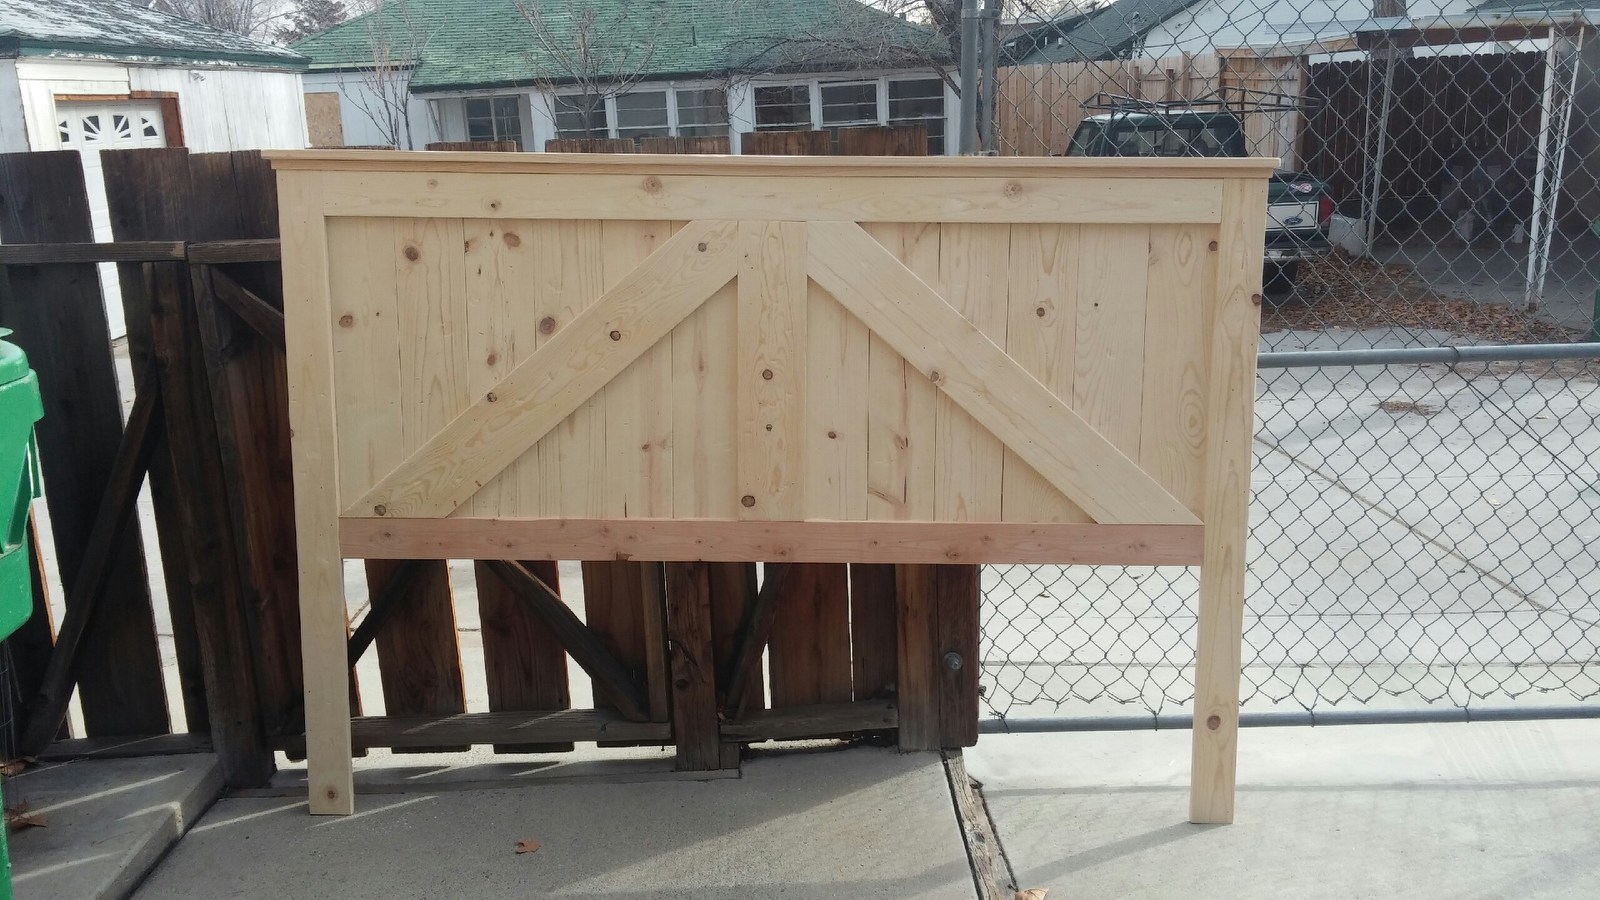
I decided to use 1x6s for cross trim and 1x4s for the legs and top/bottom trims. I really wanted to give it a beefy look, as if it really could have been a barndoor that was used for the headboard. I also made sure the wood was plenty distressed, adding a few dings here and there as well.
I brought everything in to the garage (Not for lack of trying, but I don’t have a workshop, and we use our garage to store vehicles in- imagine that- so I try to use the garage when Liz is at work) and set it up for stain.
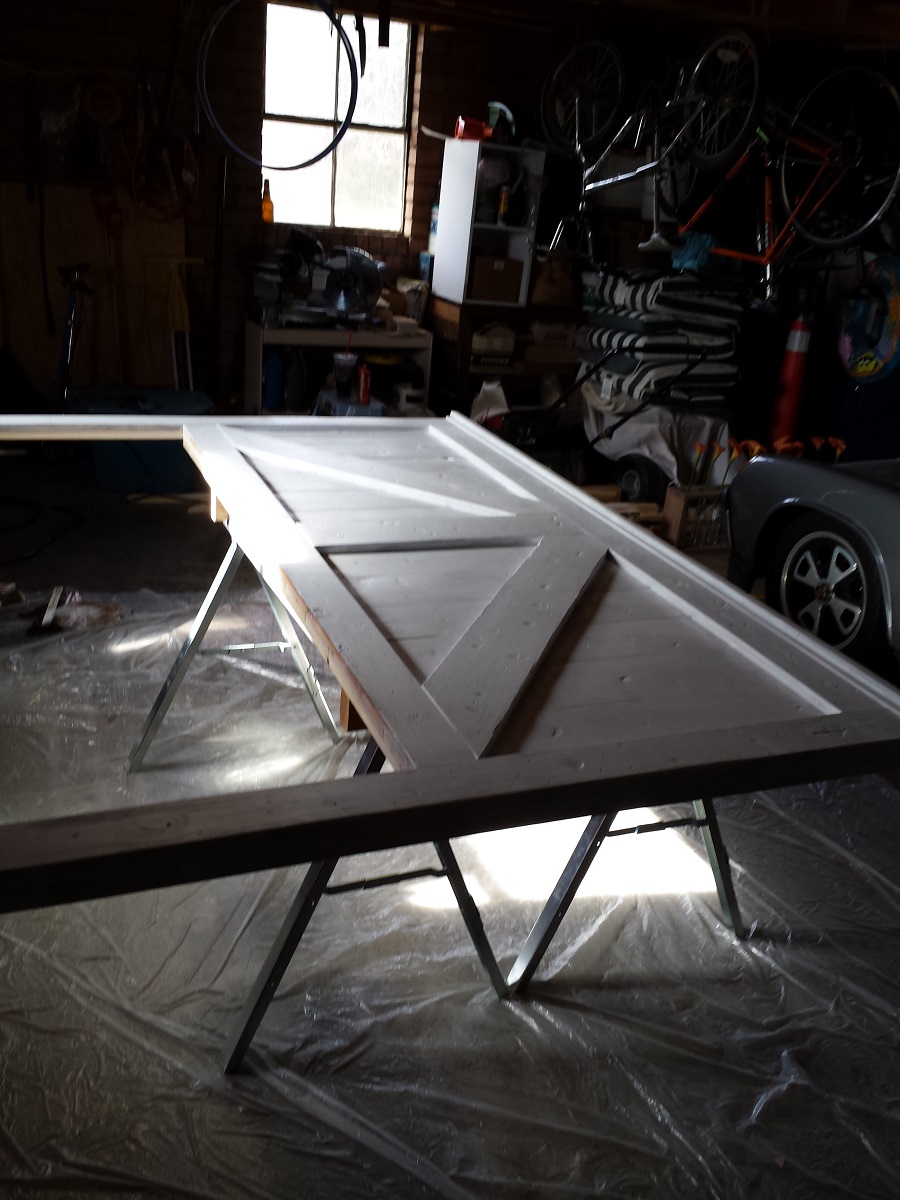
I used Minwax Special Walnut on the entire headboard. Being that the stain is only for effect when the top coats of paint are removed when antiquing, I didn’t used any pre-stain conditioner. I threw a couple of coats of Pittsburgh Paint on the headboard, not really trying to be perfect in how it went on.
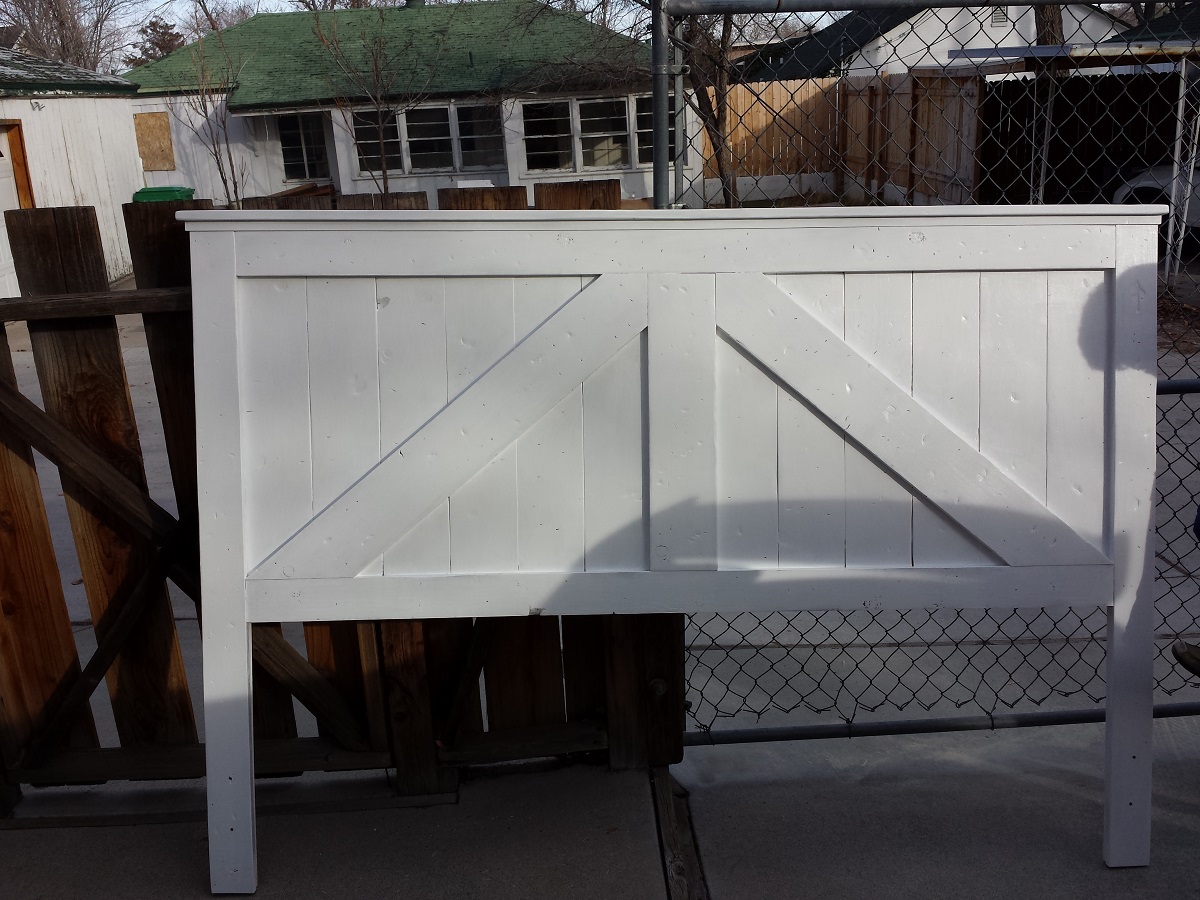
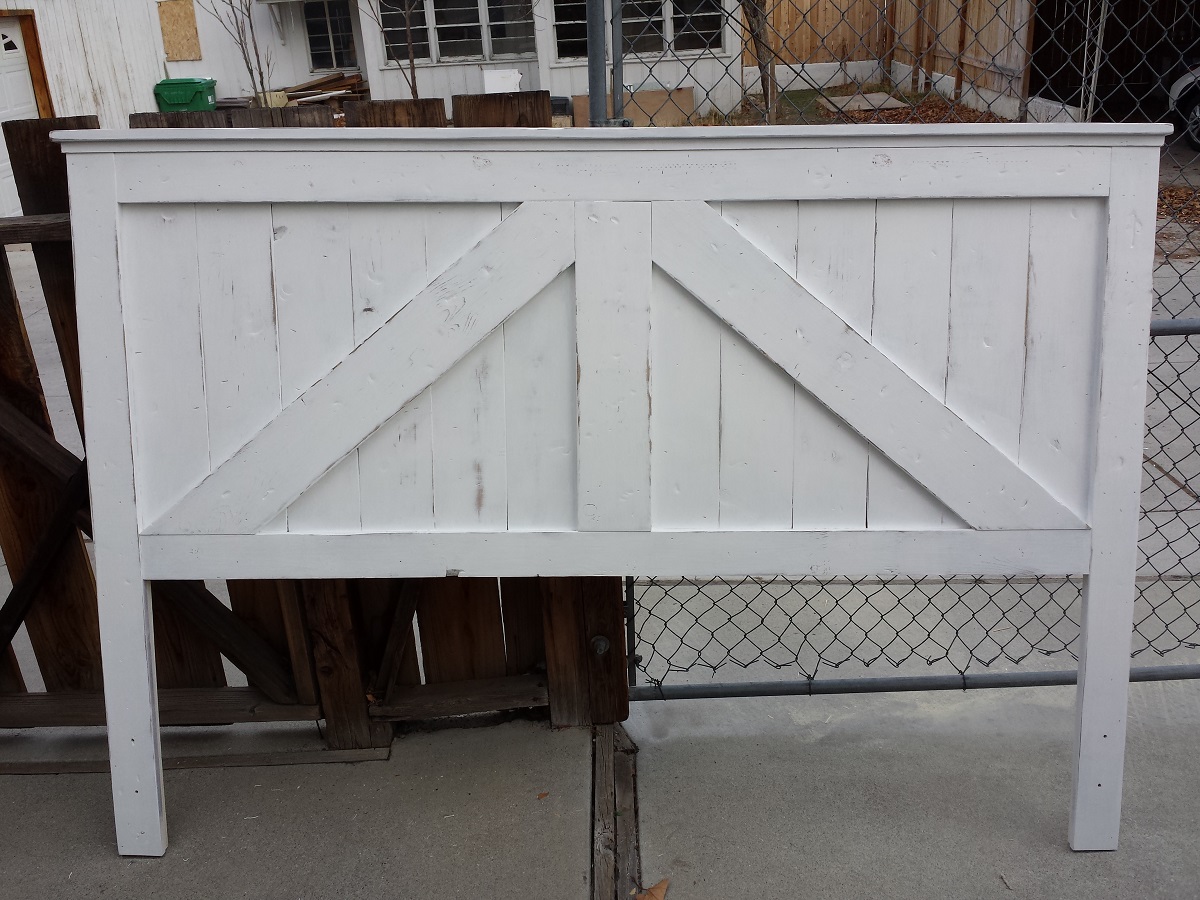
As I was staining and painting I couldn’t help but feel that the legs were a bit too thin and I worried- even though I know I shouldn’t- that they may not be strong enough. I quickly cut a couple of scrap 1×3 boards to fit behind the legs. I pocket screwed them to the headboard and counter sunk them into the legs from the back. This added quite a bit of strength to legs and I felt much better about them. I took the headboard back outside and antiqued it with some 120 grit sandpaper and some steel wool. I didn’t add any polyurethane as I can’t imagine this being aver touched and I felt that the natural wear would only add to the look.
All that was left was to move the headboard in to the house (after it had sat and fumigated for a while, I know that they say you can use “outdoor paint” in doors, and since I was going to be building an outdoor table too, I figured I’d kill two birds with one can. Big mistake. The outdoor Pittsburgh Paint brand is a very good paint, and also has a very, very strong odor- which is supposed to keep from attracting bugs- that lasted for several weeks.


Absolutely beautiful. And you saved a ton of money making it yourself. Well done! Enjoy your weekend! Koko
LikeLiked by 1 person
Thank you @atkokosplace! Greatly appreciated. Have a great one too!
LikeLiked by 1 person
Looks great!!! On the garage space, you may eventually get like us. No room in the single car garage for the car…too many tools 🙂
LikeLike
Hahaha! If only I could be so lucky!
LikeLiked by 1 person
That headboard came out great! I love the rustic look to it. 🙂
LikeLiked by 1 person
Thank you!
LikeLike
Love this!!! I have been searching for a head board DIY plan as well for months now. I loved Ana White’s plan, but also needed it for a king. I love what you did. Couple of questions. Did you keep her same measurements as far as the height? Ans how did you attach it to the wall or did you?
LikeLike