

Stay in the loop! Be sure to follow-me on Instagram and Facebook! You can also follow me on Pinterest to see what I’m inspired by and find inspiration of your own!
I love the look of old barn wood. I would love to have a stockpile of reclaimed lumber in my garage that I could sift through for my projects. Unfortunately I live in a city and finding old rustic lumber isn’t that simple (maybe it is and I just don’t know where to look). I recently posted the reveal for my farmhouse frames and I wanted a distressed look, but being that I wasn’t painting the frames, I wanted to pay close attention to the detail. I wanted to rely on the look of the lumber and the stain to bring out the old and worn look. The method I discovered worked wonders for me, and was so incredibly simple, I can’t believe it actually works.I decided to distress some new pine as normal, I began distressing the lumber as I normally do, combining a few distress points created with screws, a few hammer marks and sanding the board down a bit to add wear the wood to. After doing this the board still wasn’t quite as distressed as I wanted. I wanted it to look natural as if it occurred through the abuse of several if not 100-years, and distressing natural can sometimes prove difficult. We are creatures of habit, and no matter how hard I try, certain elements of this will show up, even when distressing. Certain patterns always seem to show up when I distress lumber no matter how hard I try to be random. I’d imagine we all have certain tendency when distressing, but mine (as the are mine) stick out like a sore thumb. The question became, “How can I make this board look like it has been through a lifetime of use?” It was at this point a thought dawned on me. There is a rougher patch of concrete on our patio that I had sanded boards on in the past. One time I accidentally kicked a recently sanded board on it and had to re-sand as it created a few scuff marks. If a simple kick a few inches could cause me to have to re-sand, what kind of look could I get soccer kicking it across the back alley?
Seems like my kind of experiment so I took the board, freshly sanded and brought it out in to the back alley (we have an alley running behind our house that has rougher concrete and a little bit of gravel). It was here I did my best impression of Christiano Ronaldo and David Beckham combined. Not really, as I didn’t want to kick the board too hard as to make it chip or tear out at the corners, but I can only imagine the look on my neighbor’s faces as they looked out the window and saw my drop kicking a perfectly good piece of pine up and down the alley! It only needed few kicks to get the desired look. Because the board slid, skid and spun in random fashion the distressing came out perfect. I brushed off the gravel and took it back for some final sanding. This is my final result:


The distressing was perfect for what I was looking for. Even though I did 8 separate boards for the frames, in order to make sure that it wasn’t just a fluke I decided to try it again. This board came out just as good, if not better than the others. I have included the step-by-step instructions below.
Step 1: Basic distressing
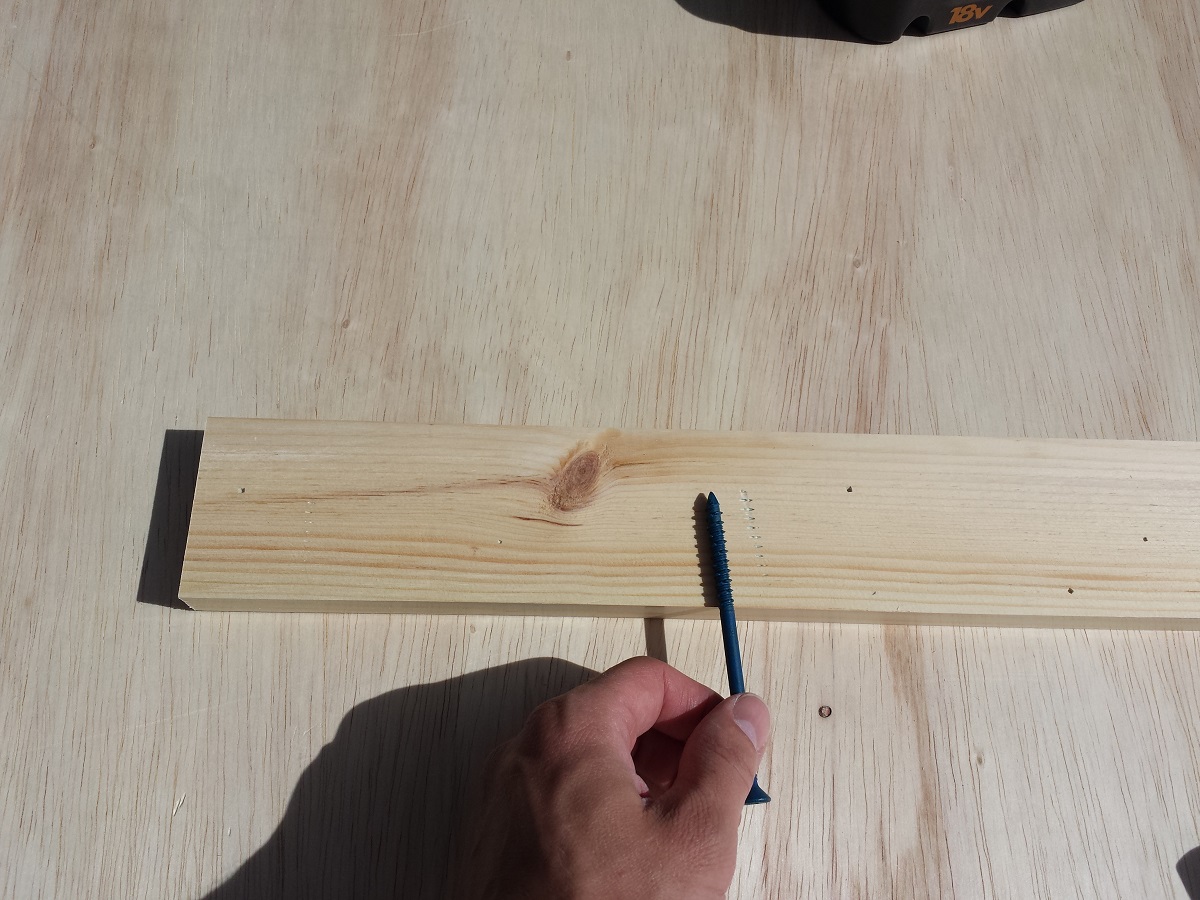


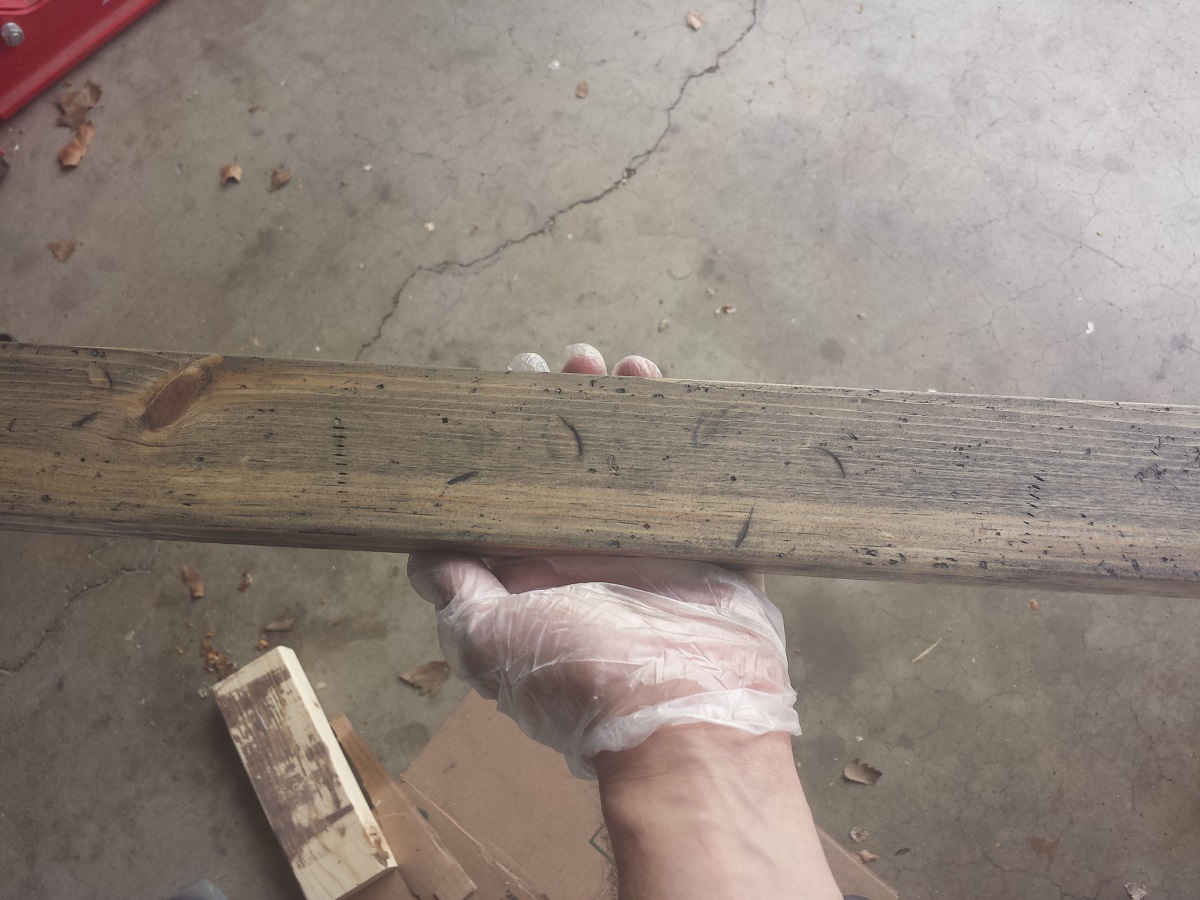
Distress the board with whatever you feel works well. I typically hammer a large screw a few times in to the lumber at “random spots” (usually I find myself doing this towards each end and again near the middle), I follow that up by hitting the lumber with the hammer. I use both ends, making sure not to gouge the board with the claw. Experiment here and there and try other things. I’ve used bags of rocks or screws to beat the board. I’ve tried pounding a nail in the board and taking it out. This is the part where I can experiment and it’s hard to mess up, just don’t over do it. The board needs to look like it’s been heavily used, not survived the most recent Avengers battle. Once I get my “base distressing” done, I sand the board down to smooth everything out a bit. In the photo above I’m using my cat sander. I alternate on occasion between power tools and good old fashioned hand sanding. I used 120 grit in the photo above and on the frames.
Step 2 : The best part!
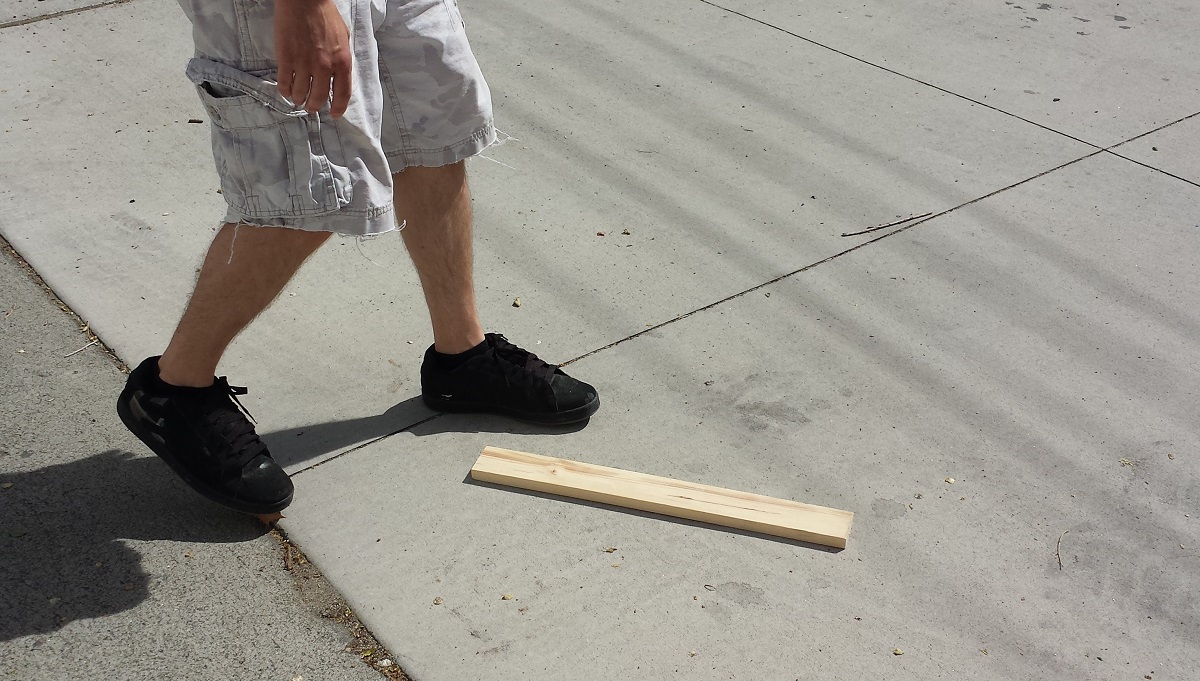


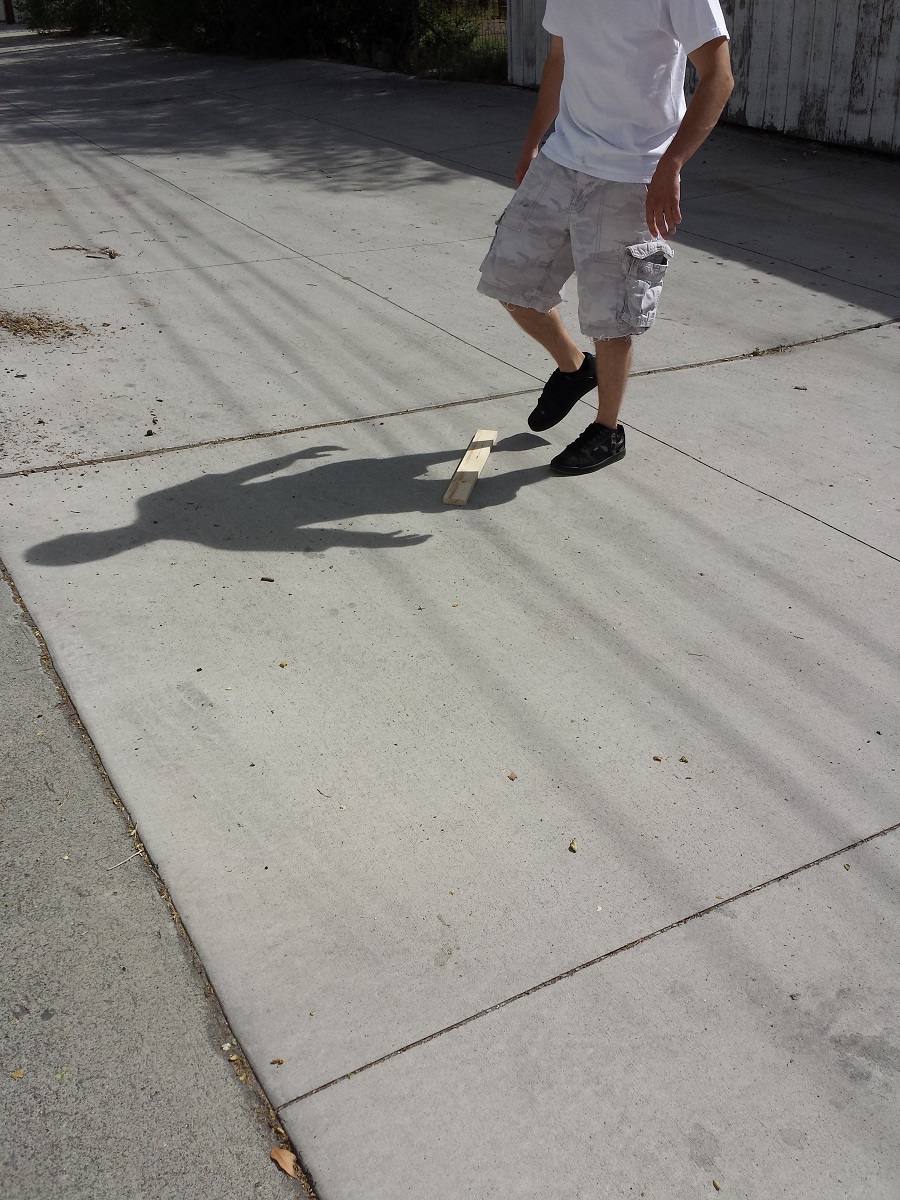
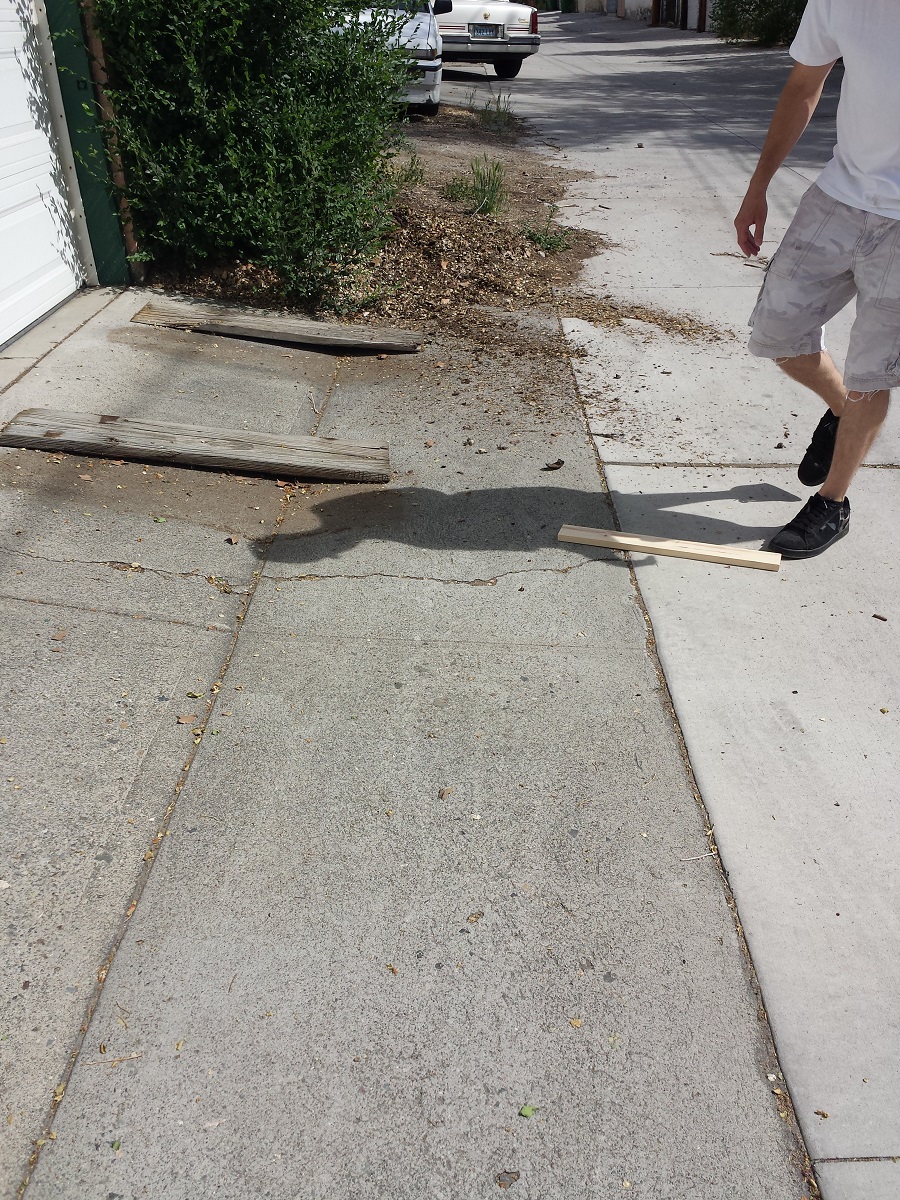
This part is the best part! Go play some soccer with the lumber. Kick it as many times as it takes to get the desired look. I typically check it every 3-4 kicks or so. Be sure to kick the board in various spots to get it to spin and slide differently. Don’t worry if little pebbles stick to the board. We’ll remove them when we sand again. Kick away!!! Just a warning: Don’t get too excited, I am not to be held responsible for pulled hammys! Also I highly discourage doing this with a sprained MCL, your knee won’t like it (don’t ask me how I know).
Step 3: Sand some more


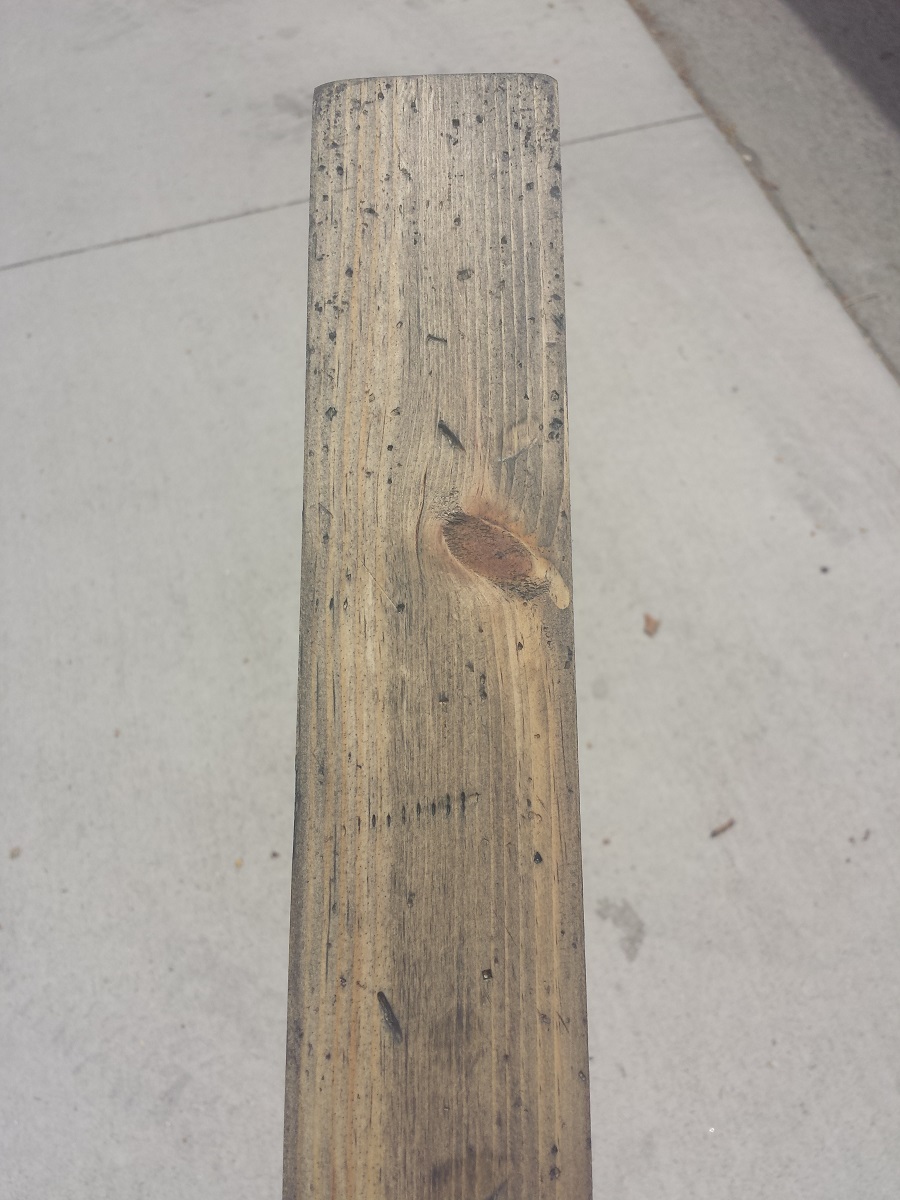
Once you have the look you want, brush the pebbles out of the board and sand some more. This is the final sanding so be sure to detail the areas you want detailed. For example I rounded the edges a bit and on occasion sand some additional wear points on the board. At this point you can move through all the grits of sand paper you want. I typically stay at 120 or go up a grit or two.
Step 4: Pre-stain
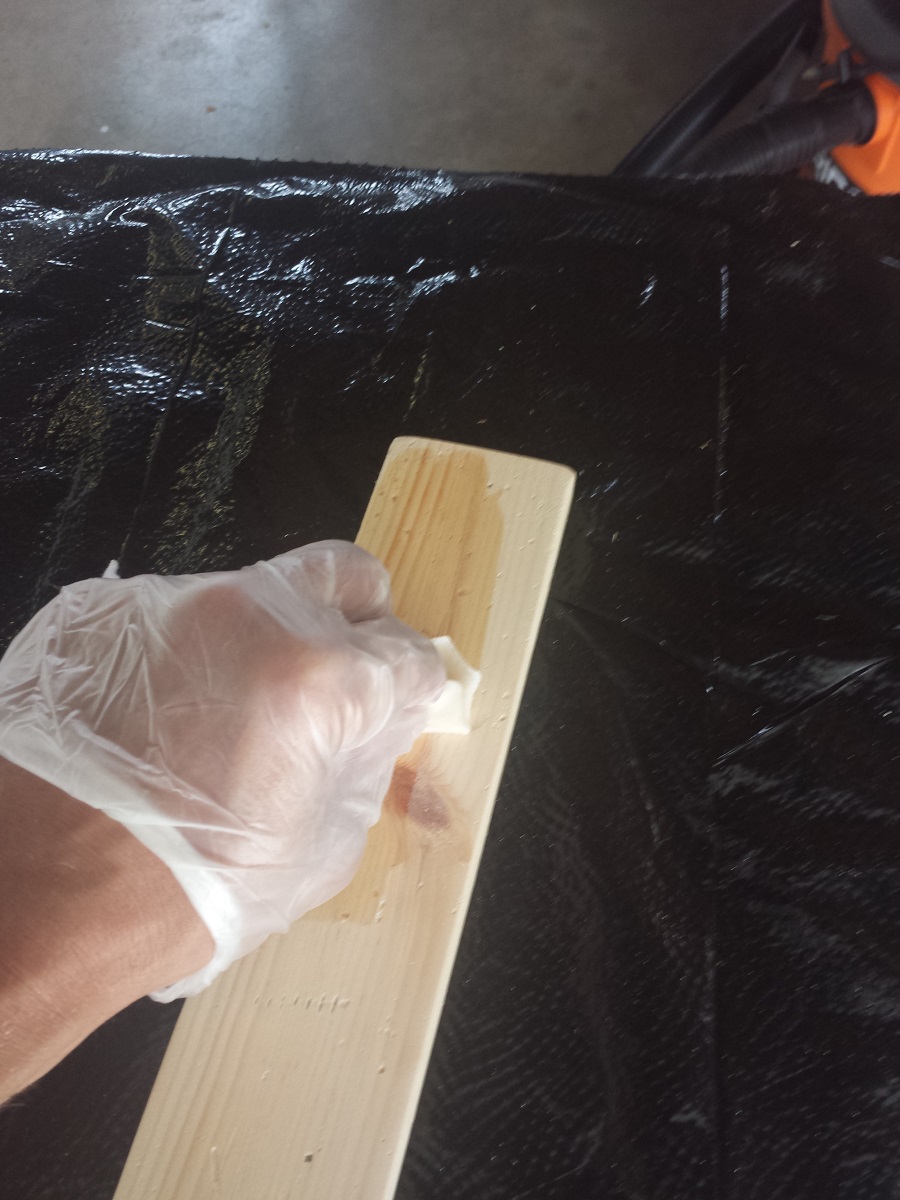

I always use pre-stain/wood conditioner if the piece will be visible. If I’m going to paint over it and am using the stain as a contrast (when antiquing for example) I won’t waste the pre-stain. The pre-stain helps to provide a more consistent stain and helps to prevent blotching. If you’re not familiar with wood conditioner or pre-stain, wood is porous, especially soft woods such as pine. Certain parts of the lumber can absorb at different rates. Essentially the conditioner helps to even out the absorption by filling the areas that absorb a lot while allowing the smaller pore areas to still absorb stain. Be sure to read the instructions for your pre-stain prior to using.
In the photo above you can see how the dents have absorbed more conditioner. These are spots that are more prone to blotching along with certain areas of the grain as well. The conditioner won’t stop them from absorbing, but will give them a more consistent look as you’ll see below.
Step 5: Stain
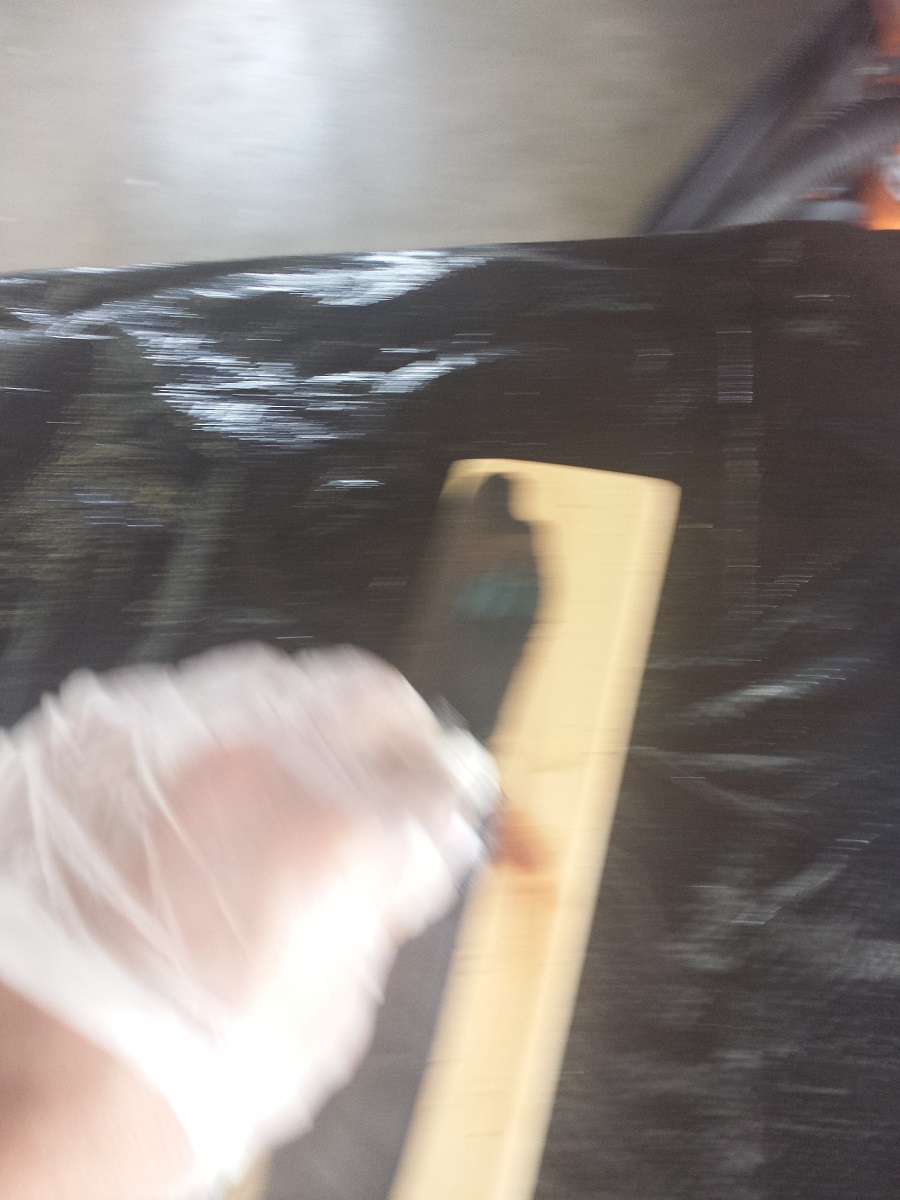
Using a rag or a foam brush apply your desired stain. While I do use both on occasion, I typically use a foam brush. I just didn’t want to waste a brush for one board. I put the stain on going with the grain, then let it sit for 30-seconds or so. I’m not trying to get a deep dark stain, I just want to give it a light coating. Another benefit of pre-stain is that the stain doesn’t go on as dark, which in this case works to our advantage. Apologies for the blurry photo above. I was trying to stain and take a picture at the same time. For this project I used a stain recipe from Rustic Meadows that I modified slightly. Being that they make a living with this stain I won’t divulge their secret, sorry. The stains used above were from Minwax.
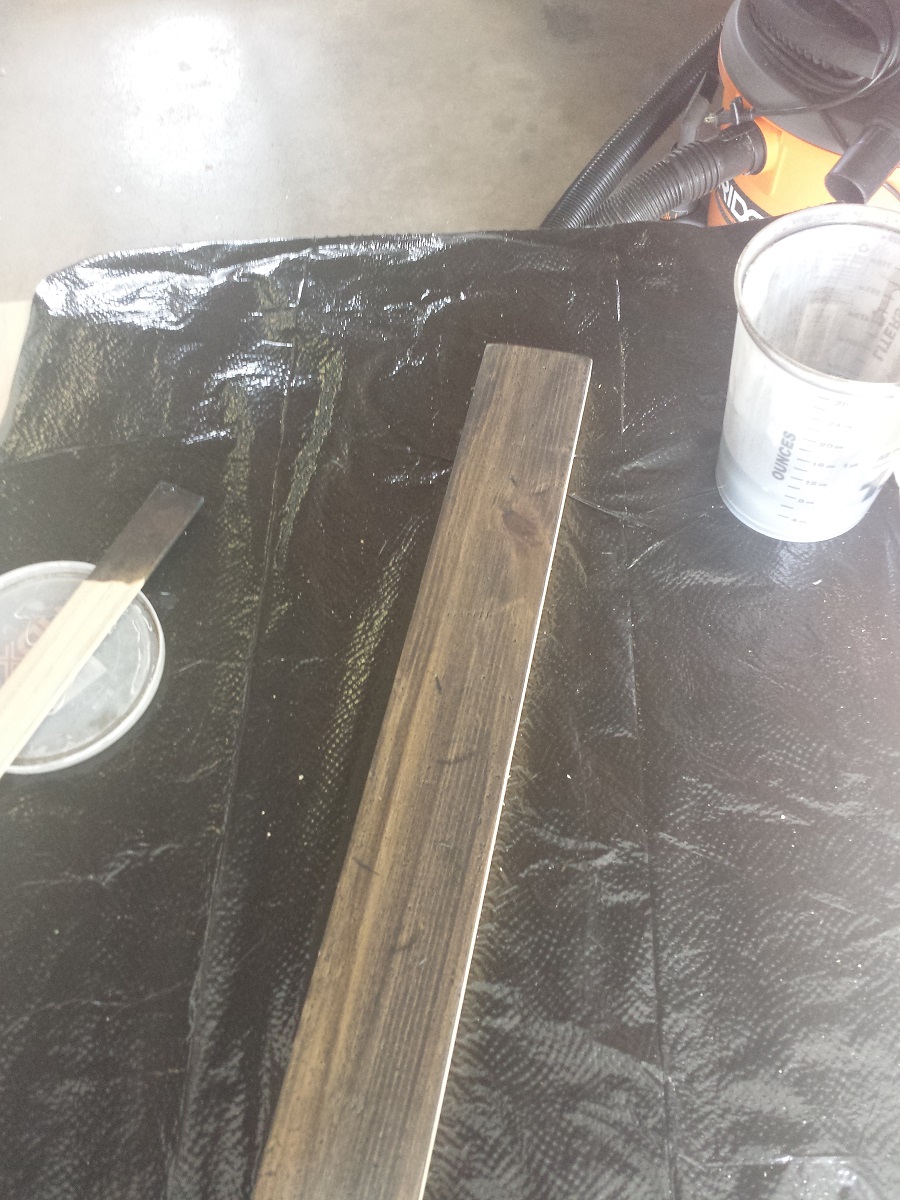
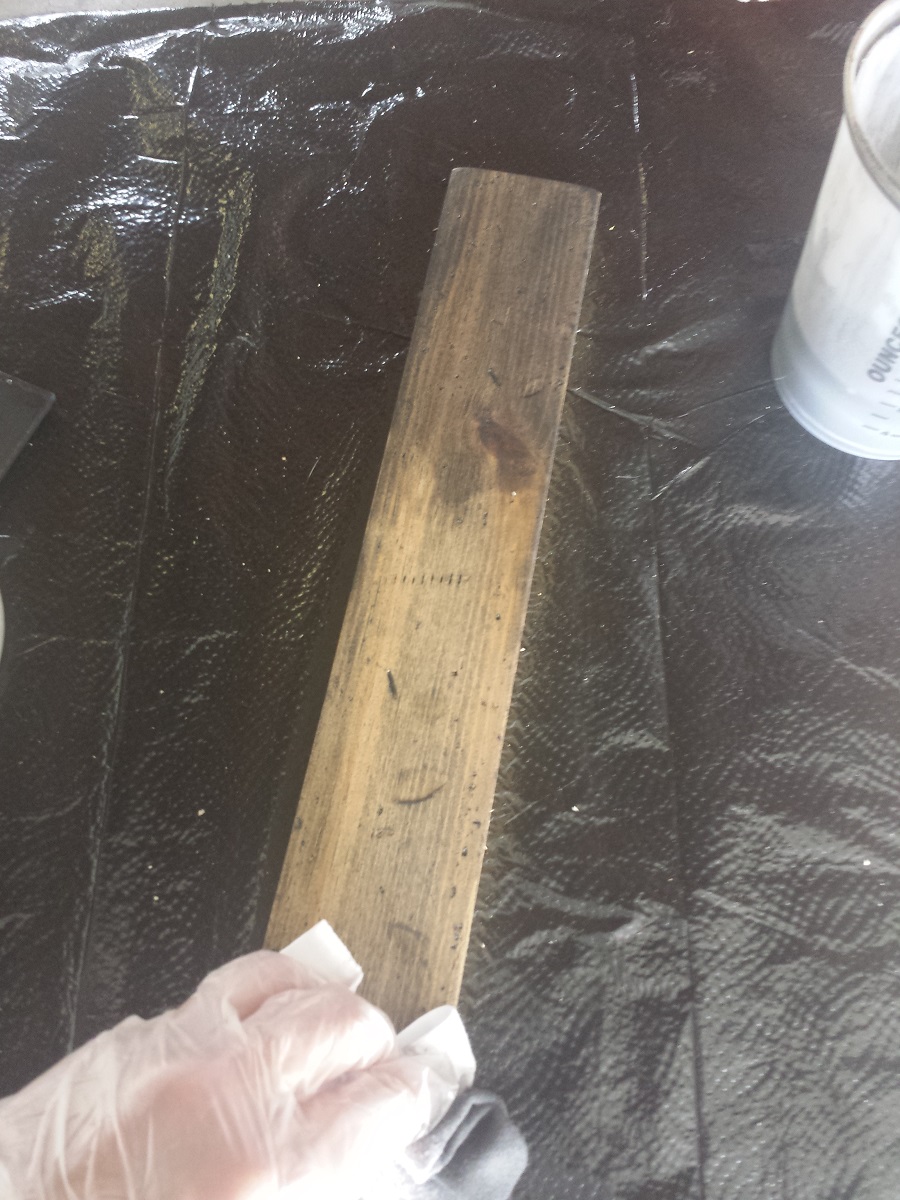
Step 6: Enjoy the fruits of your labor


In the photos above you can really see how the stain brings out the distressing. So simple, yet it works so well. Hopefully you can have some success with this method as well. I’d love to see your results if you try it. Tag me on Instagram or post them to my Facebook if you get a chance. Good luck and good building!

I really like distressing boards. This is the first time I’ve read kicking the board around. I bet that makes some really nice marks. Definitely trying that next time!
LikeLiked by 1 person
Hahaha! Leave it to me to find the cheesiest and laziest way to accomplish something!
LikeLike