

Stay in the loop! Be sure to follow-me on Instagram and Facebook! You can also follow me on Pinterest to see what I’m inspired by and find inspiration of your own!
Ahhhh, summer. The time for heatstroke, sun burns, and sticky stinky smelly sweat dripping all over your projects. Don’t get me wrong, I like summer, and I enjoy going to the lake and doing things outdoors, but something about constant 100-degree or near 100-degree days drives me crazy. But all is not lost, summer is also time for barbeques with friends and family!!! For years, our backyard has been dedicated to our kids, but as they’ve gotten older, they used the yard less and less. Over the last year we’ve been adding to our yard, making it more for us and for entertaining. Being BBQ season, I decided having some outdoor games would be fun, but I didn’t want to spend too much on them either. The first idea I had was for a giant Jenga set. I looked them up and found them priced at close to $100. After laughing quite hysterically for what seemed like half of June, I decided to look up the size of the blocks to see if I could build them out of some 2x4s. I went to Wikipedia and found the following:
Jenga is played with 54 wooden blocks. Each block is three times as long as its width, and one fifth as thick as its length 1.5 × 2.5 × 7.5 cm (0.59 × 0.98 × 2.95 in).
Now, I’m no mathematician (my mom can attest to that. If you’re reading this, Hi Mom!), nor am I any good at unit conversion (I actually have a calculator on my phone for that), but this was the kind of math even I could do. If your mathematically challenged like me, just replace centimeters with inches and low and behold, there are your measurement! Turns out I needed (54) 2×3 blocks cut at 7.5″ long. It is almost as if 2x3s were designed specifically for Jenga! I could have used 2x4s, but since Jenga is highly based on gravity and physics, I felt using the same ratio the actual game uses to be important. In thinking of the design, I felt that 2x4s are wider and a wider blocks may create additional stability, and the blocks may not fall when they normally would, so 2x3s it was!
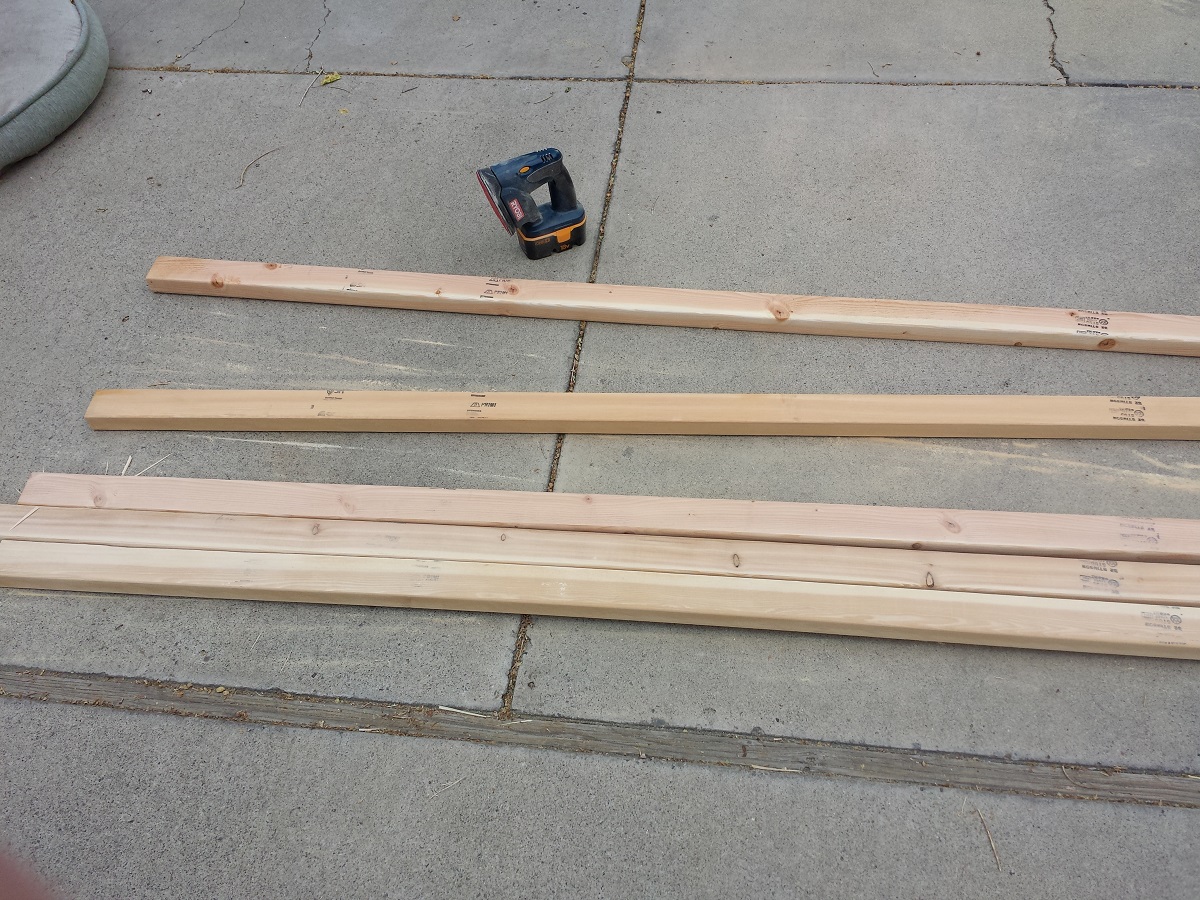
I actually did do some math though. You will need (5) 2x3x8 boards, and here in Reno they are about $2 a board. That’s it! For a little more than $10 you are able to build a great summertime entertainment piece!
The Plans:
This is such a simple build I didn’t make a downloadable PDF, as I can’t imagine anyone needing it.
Materials Needed:
- (5) 2x3x8
- (1) 1x12x12 board for a bottom base (optional- I just used a scrap board. See honey? I told you I’d use it someday!)
- Sandpaper
- Finishing supplies (stain, paint, etc.)
Tools Needed:
- Miter saw
- measuring tape
- pencil
- safety gear (hearing protection, safety glasses, etc.)
Cut List:
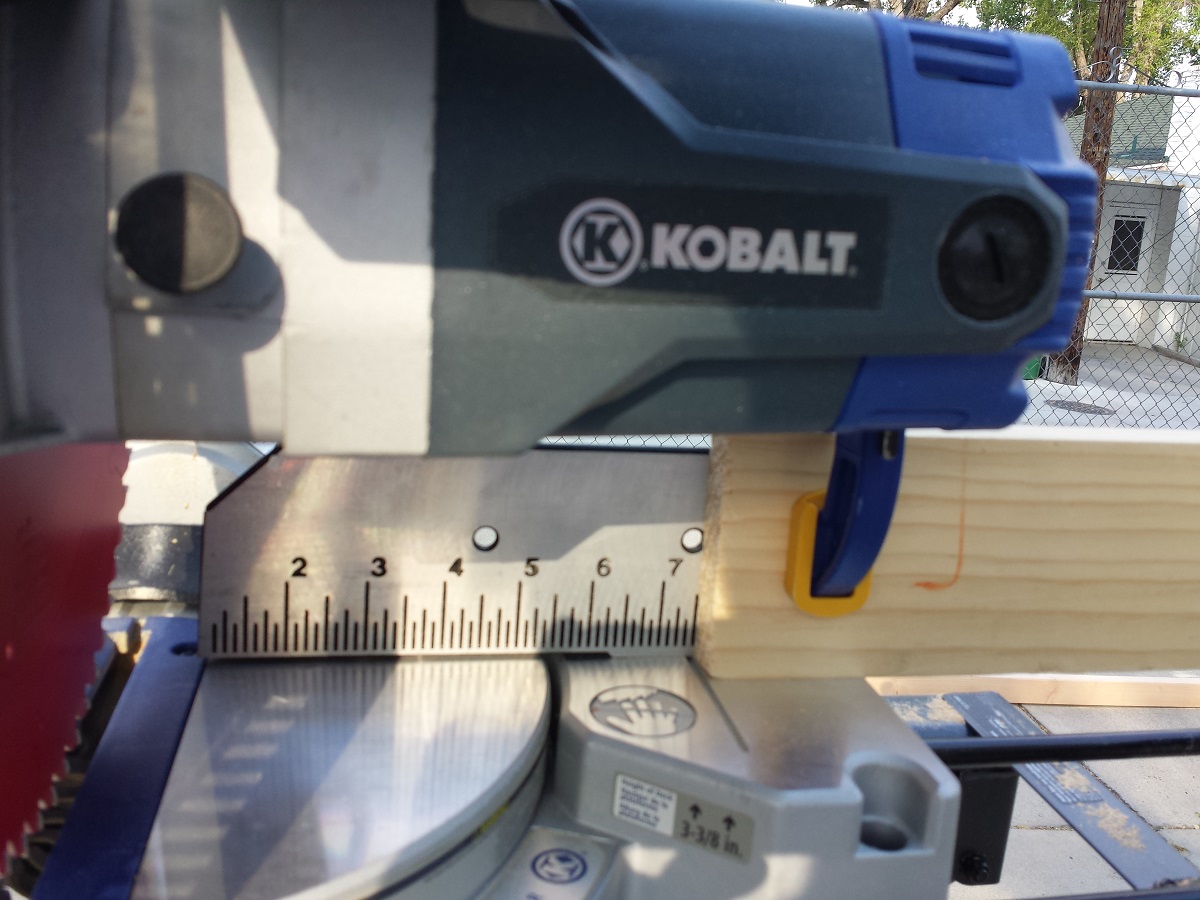
- (54) 2×3 @ 7.5” square cut
The Project:
STEP 1:
Sand all the boards prior to cutting. I did this first so it would save me time later. I didn’t want to try and do a thorough sand on 54 different blocks. This way I can get the sanding done 5x and then just touch up the ends after cutting.
STEP 2:
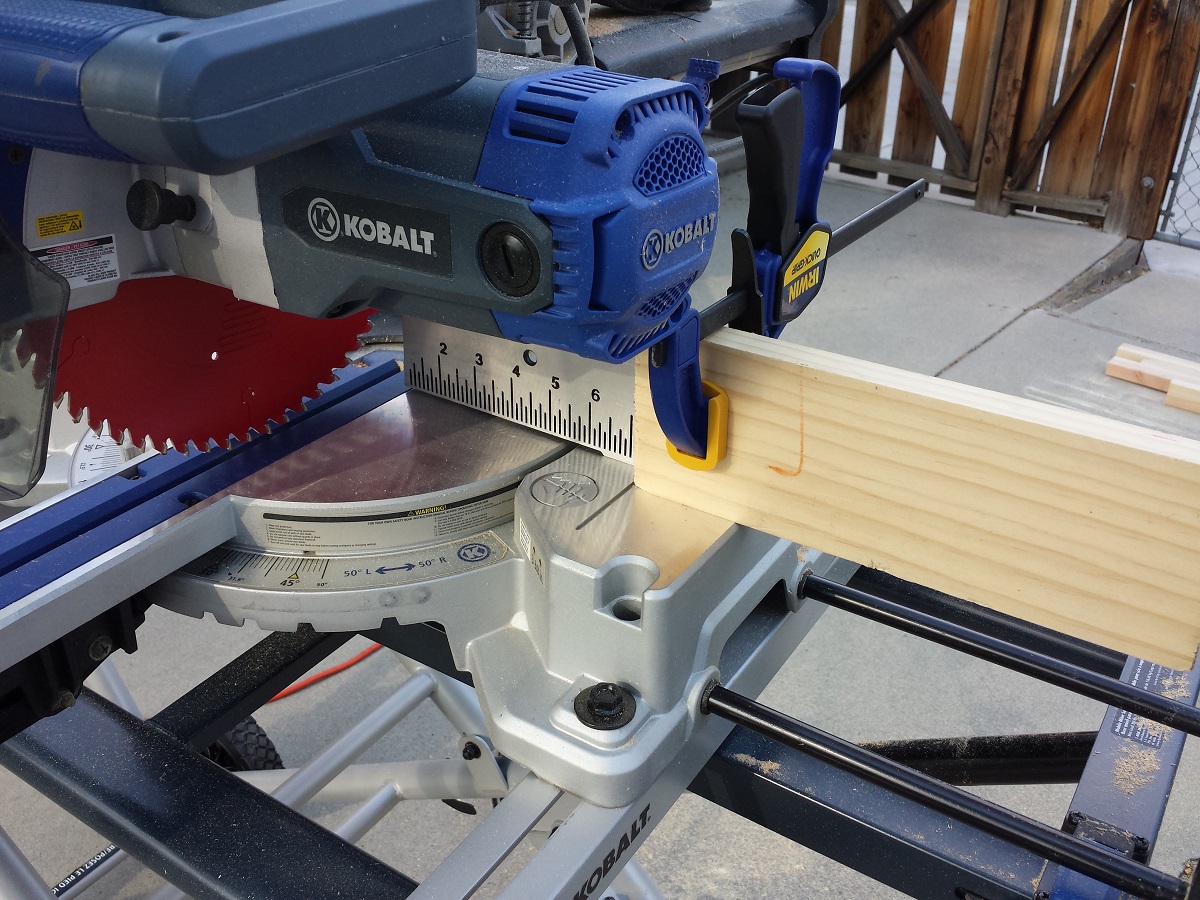
Create a stop on your miter saw @ 7.5″. This will make cutting much faster and a lot more accurate. If you’re saw doesn’t have a stop, you can do what I did. I took a scrap 1×4 board and clamped it to my fence. Trust me, you definitely want a stop for this.
STEP 3:
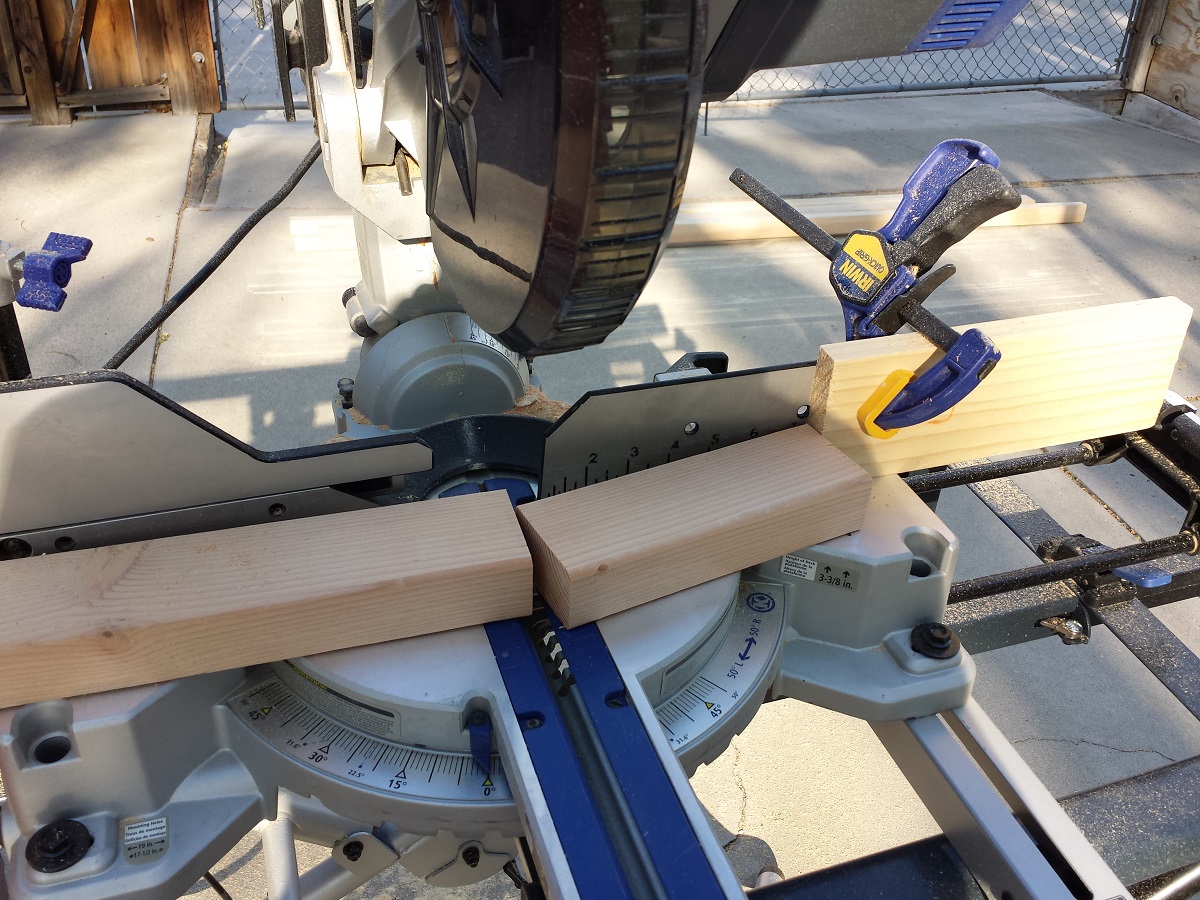
Cut 2x3s into 54 short 7.5″ long blocks. Pay close attention to knocks and irregularities in your lumber while cutting. You should have plenty of lumber to cut around large knots, etc. unless of course your lumber is full of big, nasty knots, at which point, you probably should have selected better lumber.
STEP 4:
Touch up the boards by sanding the rough edges. If you didn’t sand already, be sure to do so now. This will allow for the blocks to pull out smoother while playing and also help prevent splinters (although, having some unsanded blocks could make for a nice homefield advantage. A quick jump from a splinter is bound to make someone knock over the blocks, giving you the victory!). At this point you can stain the blocks if you’d like. I caution the use of paint. Sometimes paint can stick to other painted surfaces, and will make the blocks unplayable. If you are looking to add color, consider tintable stain or wood dye.
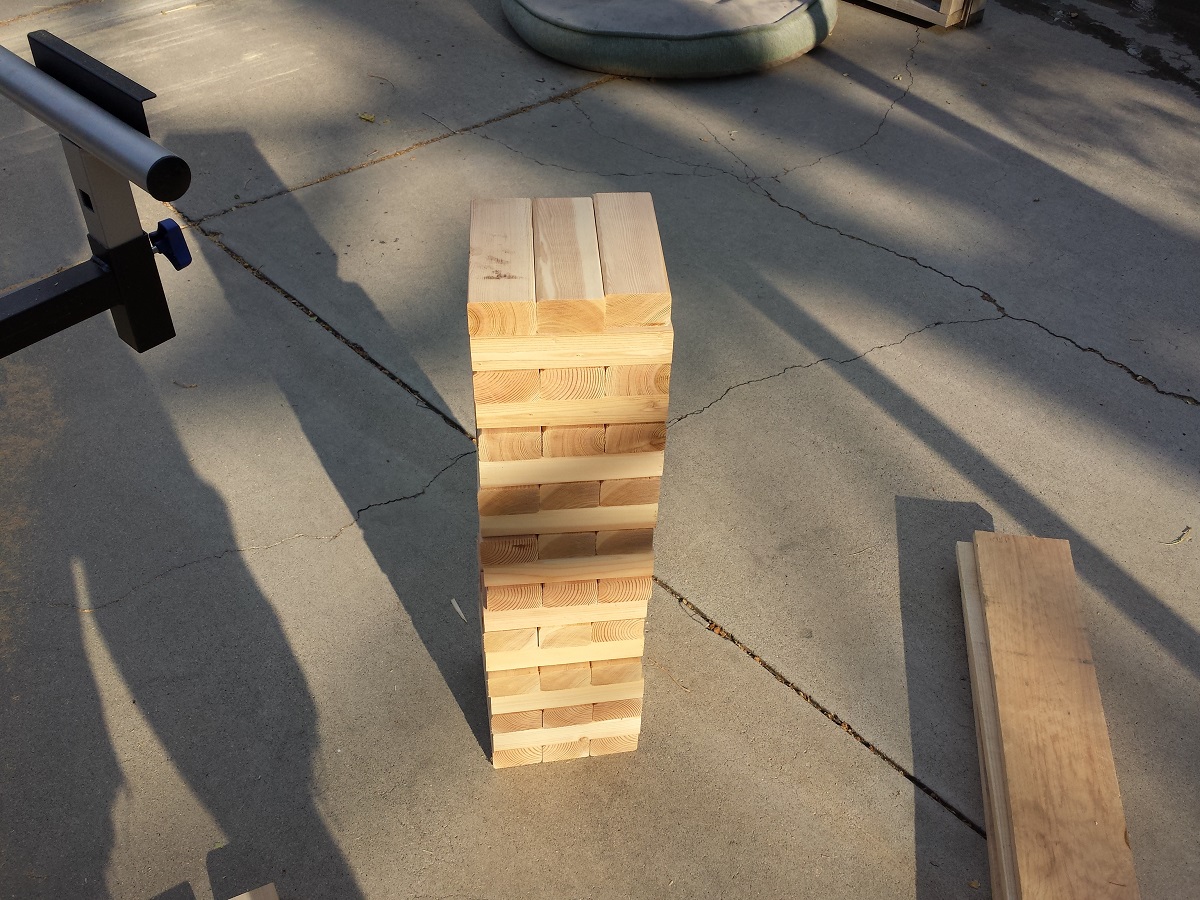
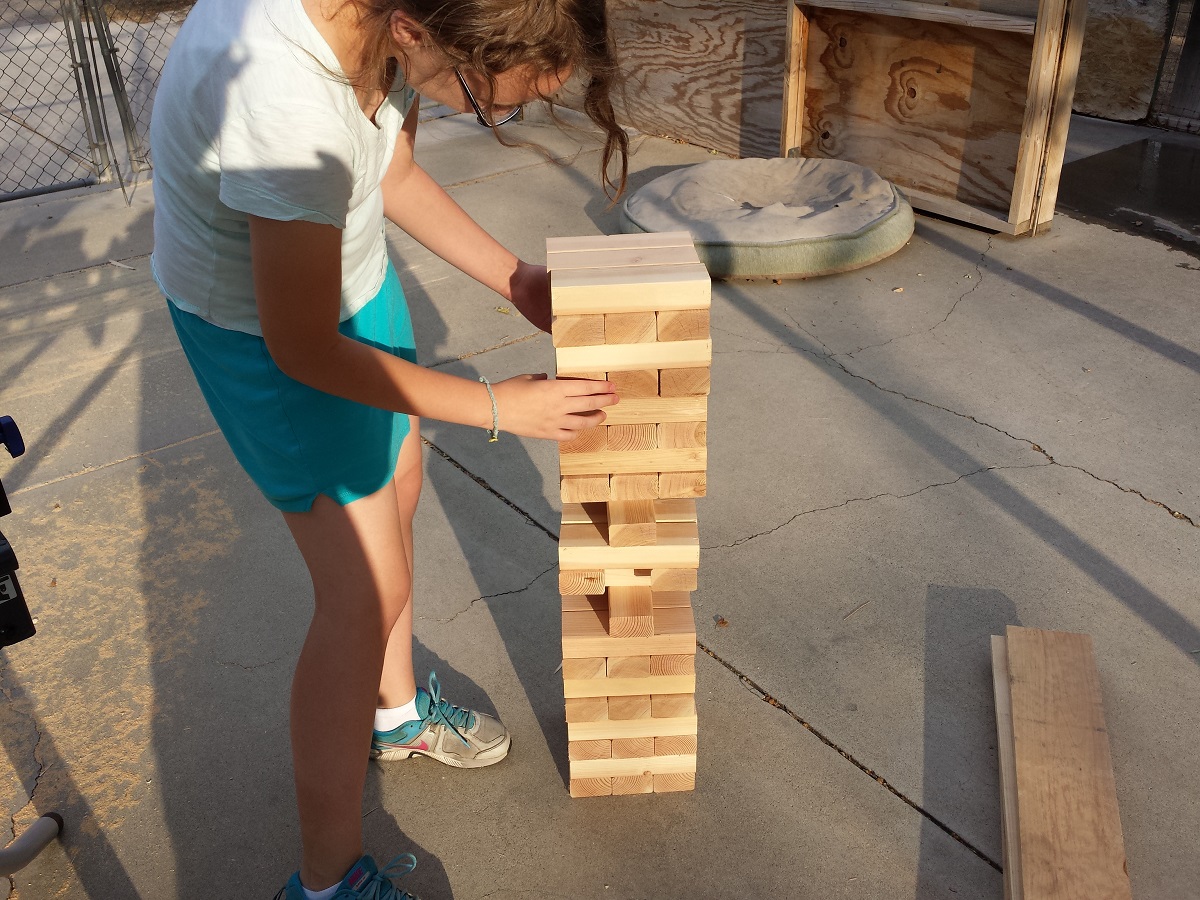
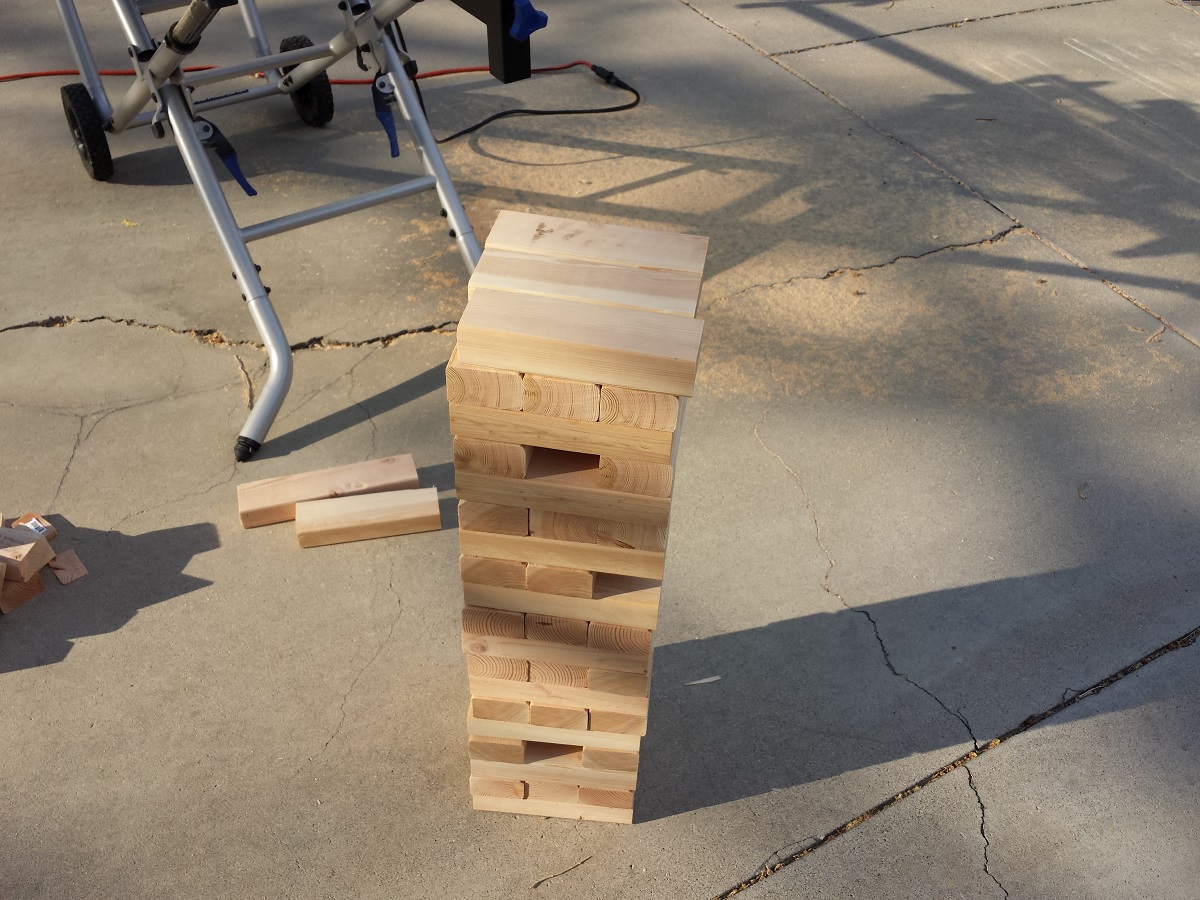
STEP 5:
Have fun!!!


Awesome project! I keep telling my hubby to make a cornhole game for the yard but I’m thinking I might need that Giant Jenga…. lol,
LikeLike
These measurements do not work out. Laying 3 3″ blocks next to each other spans 9″, not 7.5″. We had to cut our blocks to 2.5″ wide.
LikeLike
Hi Jacque, I’m not sure the type of lumber you picked up, but if you picked up 2×3 lumber as mentioned in the plans (not 2x4s) the dimensions are fine and work as described. Dimensional lumber like 2x3s are actually smaller than listed, and as such 2x3s are actually 1.5″ x 2.5″. Three blocks at 2.5″ would be 7.5″. I’m thinking that maybe you purchased 2x4s instead of 2x3s?
LikeLike
You picked up 2×4’s instead of 2×3’s.
LikeLike