

Stay in the loop! Be sure to follow-me on Instagram and Facebook! You can also follow me on Pinterest to see what I’m inspired by and find inspiration of your own!
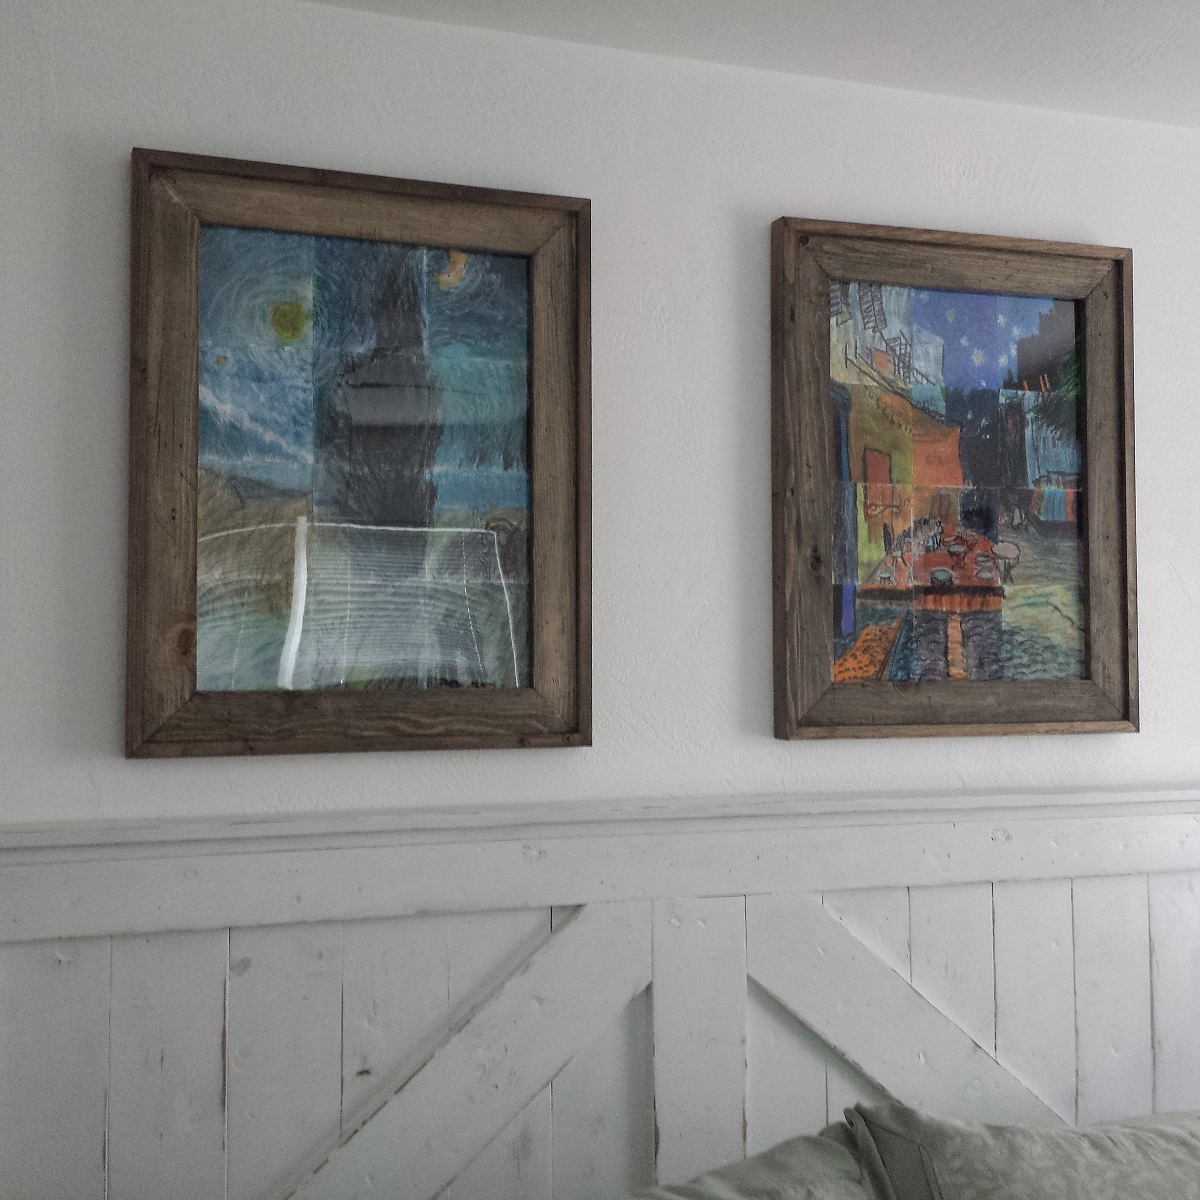
I needed new frames. Why? Because the ones I had sucked, that’s why. To put it in to better context, to me they were nothing more than black cheap, flimsy, plastic matter that a monkey might fling at you. Yes, you read that correctly. I just referred to my frames as monkey poo. Not only were they doo doo, but they were an eye sore that bugged me every time that I went in to the bedroom. At first it wasn’t such a big deal, but ever since I built our headboard, they have been bothering me more and more. The truth is, I didn’t buy the frames. I bought the artwork that was in them. My daughter’s class had made some Picasso recreations and I had purchased them at a school auction. I had tried to purchase some better frames, but couldn’t find any worthwhile in the size I needed. I wanted to build some, but had reservations about doing so, but you can read more about them here. In the end, I decided to head over to Ana White’s site and find a plan. To my surprise I couldn’t find any that fit what I needed- no, really, this was quite a surprise. She has plans to build almost everything and anything, and if she doesn’t, she usually has a link to where you can find it. If for any reason you haven’t visited her site, stop reading and check her out. Don’t worry, I’ll wait.
The problem was I needed 18”x24” frames that had a rabbeted edge to hold the backing and Plexiglas that I was going to use from the existing frames. I continued to look around the web, but still couldn’t find what I needed. I decided the best route would be for me just do design and plan my own, but the only problem was I had no idea how to put frames together. I found a few different websites that showed how to build various frames and quickly drew up some plans. I looked at several different websites, but drew the most inspiration here, here, here, and here.
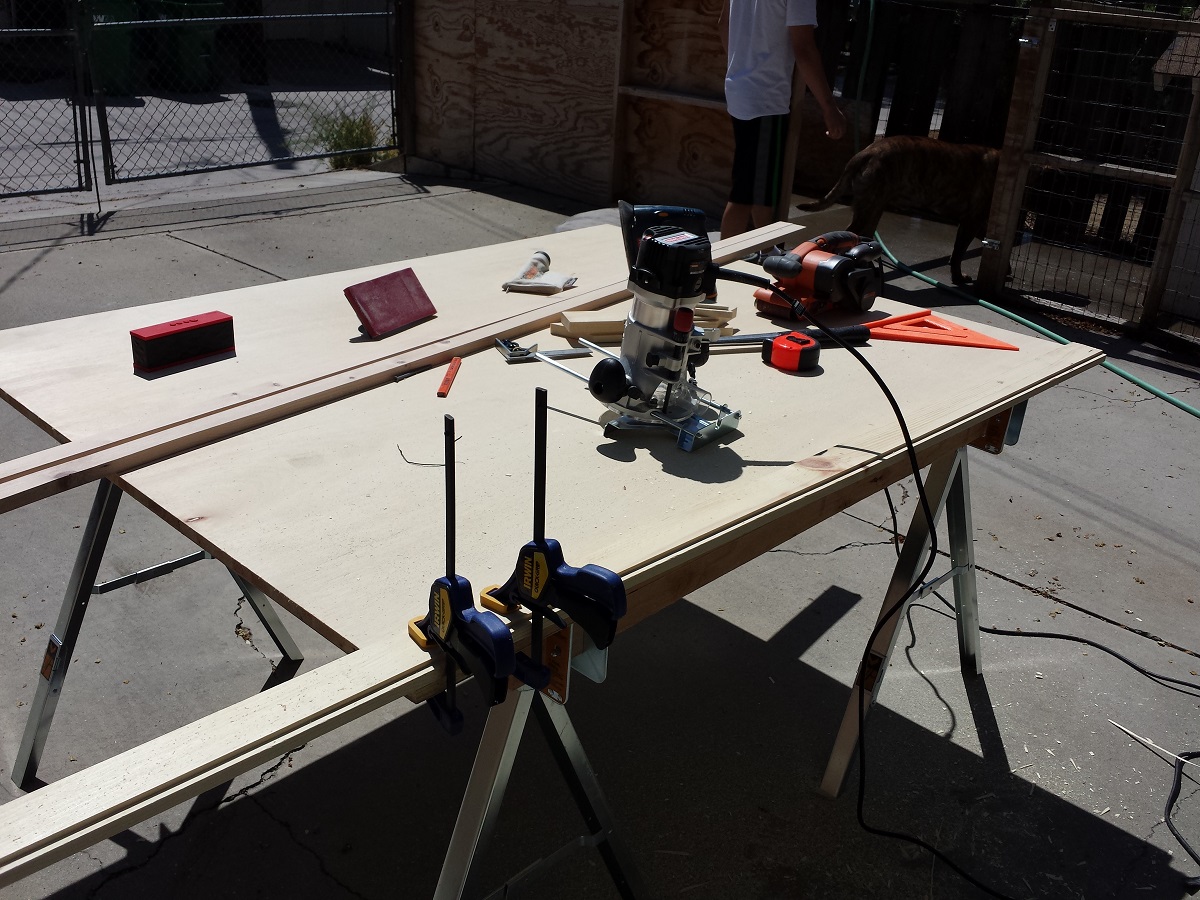
With “plans” in hand I picked up some lumber and went to town building. Being I had no real plan to follow, I just winged it to the best of my ability. In the end I was pleased with the result, but more importantly, so was my wife. You can click here and/or continue reading below for downloadable plans for you to use if you need a similar size frame, but I also have some additional building information on how to adapt them to any size you need.
The Build:
Sanding
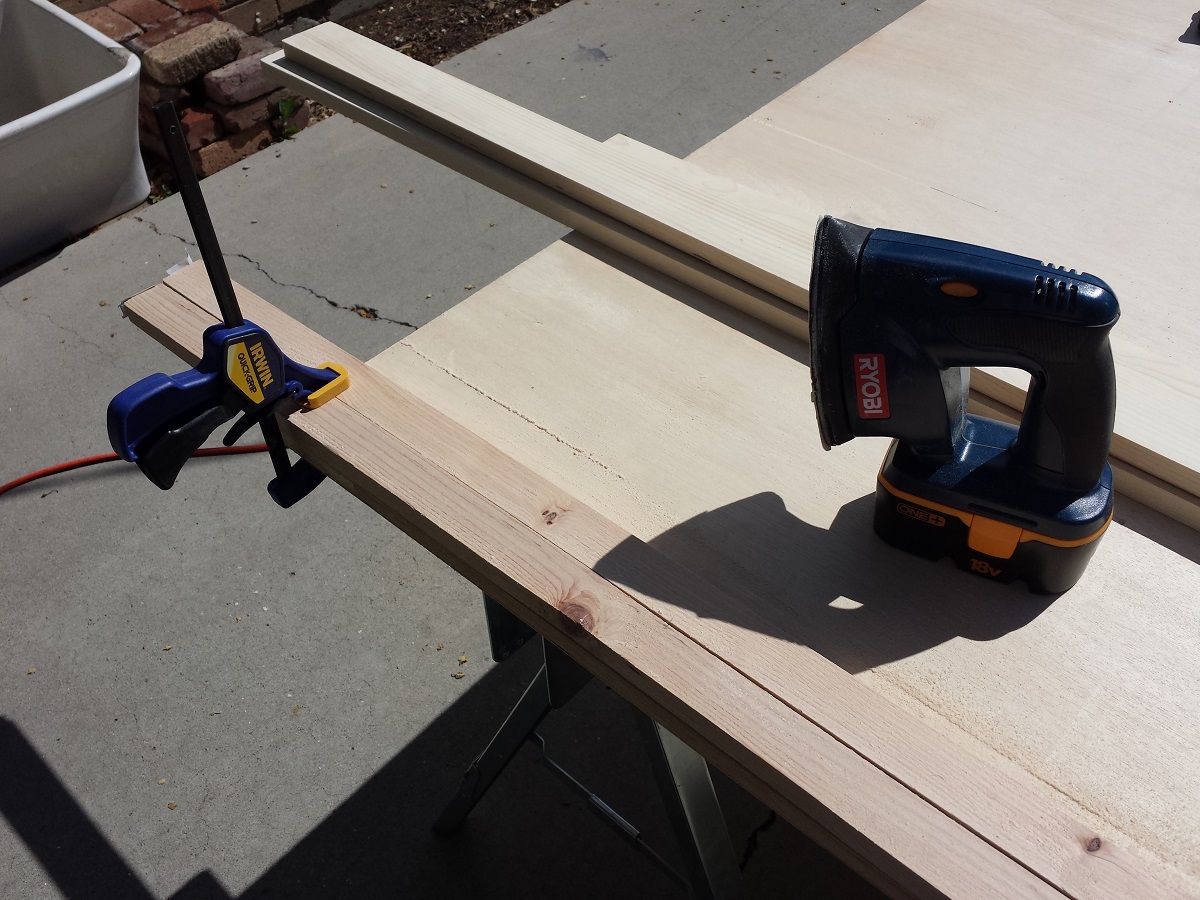
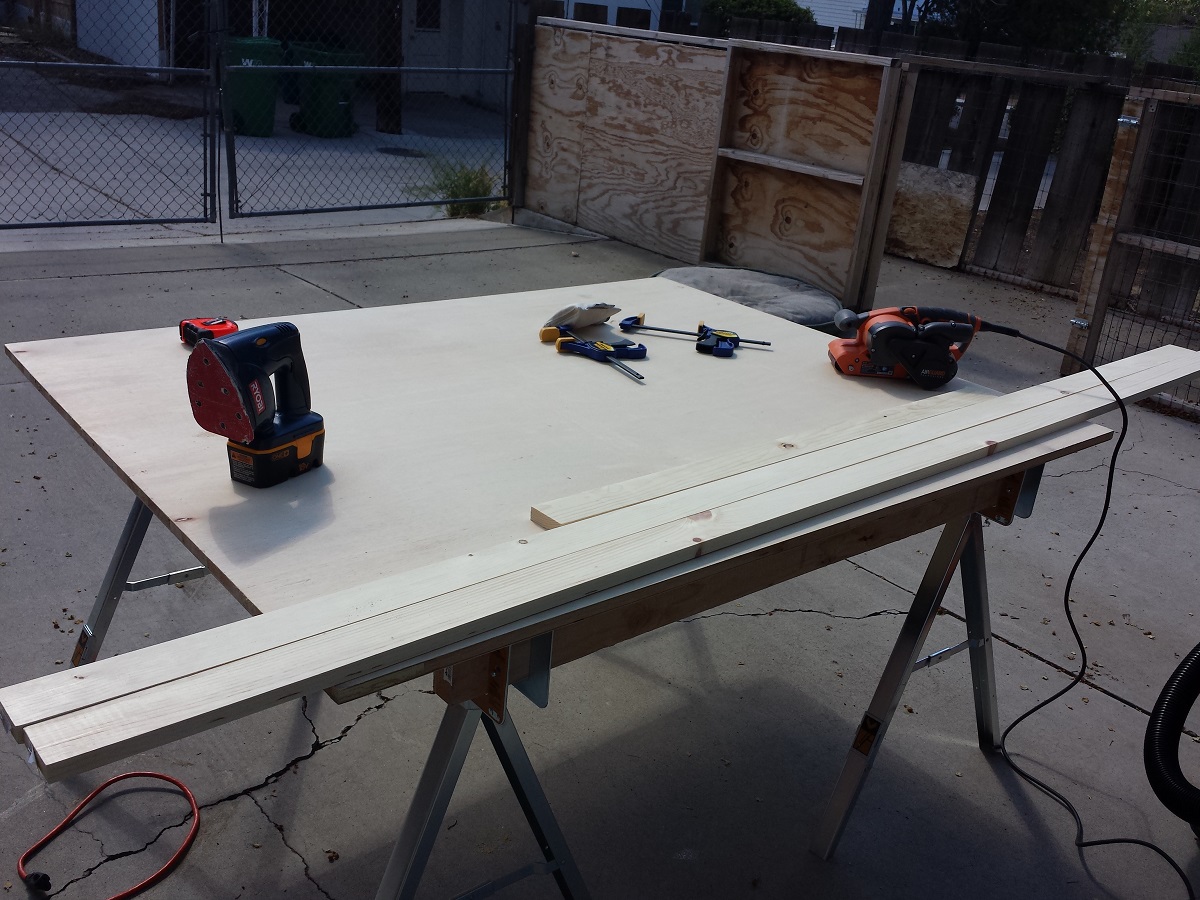
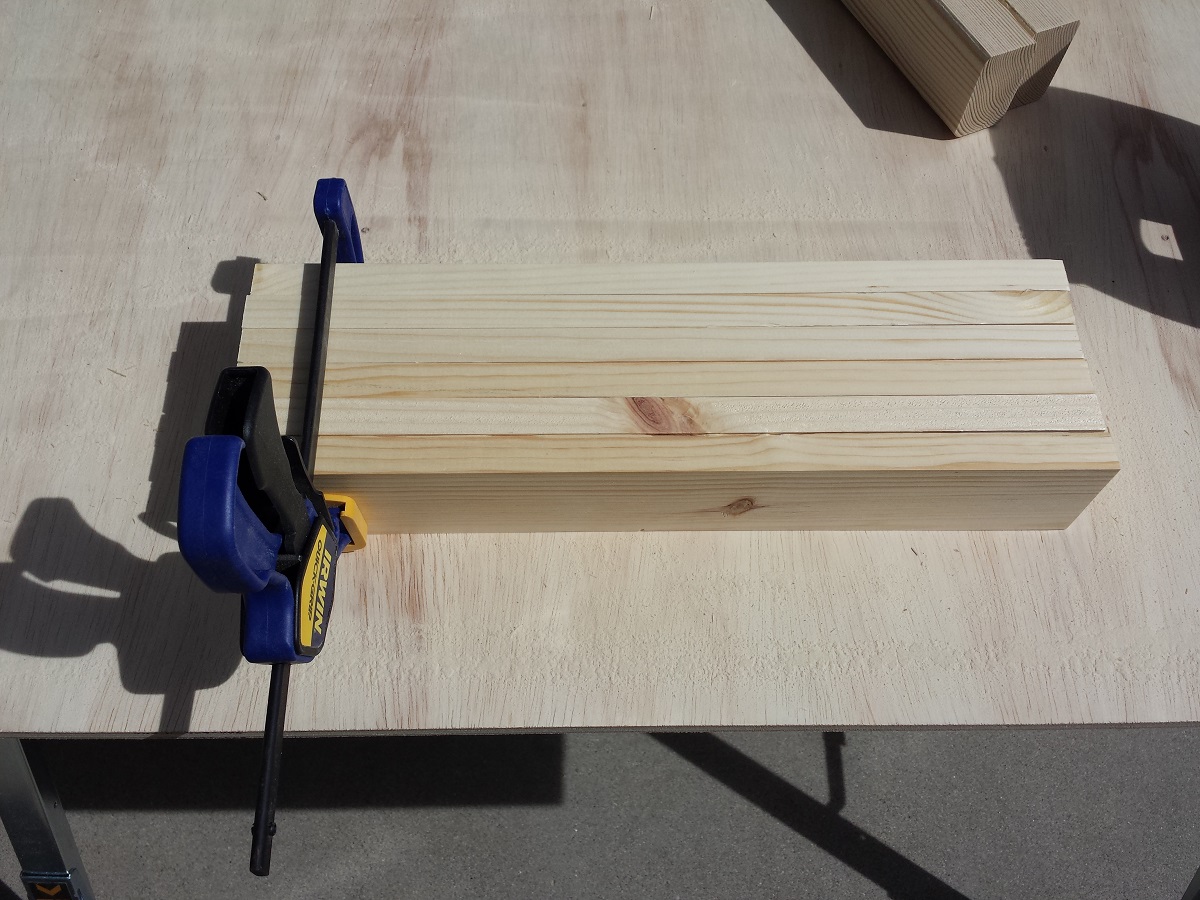
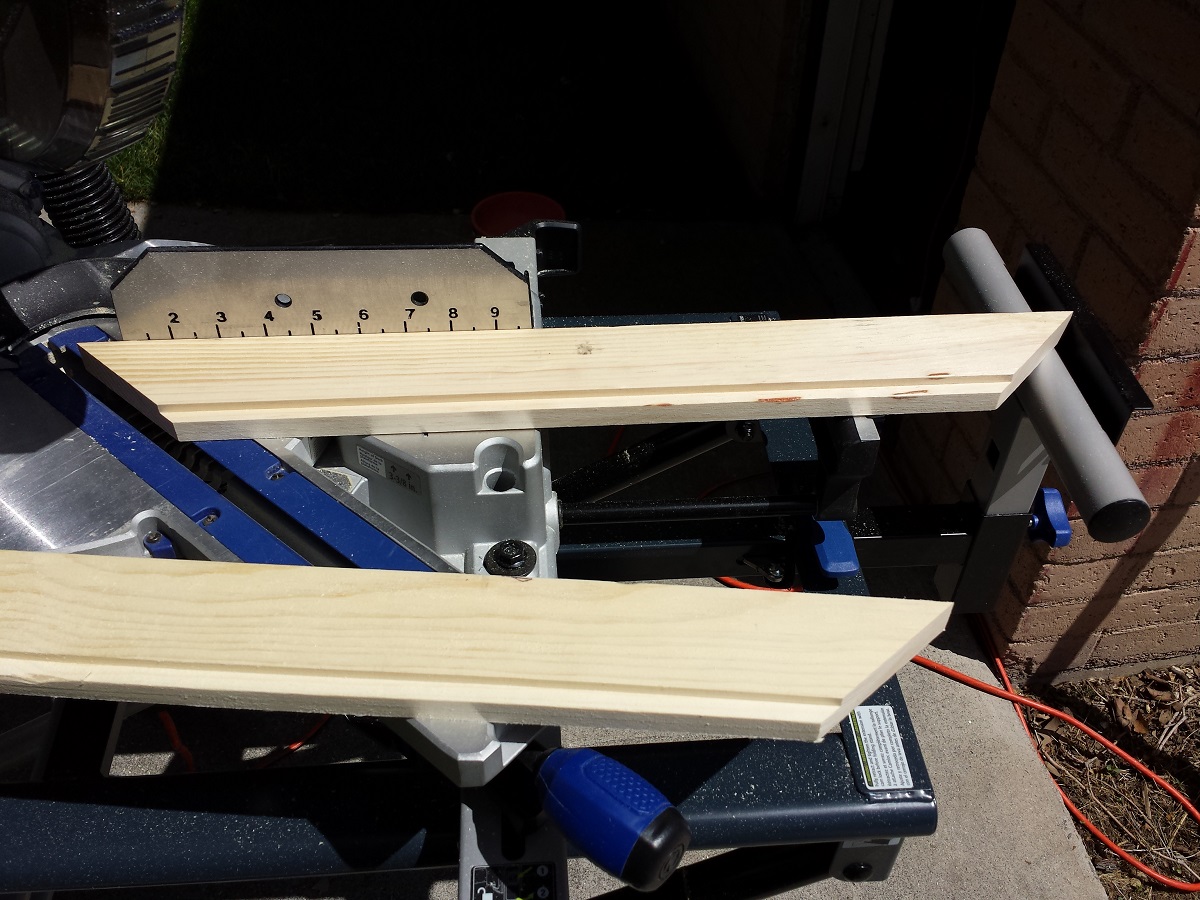
I started by sanding all boards down. This isn’t a must do, but for some reason I always forget to sand a certain spot after everything is together, and it becomes a problem after I am halfway done finishing the project. Plus, it also makes it easier as the boards are in 1 piece so I can get more done in a quicker fashion. If you notice, I will sand multiple boards at once (I’m lazy). I clamp them down and go over them with my cat sander or hand sander. When necessary, I will also use my belt sander, which I did on the side edges.
The picture below isn’t from this project, but I sand the edges of multiple boards the same way. Again, it saves me time, and when I use my belt sander, I can get the boards to an even size quickly (I don’t have a table saw or jointer).
Creating a rabbet
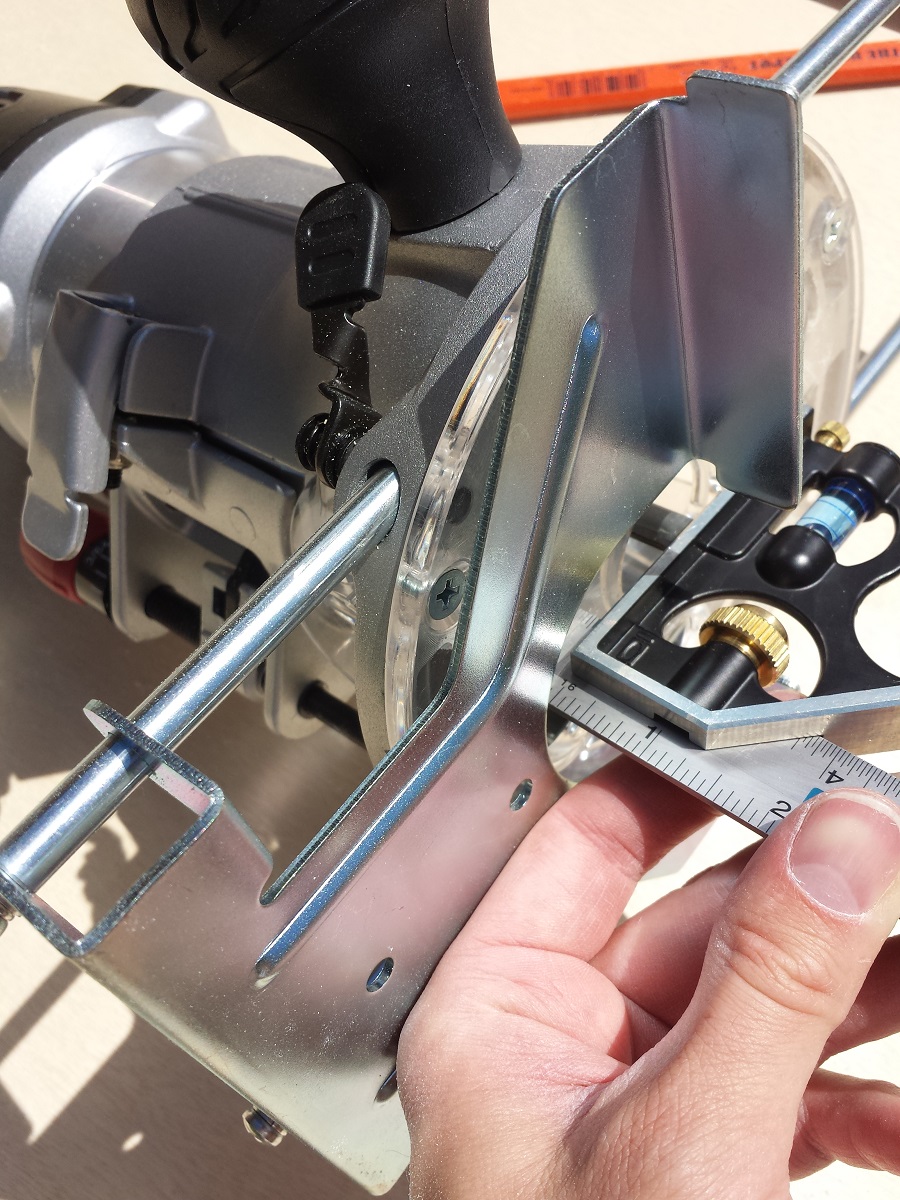
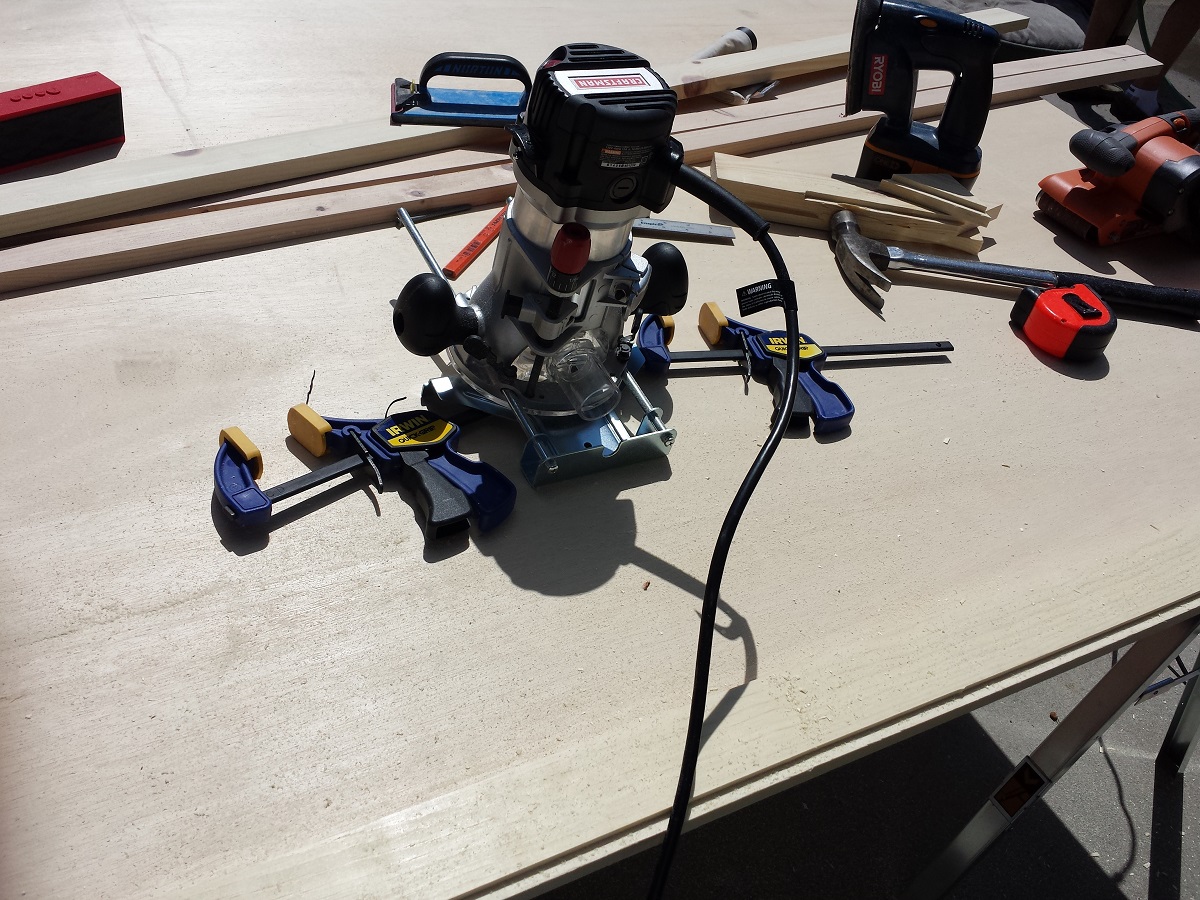
This was my first time ever using a router, so I spent some time doing a couple of practice routes first. I used a 3/8″ straight bit and, using my combination square, set the depth I needed specifically for my backing material plus the Plexiglas and artwork. I set my edge guide and rabbeted an edge on both 1×3 boards. I followed the rules of routing and made sure to route from left to right (counter clockwise) while the board was clamped down to my workstation. I figured it would be quicker and easier to do this only twice than to do it on every cut. Because I mitered the corners, I could get away with doing it first, but if I was doing half-lap or butt-joints I would have had to do it after the cuts were made.
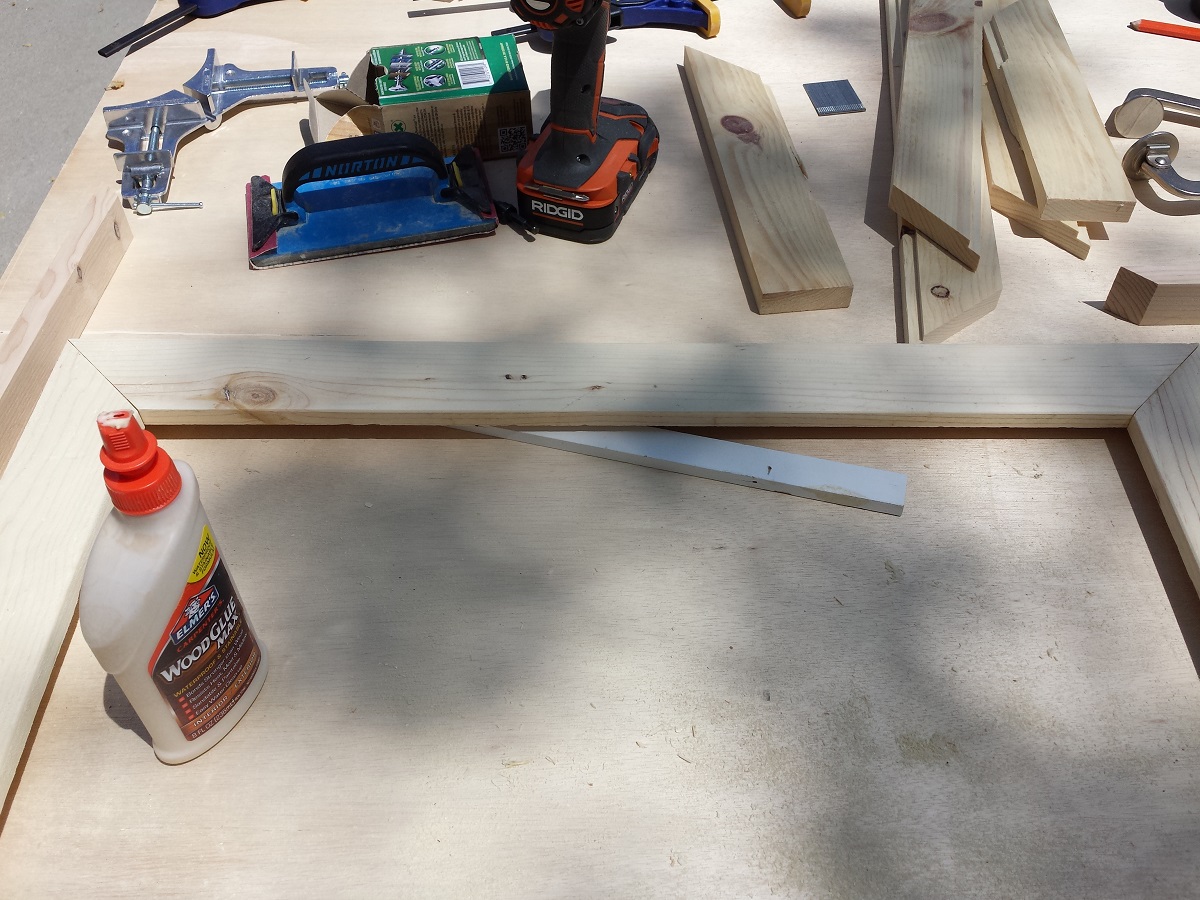
Measure twice and cut once
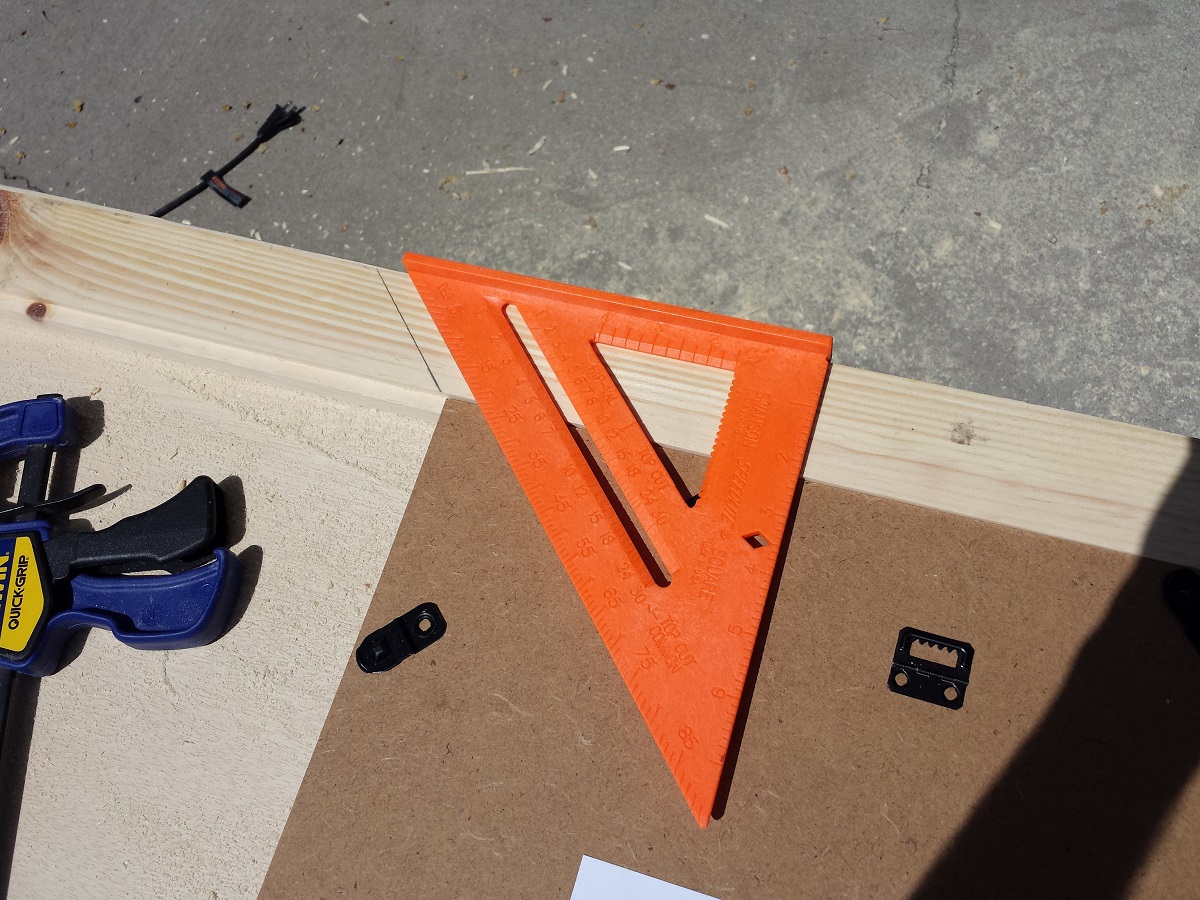
Being that I didn’t have plans to go off of, this was the most important step. If I messed this up the whole project would more than likely have to be scrapped. Well, technically, the project wouldn’t have to be scrapped, but it would mean a run to the lumber store, and I desperately wanted to avoid that (more on this later). First, I mitered 1 corner of a board. Then, in order to get the frame to fit my artwork perfectly, I removed the backing from the existing frame and put the backing in the rabetted edge with the mitered edge running to the corner of the backing. I used my speed square to mark the next cut, running the line right to the edge of the frame backing. I cut the next miter and ensured that it fit the backing. It fit perfect, so I set my stop on my miter saw stand and duplicated the cut. I didn’t want to have to keep moving my miter back and forth for each cut, so I flipped the board over. Because of the rabbet I knew which end was front and back. This saved me quite a lot of hassle having to adjust my miter from -45-degrees to +45-degrees. I did the same process for the long ends of the frame as well. Before I went further, I distressed the boards and sanded them down again as it would have been difficult to do once the frames were built. You can read how I distressed them here.
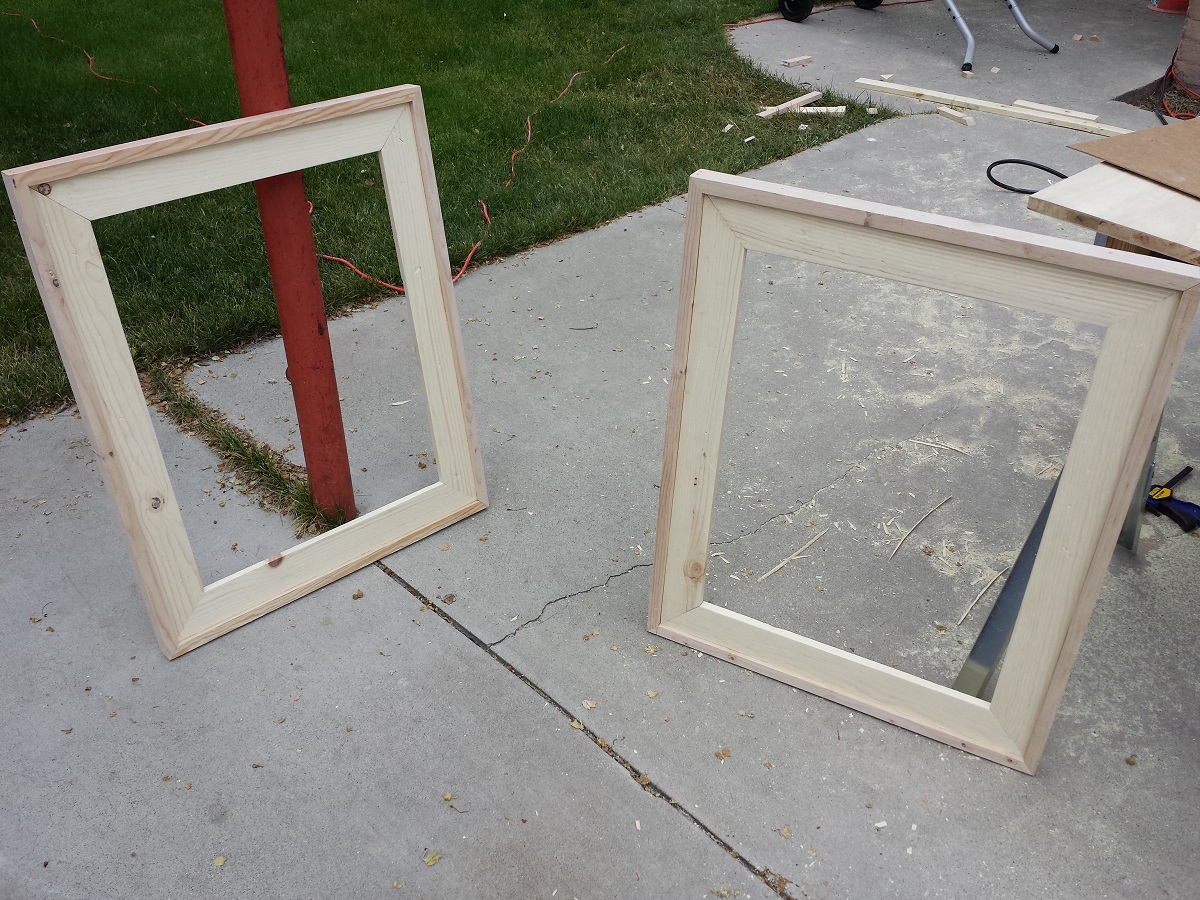
Mock-up
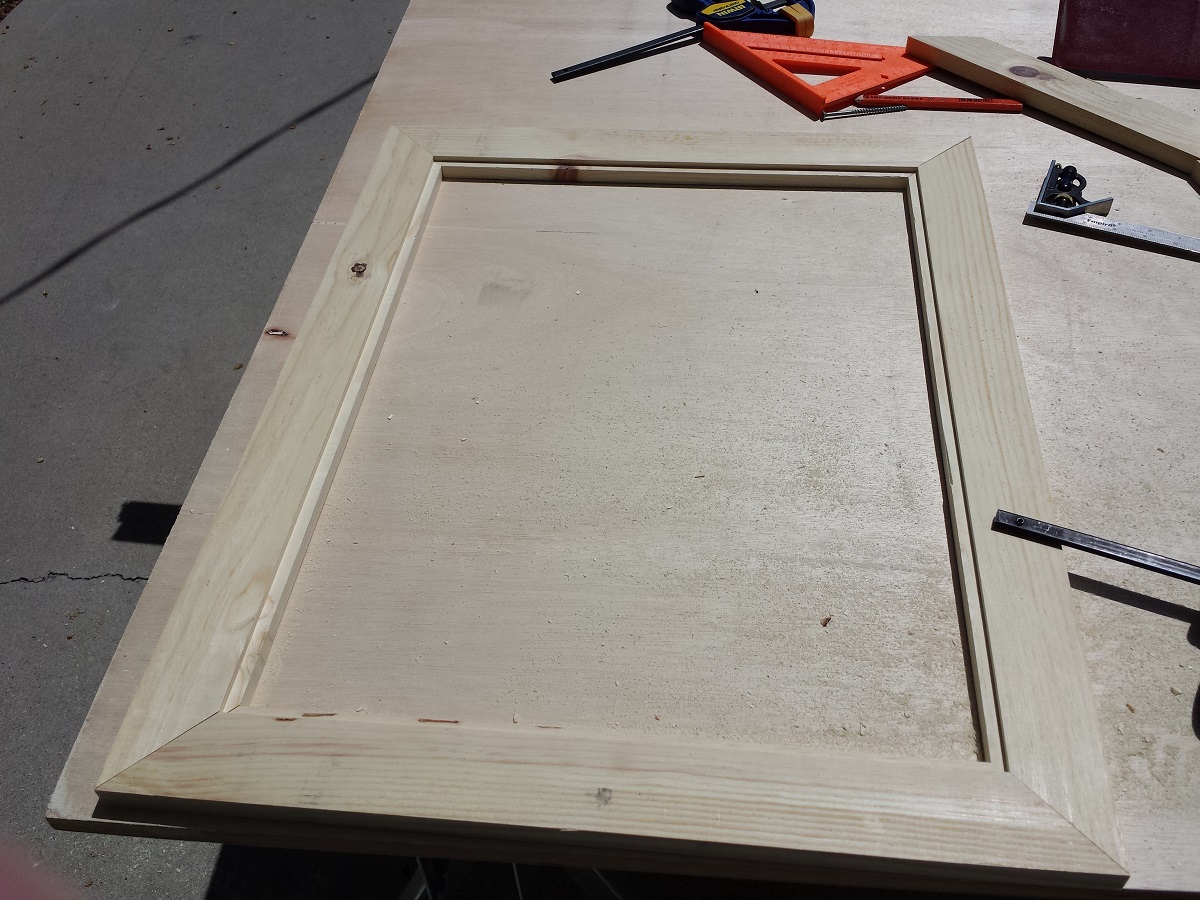
Now it was time for the moment of truth. If I measured correctly, everything would fit perfectly. To my surprise, everything fit like a glove. It was square, my miters fit together seamlessly and it was all square. It was at this point I danced in my yard like I was Sandra Bullock in the Proposal (from the window… from the window… to the wall… to the wall…). Admit it. You just sung the chorus as you read that didn’t you? Oh the neighbors must love me!
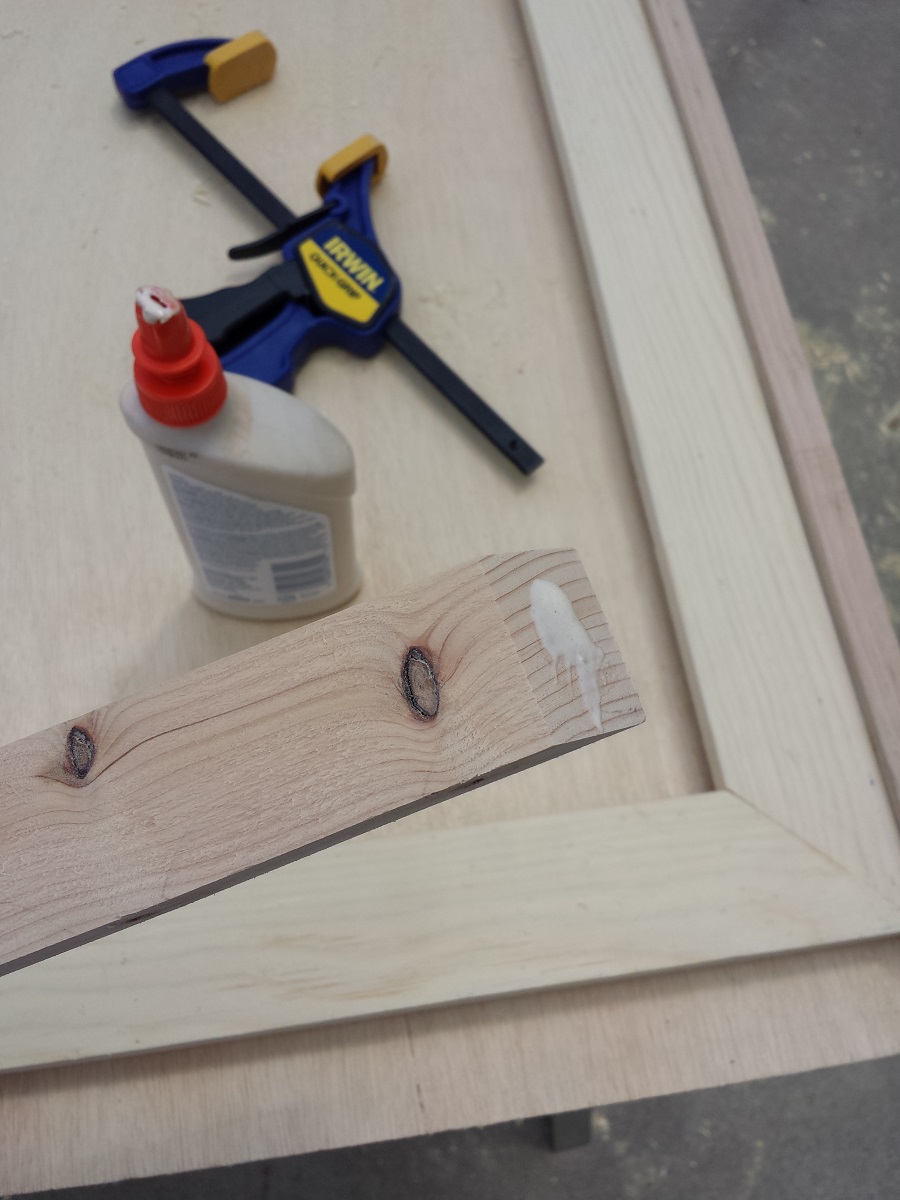
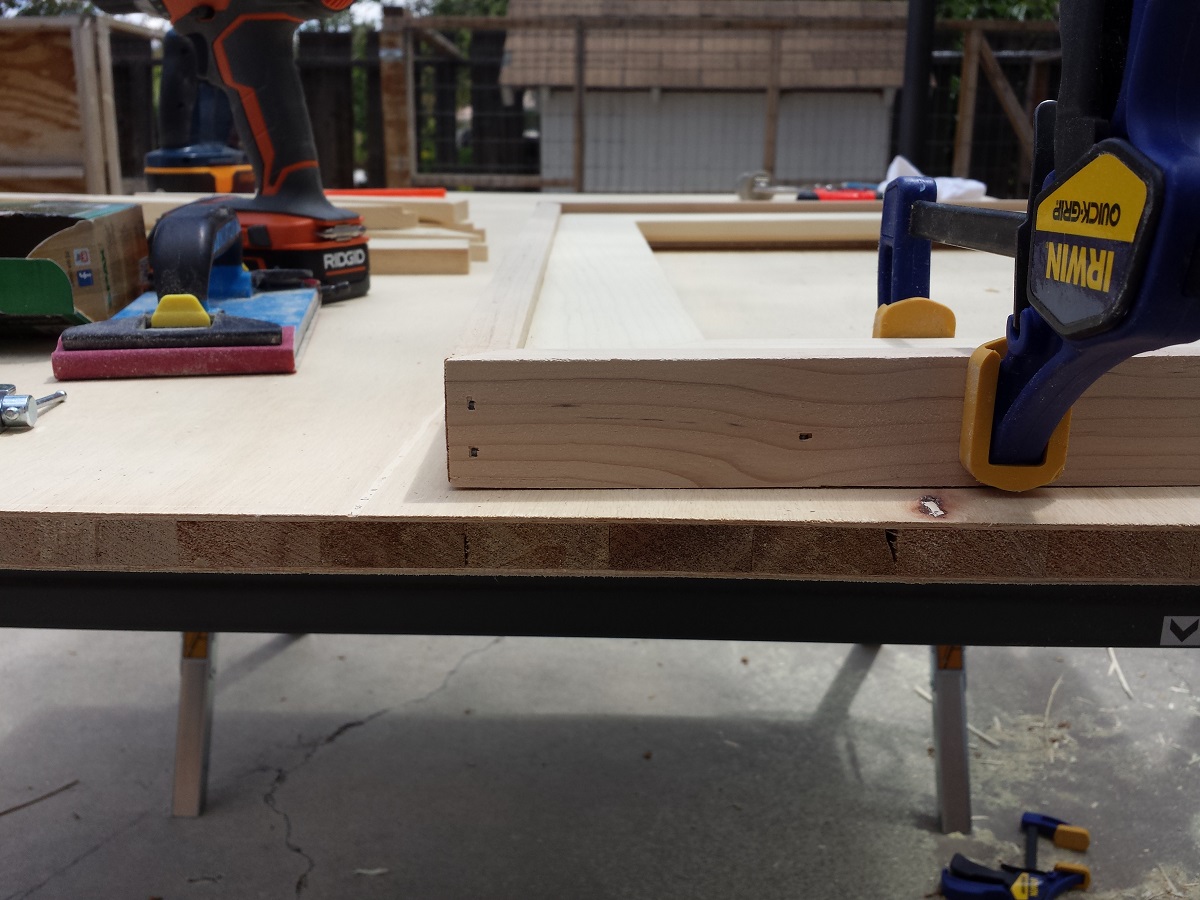
Glue, nail and screw
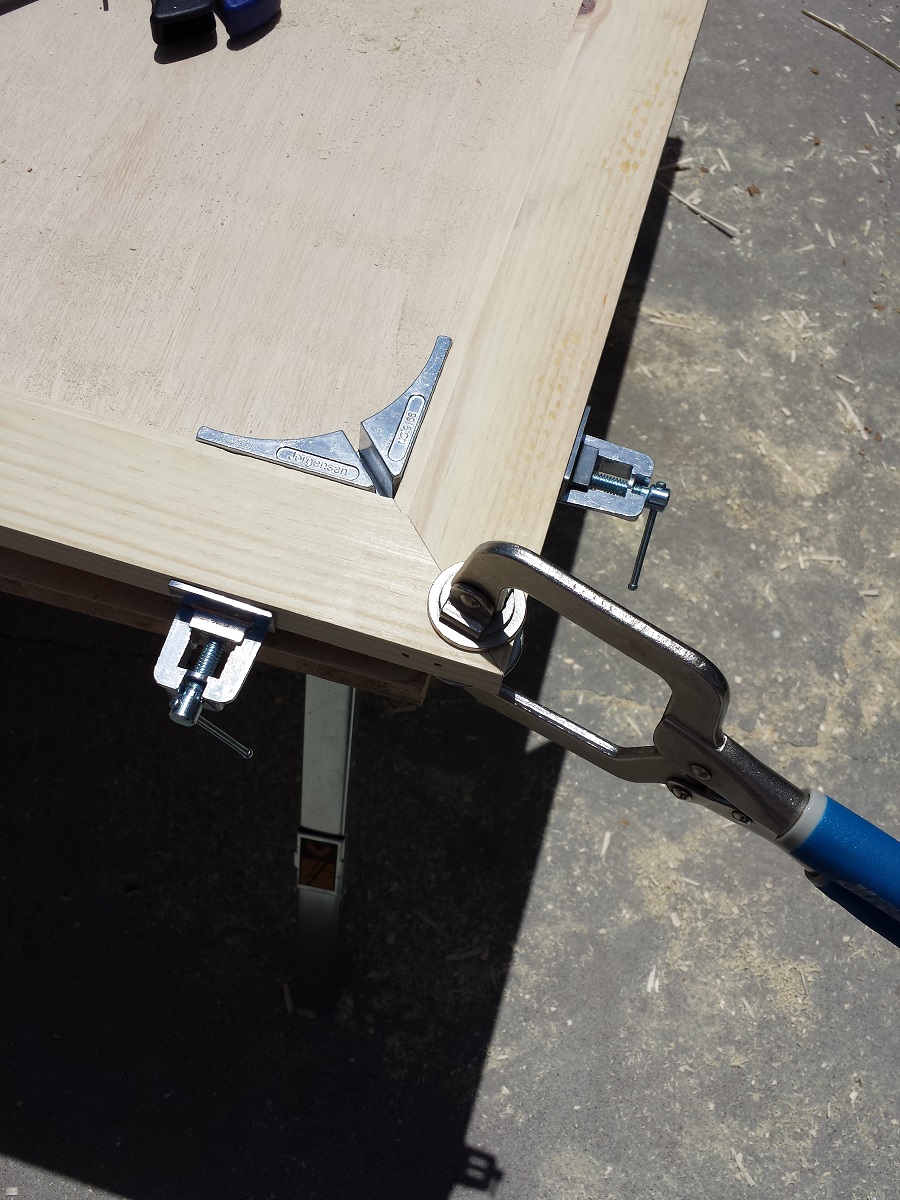

I put some wood glue on each miter and originally I tried just using 2″ finish nails from the top and side, but the frame still seemed fairly flimsy. I decided to add a 2″ screw from one side to pull everything together. I used a counter sink bit to pre-drill to prevent splitting and keep the screw head flush. I then used 2 nails on each side as well. The frame was extremely strong at this point. You’ll also notice I used a square clamp. This was the first time I ever used one of these, and I’m glad I did. You can find them at Home Depot and Lowe’s for around $10 each. I only needed 1 clamp for the project.
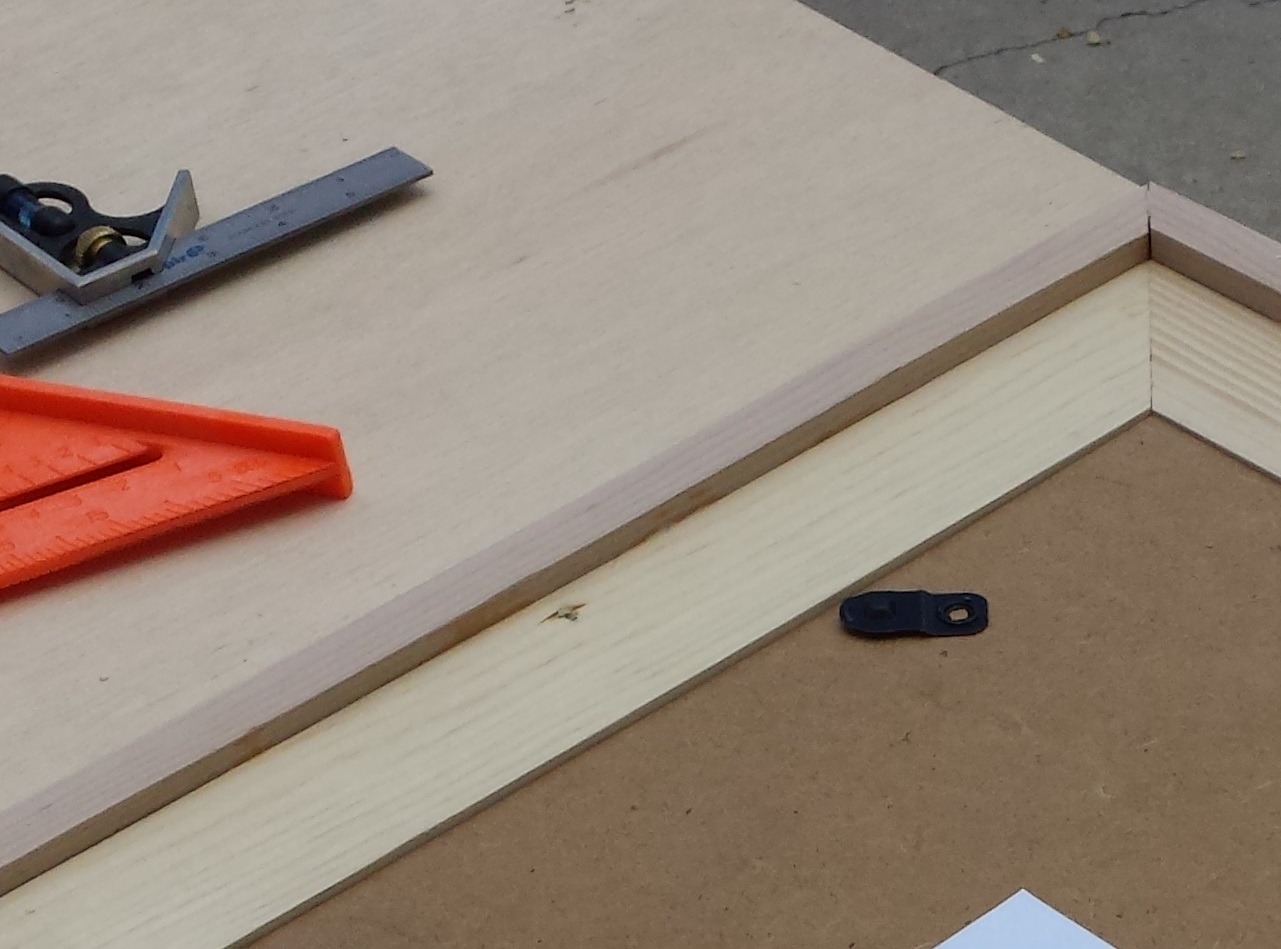
Add the trim
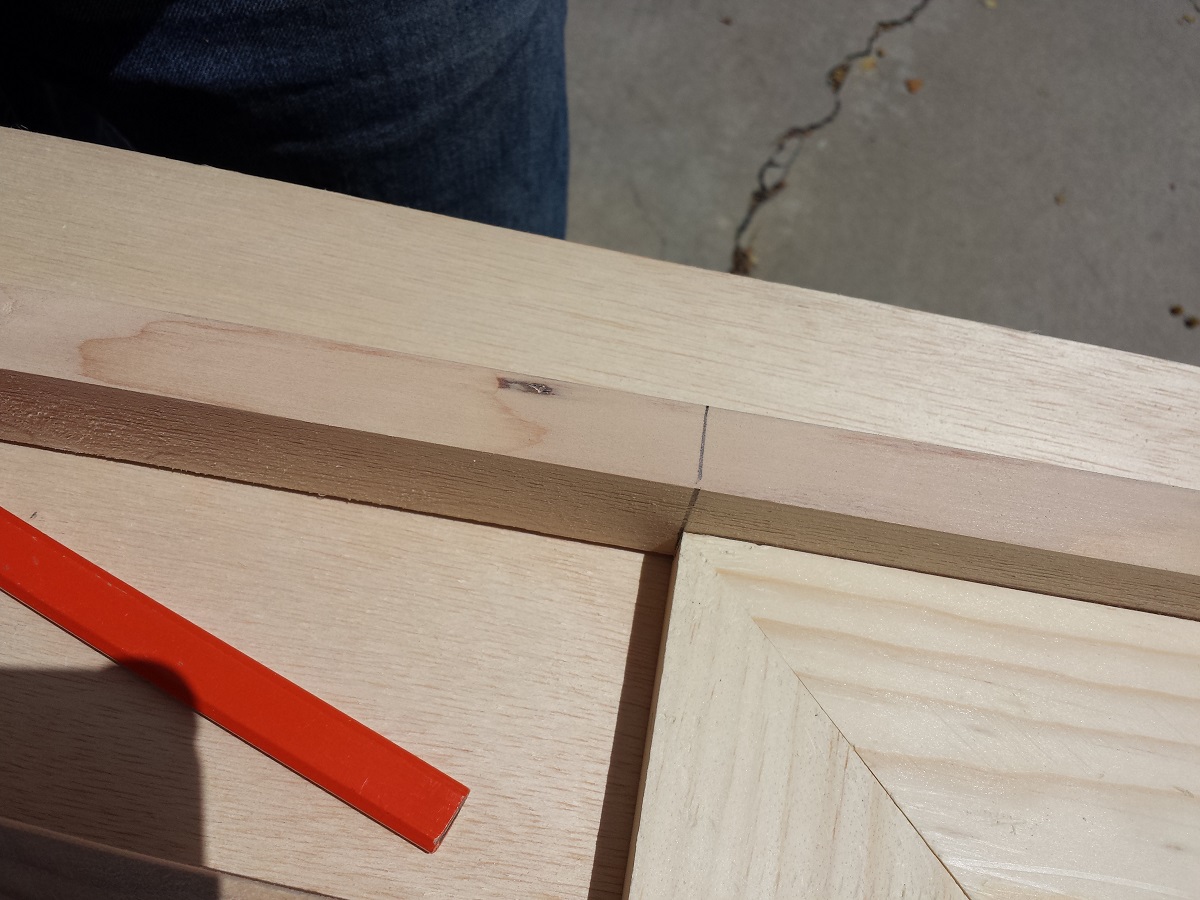
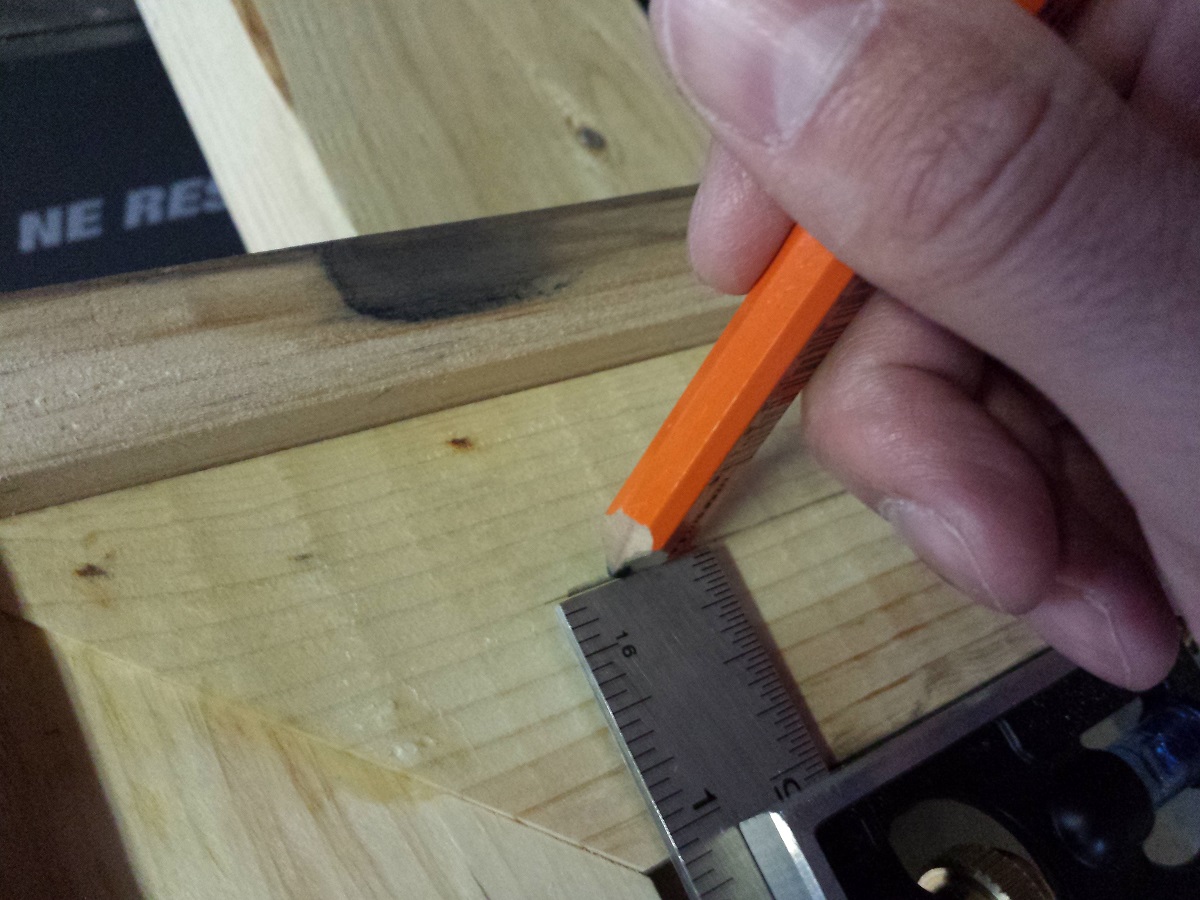
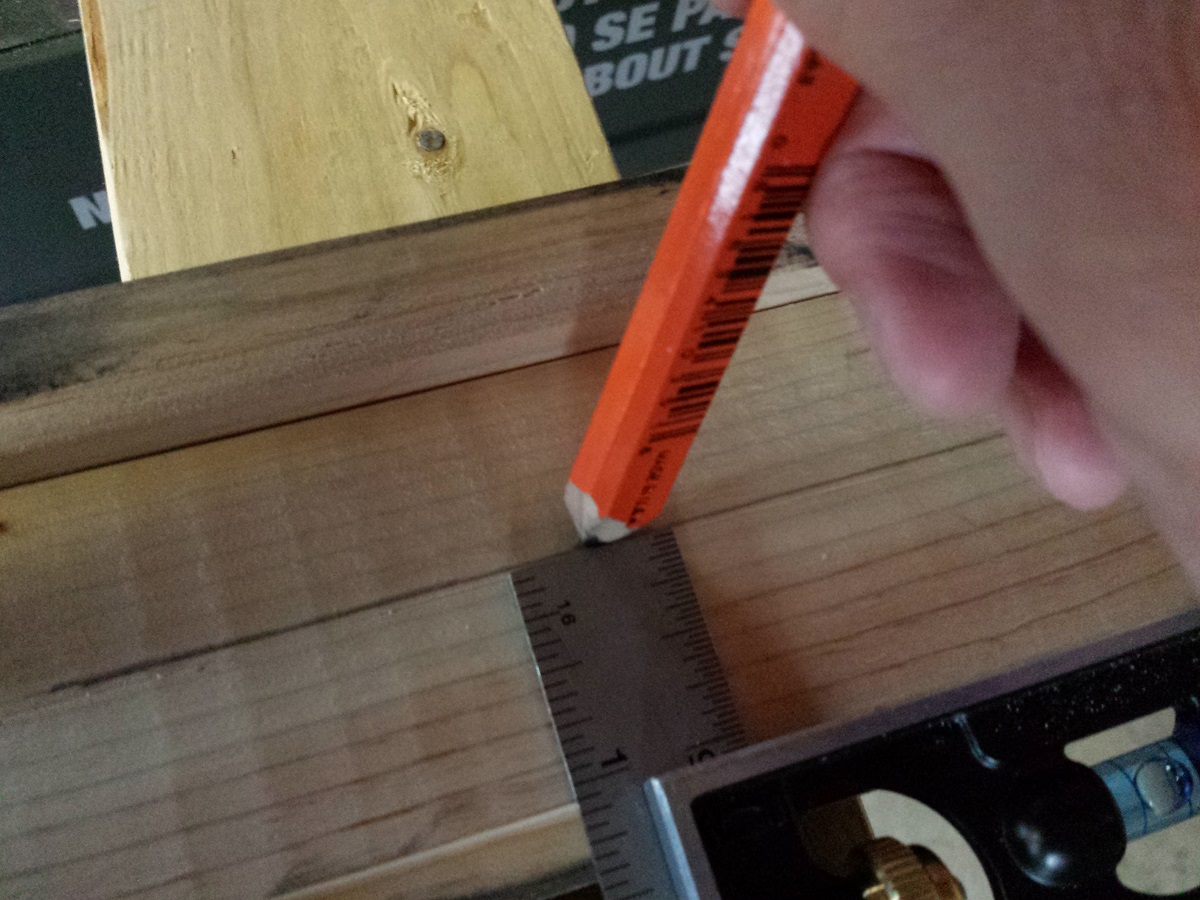
To make the trim surrounding the frame, I marked the edge of the frame to the board. I used my combination square to carry the line over to the other side. This line is when the miter will end so the miter starts above line. Again, I set my miter saw stop and duplicated the cut. As I mentioned before, I didn’t want to have to keep moving my miter back and forth for each cut, so I marked the one side of the board so I knew which was the back (see picture above, right). This way I could just flip the board over. The key to remember about this is that none of these miter cuts should be parallel. If you notice your miter is going to be parallel, stop.
Putting it all together
I used some scrap trim the happened to be 3/8″ thick. This acted as the perfect spacer. I put a spacer underneath each side of the frame and glued the frame edge I was working on. Then I glued the miters of the trim and clamped the trim to the frame.
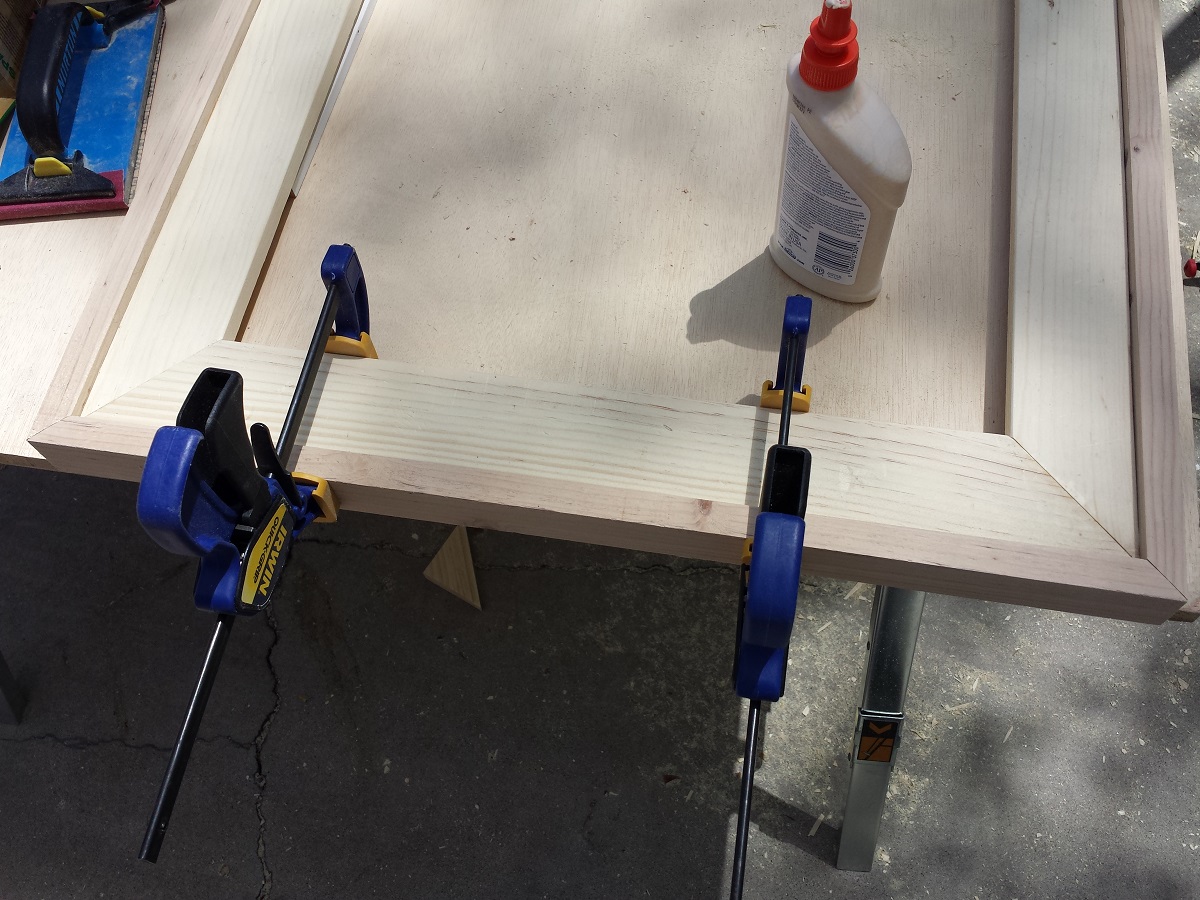
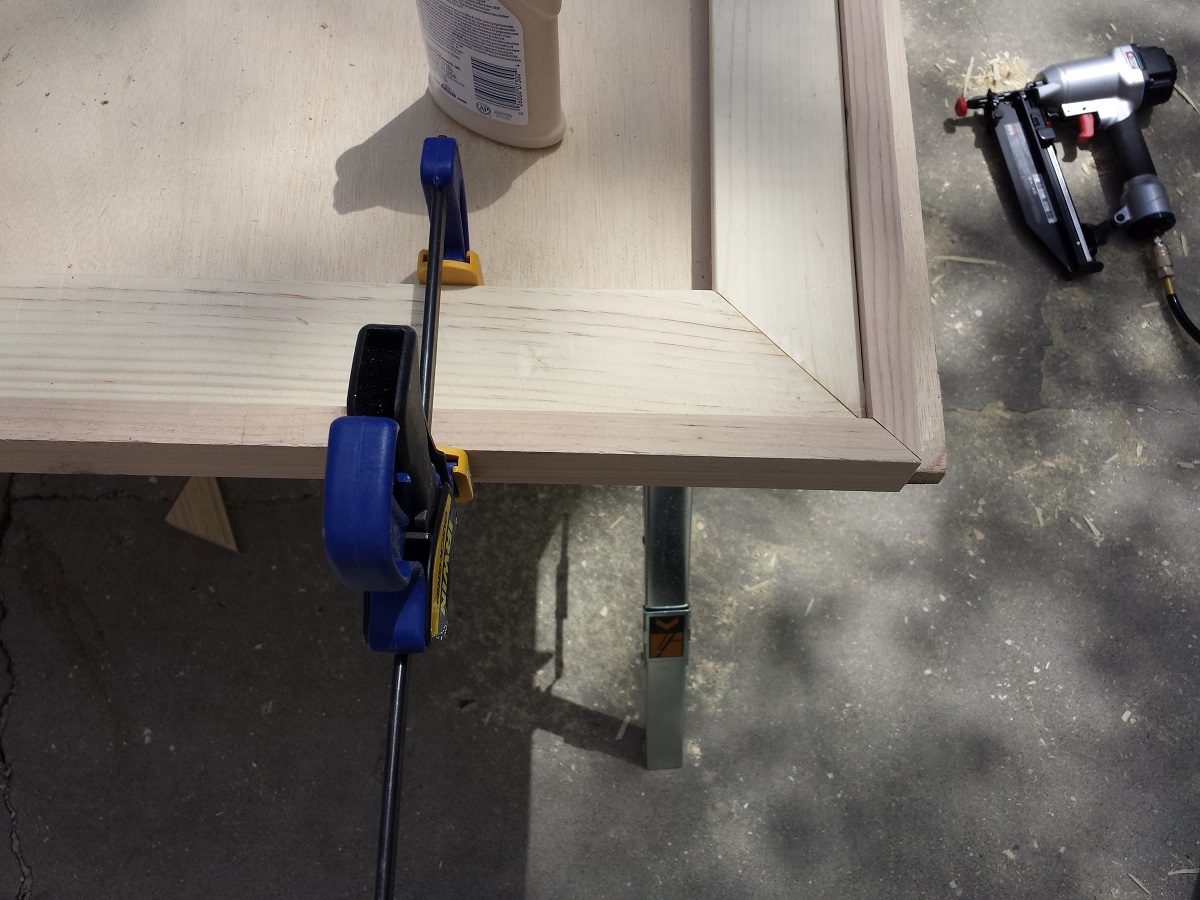
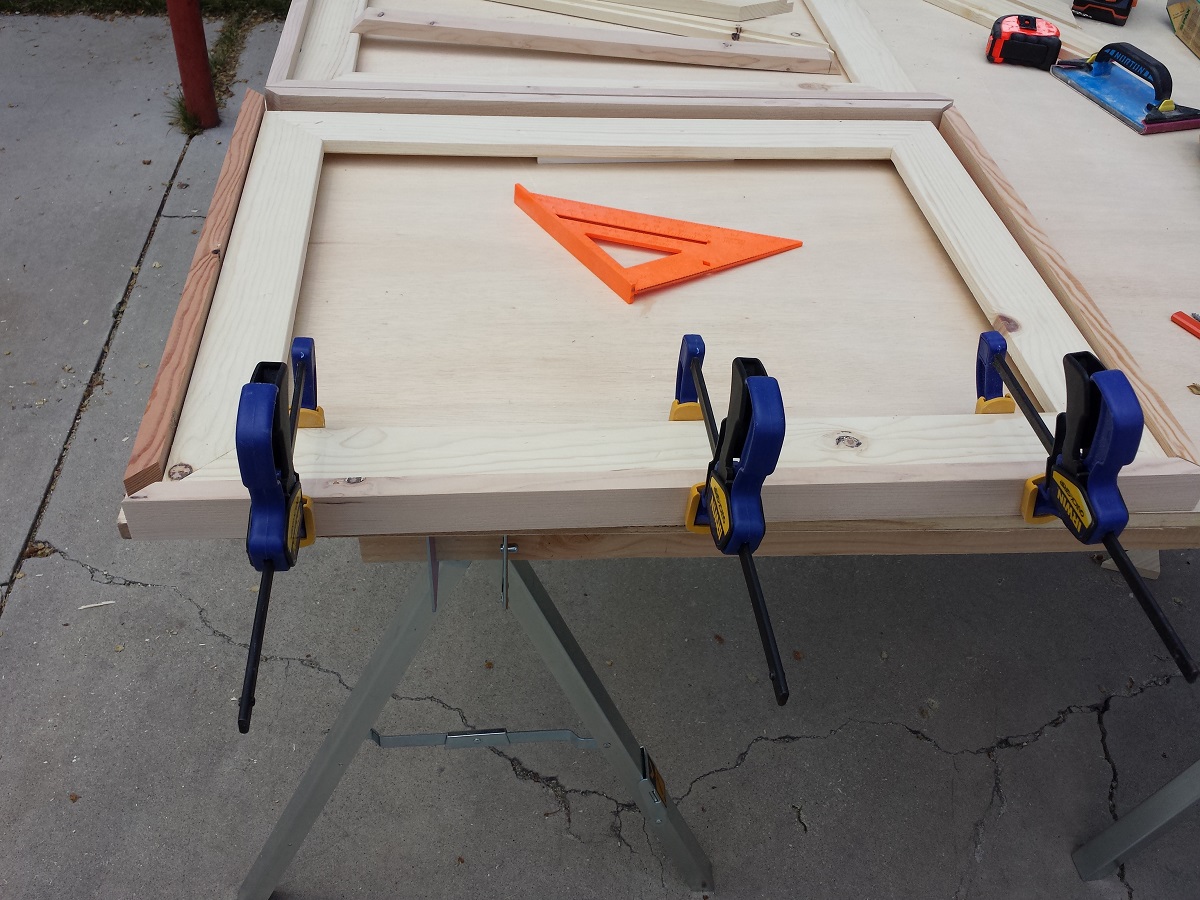
I worked on side at a time. In the last photo you can see the spacer still underneath the frame. This really made it easy as I could keep the trim flat to my workspace.

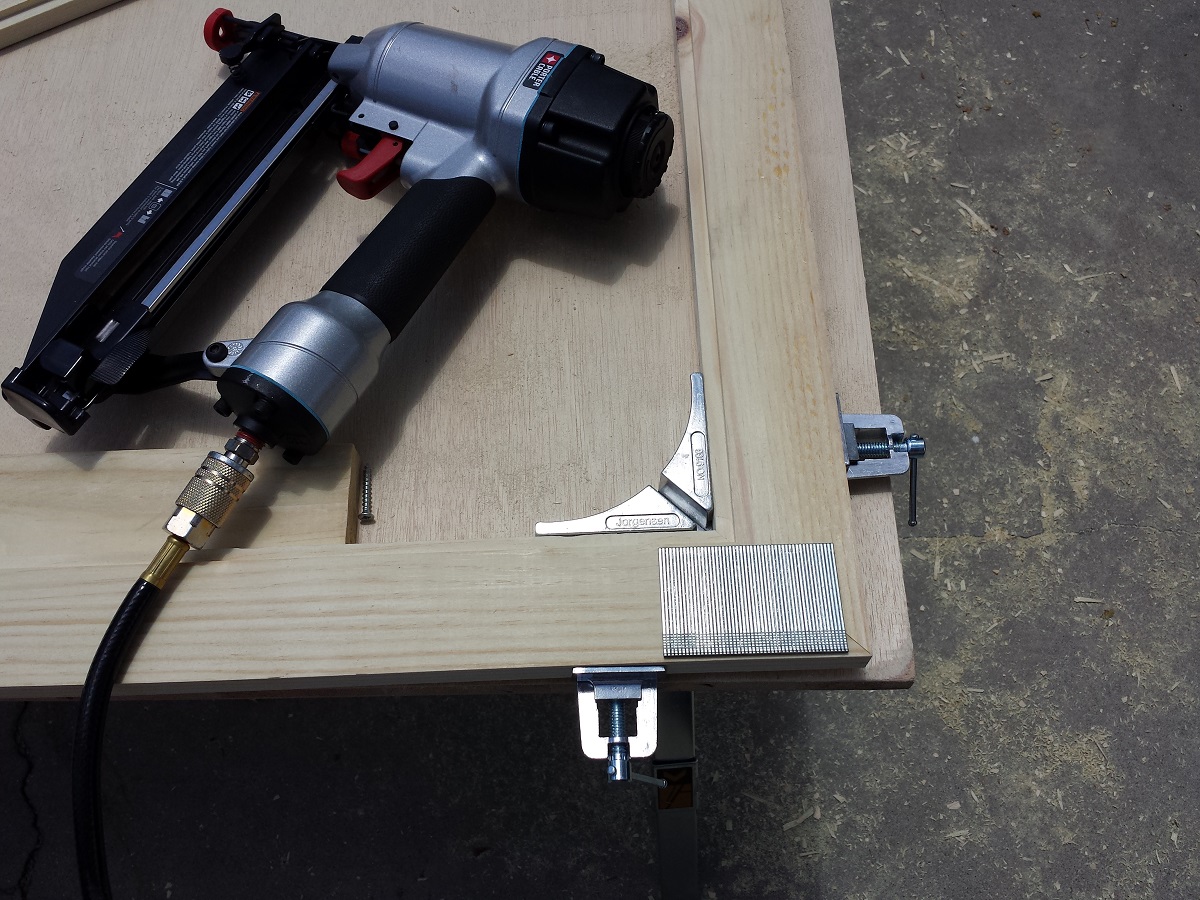
Using 1 1/4″ finish nails, I made sure to place two nails in each miter joint, followed by 3-4 nails in to the frame itself. This proved somewhat tricky as I blew a couple of nails through the back of the frame.
After playing around with the angle, I realized that I could rest the tip of the finish nailer on the workbench and it would place the nail perfectly in the frame. This is why those spacers came in handy. I didn’t have to try and hold the frame in the exact spot, or worry about putting a nail in my hand. Of course, the clamps would have done this as well.
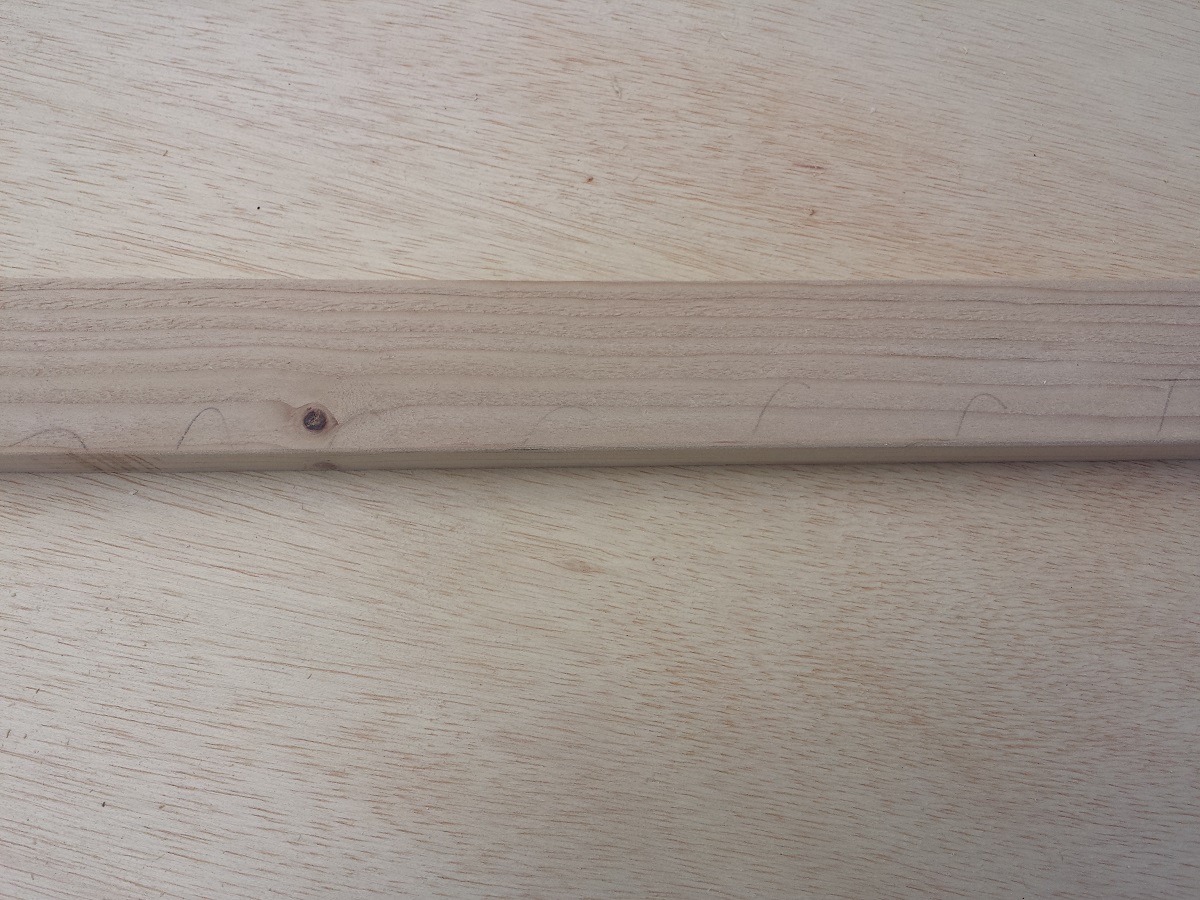
Ready for the next step! I went ahead and stained the frames prior to the next step. You can find how I distressed the boards here. This is what they looked like up close:


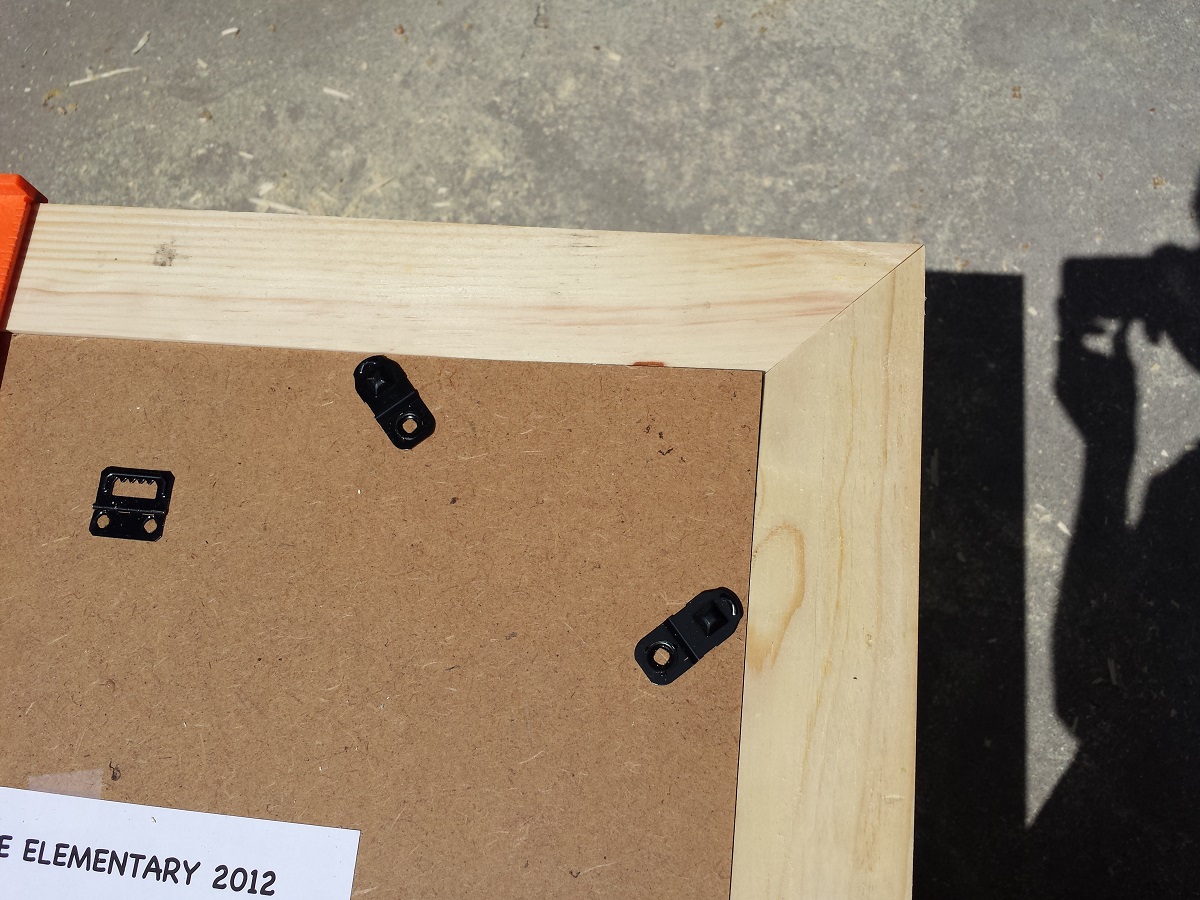
Attaching mounting brackets and hanging wire
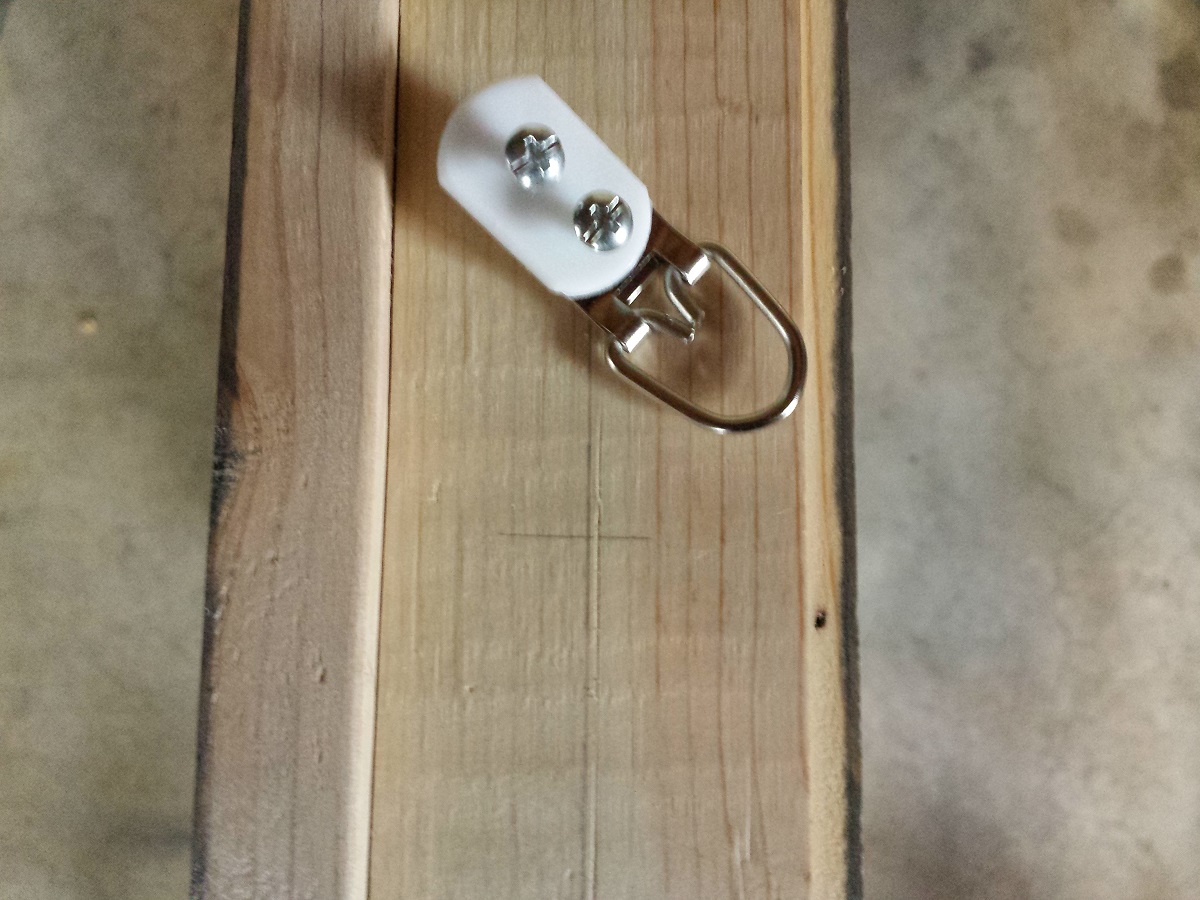
This project was full of firsts. First time using a router, first time using square clamps and the first time using hanging wire. I measured 1 1/4″ (half of the board) and used my combination square to scribe a line down the side of the frame. I also marked a “t” about 6 inches down to ensure the brackets would be attached straight across from each other.
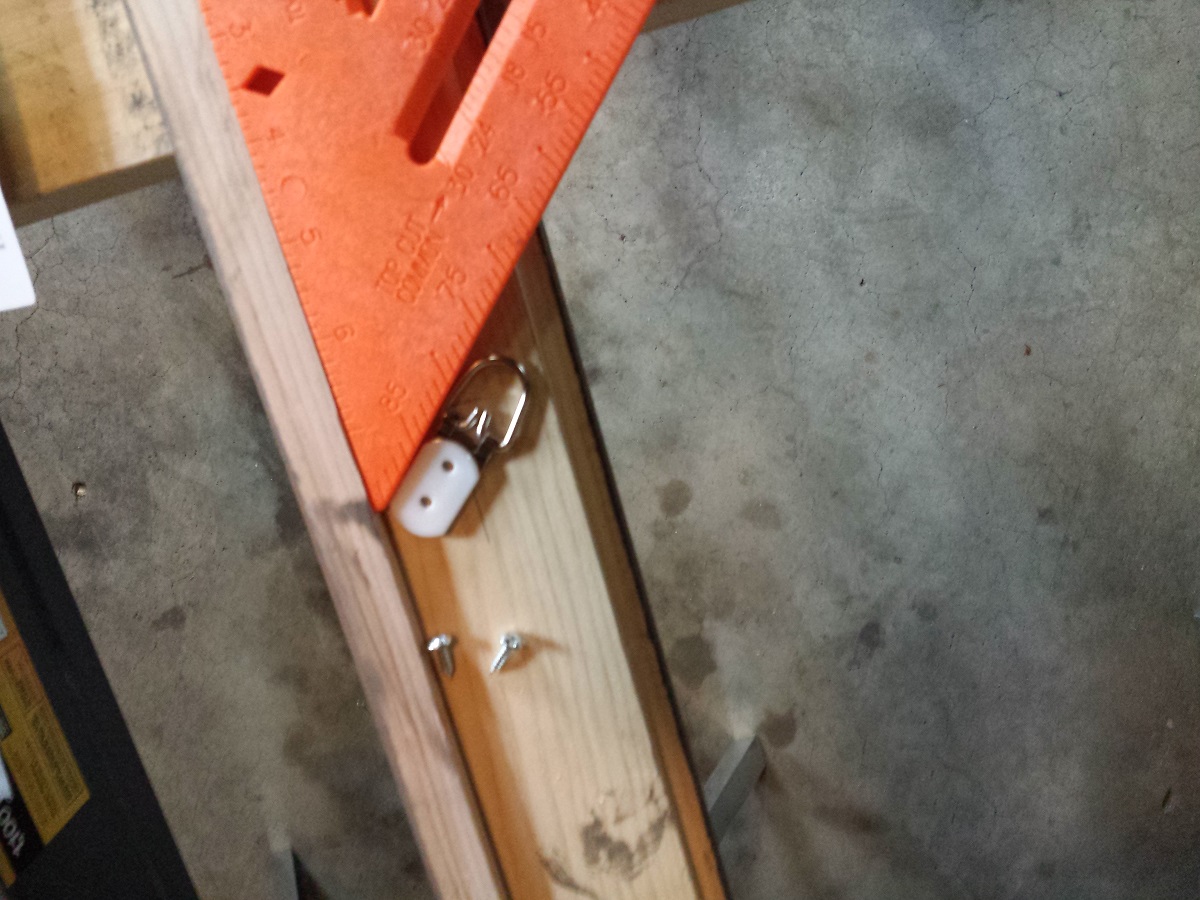
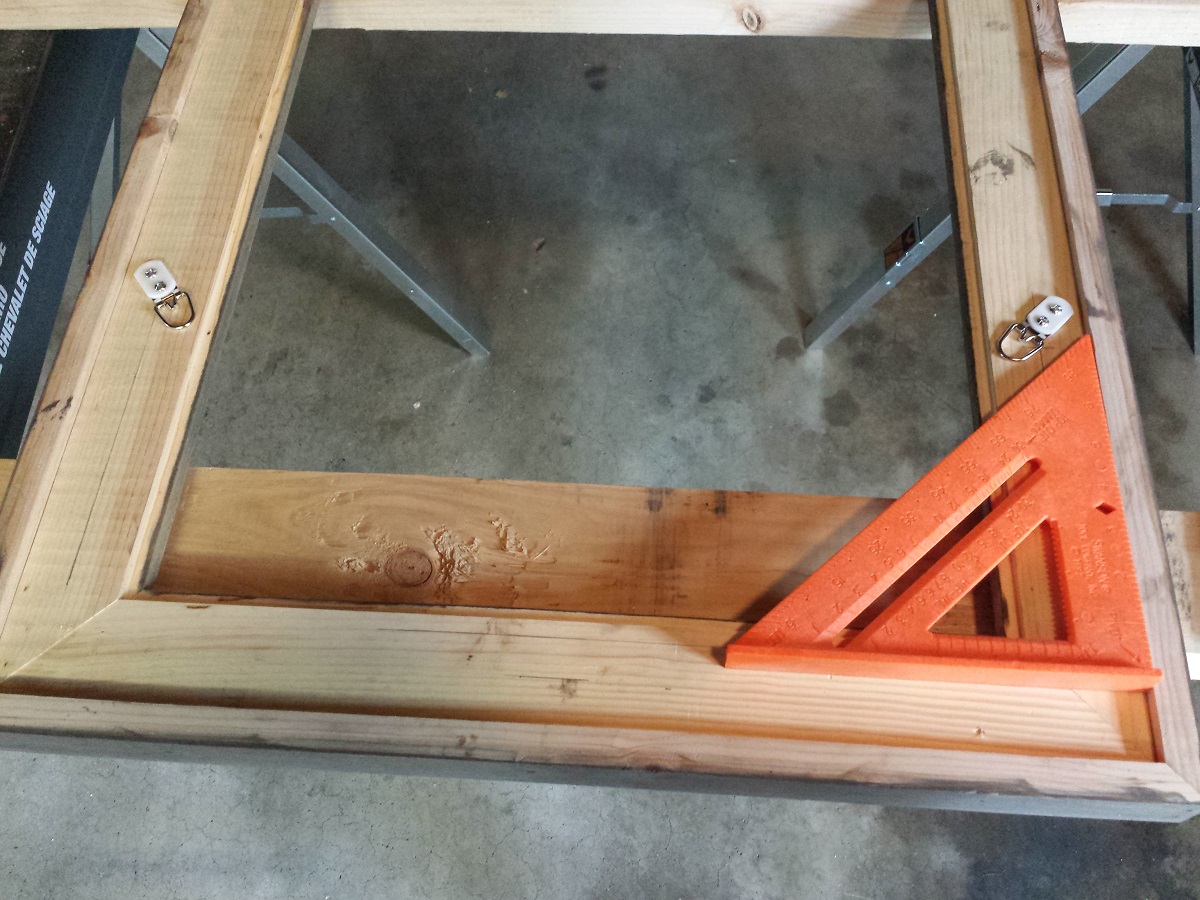
I wanted the mounting brackets to be angled so I broke out my combination square to ensure a 45-degree angle for no other reason than I wanted it at a 45-degree. Yes, I am that anal.
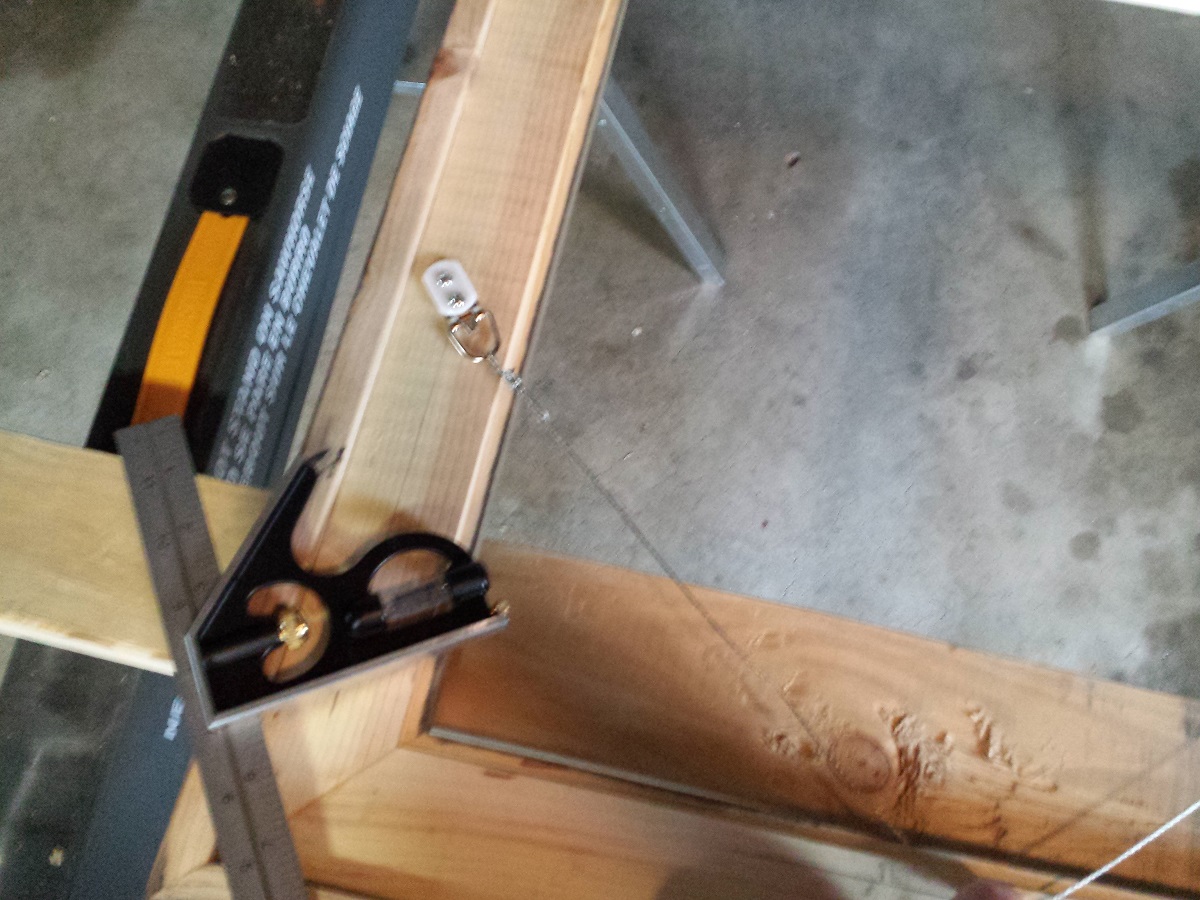
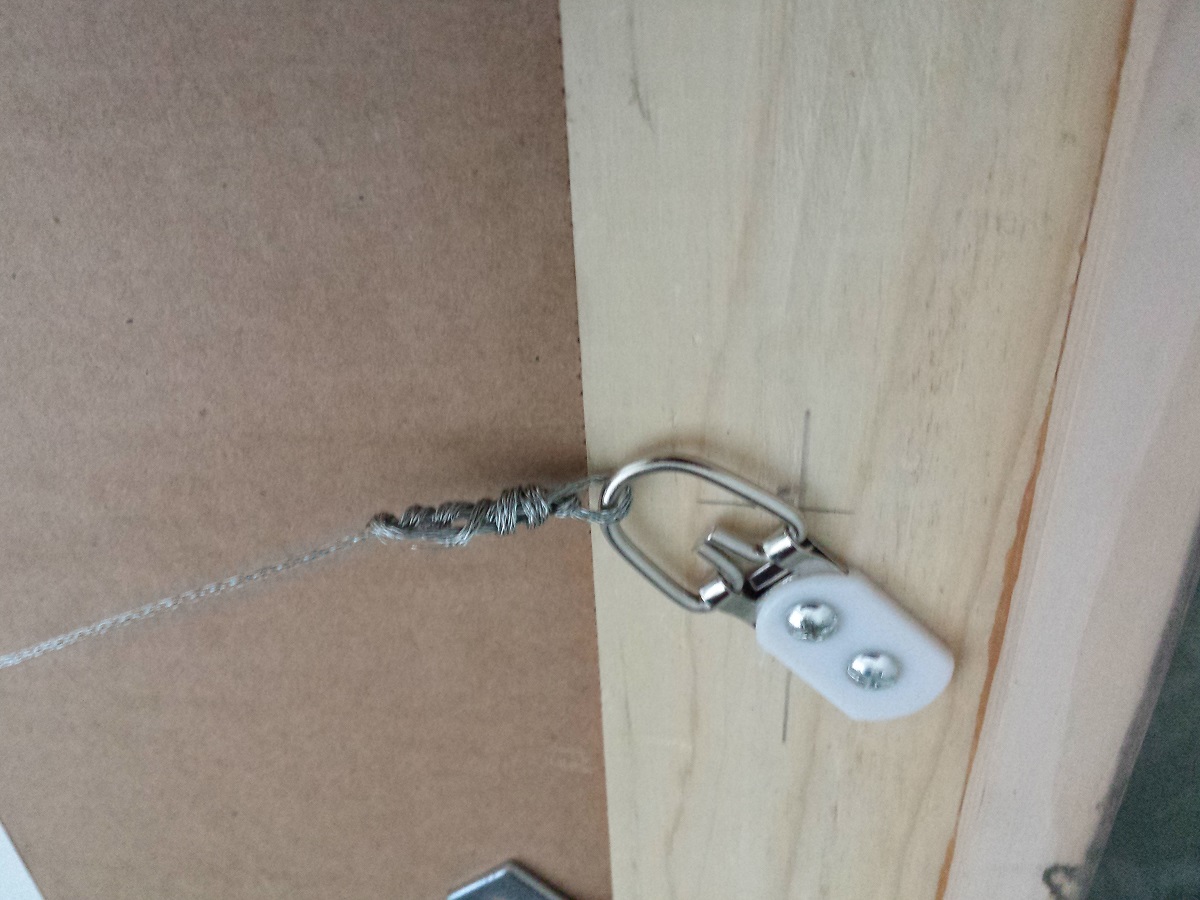
Following the instructions on the hanging wire, I made sure to leave enough slack and attached it to the mounting hangers as directed. And then because I was scared to death that this thing would release in the middle of the night and crash down on my head when I’m sound asleep, I taped it with electrical wire as an additional precaution.
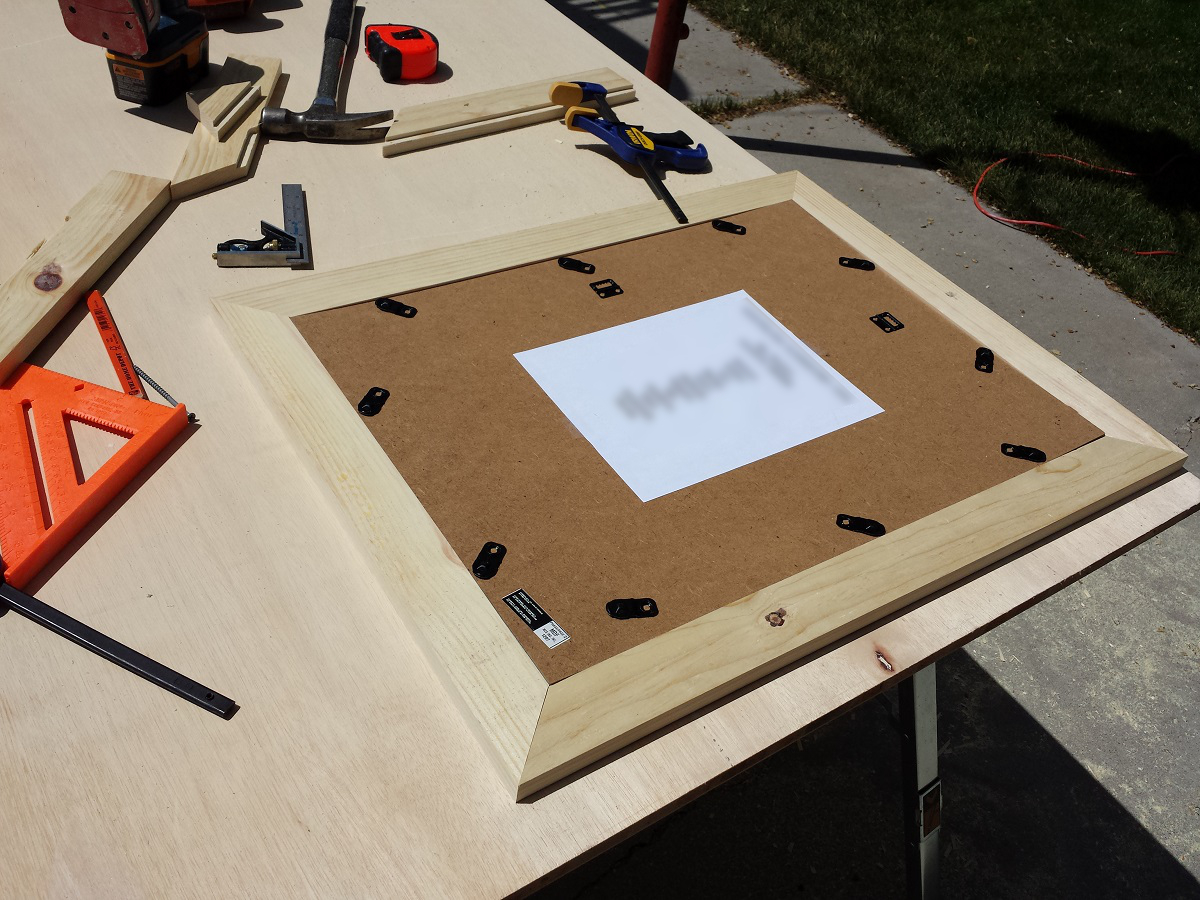
Securing the back
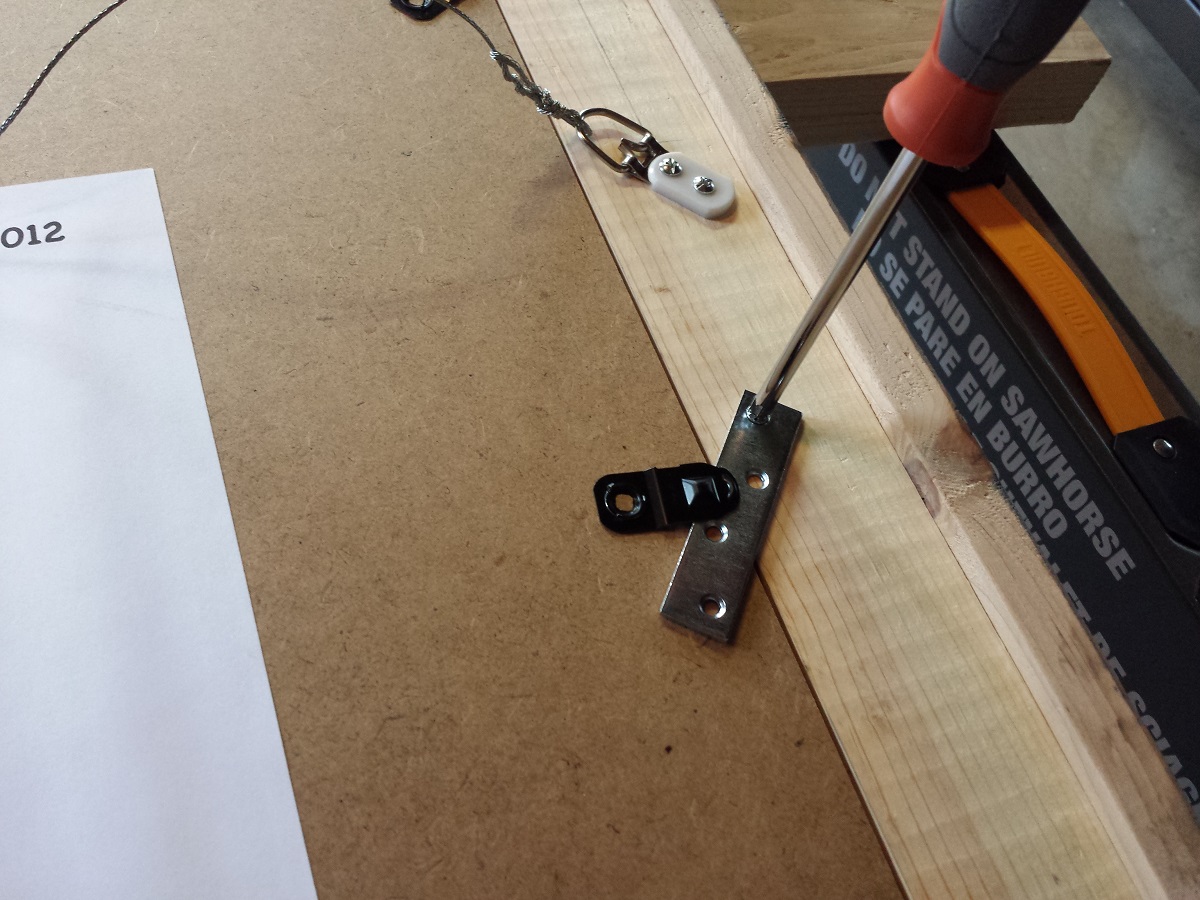
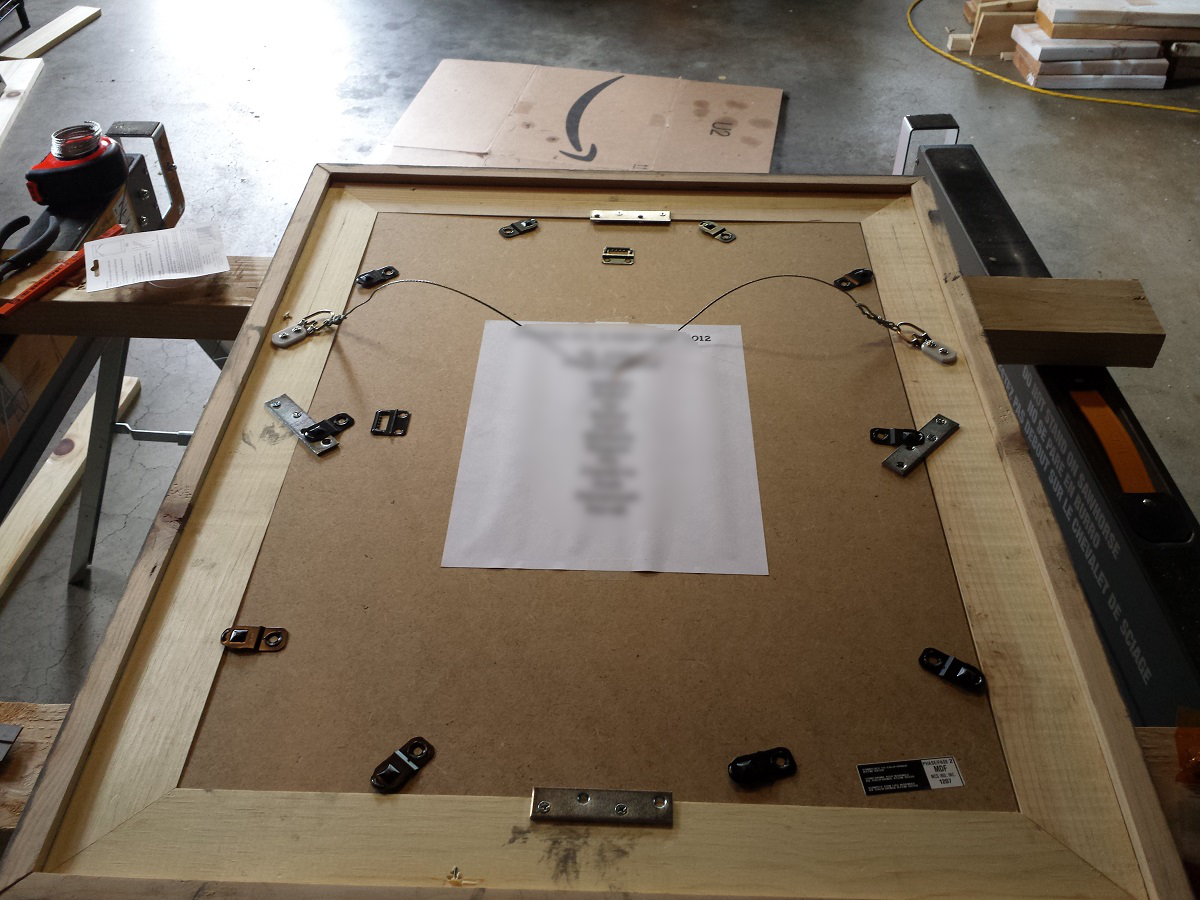
To secure the back I used cheap brackets I got at Home Depot. They came in a pack of 4 and were only about $1.99. I used 1 on each side. The back tabs that came with the backing of the original frames was pretty handy as I could swivel them over the bracket. Unfortunately, only 1 of the frames had these. The other was just a cardboard back. What the??? I made a back out of some scrap 1/4″ plywood.
I let them sit in the garage overnight so that the odor would subside and I hung them up the next morning.
The Plans:
Click here for a downloadable PDF
Materials Needed:
- (2) 1x3x8- You could get away with (1) 1x3x8 if you have a scrap board approximately 24” long
- (2) 1x2x8- You could get away with (1) 1x2x8 if you have a scarp board a little longer than 24” long
- 2” finish nails
- 1 ¼” finish nails
- 1 ½” screws
- Hanging Wire
- Mounting brackets
- Backing (if needed- 2×4 ¼” sheet of plywood)
- Wood glue
- Sandpaper
- Finishing supplies (stain, paint, etc.)
Tools Needed:
- Power Drill
- Miter saw
- Router
- clamps
- square
- measuring tape
- pencil
- safety gear (hearing protection, safety glasses, etc.)
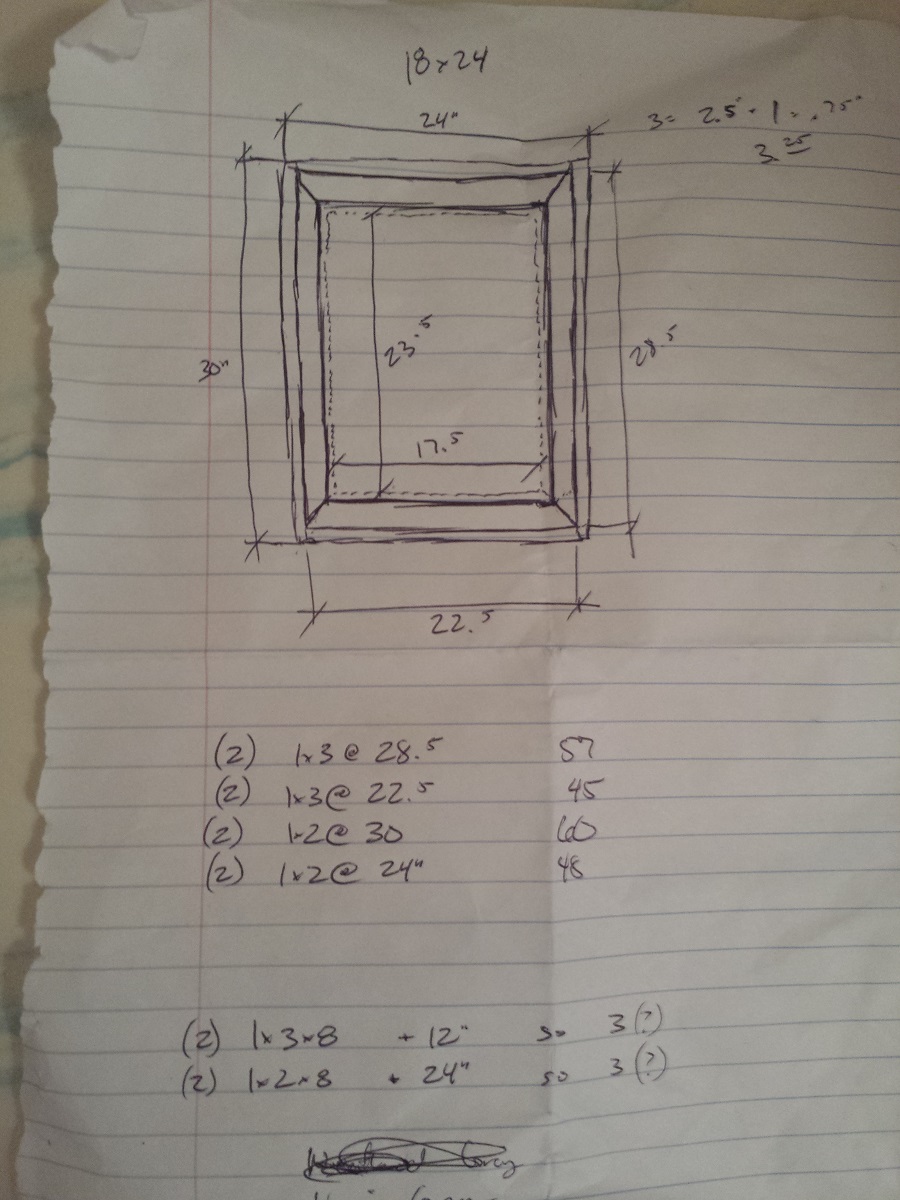
Cut List (What I cut for a single 18”x24” frame):
I’m providing a cut-list for reference, but I would not pre-cut. Consider measuring your cuts as you go.
- (2) 1×3 @ 28 ½” mitered cut @ 45-degrees (frame sides)
- (2) 1×3 @ 22 ½” mitered cut @ 45-degrees (frame top and bottom)
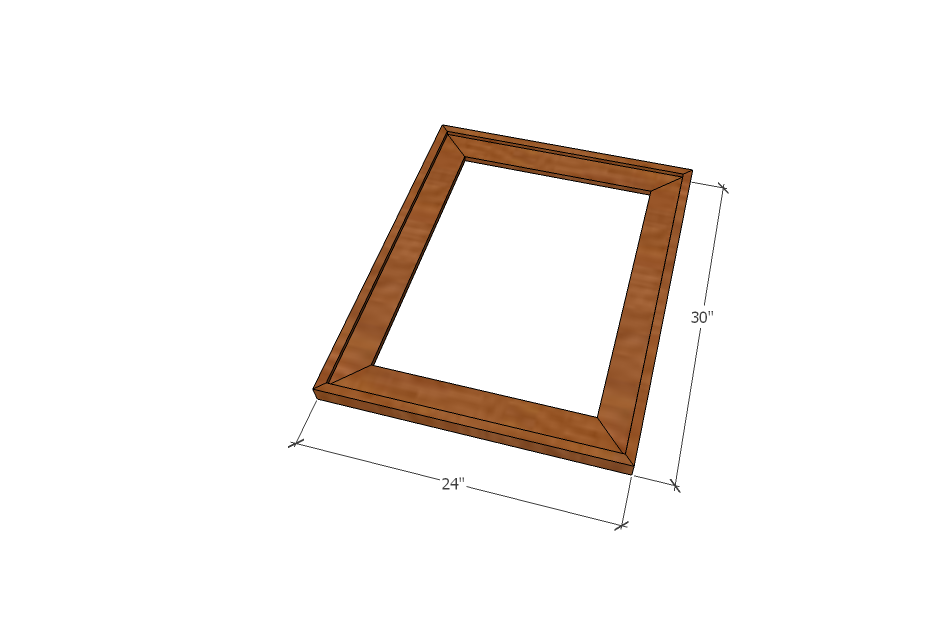
- (2) 1×2 @ 24” mitered cut @ 45-degrees (trim top and bottom)
- (2) 1×2 @ 30” mitered cut @ 45-degrees (trim sides)
The Project:
STEP 1:
Because of the miter cuts, I could rabbet the edges first. If I was using half-lap or square butt joints it’d be better to do it after I had everything cut and laid out, or maybe even after the frame was built. I started by routing my 1×3 boards to create a rabbeted edge. I used a 3/8” straight bit set to a depth of ¼”. You will only need approximately 1/3 of the 2nd board so make sure you don’t rabbet the entire 2nd board if you don’t want a wasted board.
STEP 2:
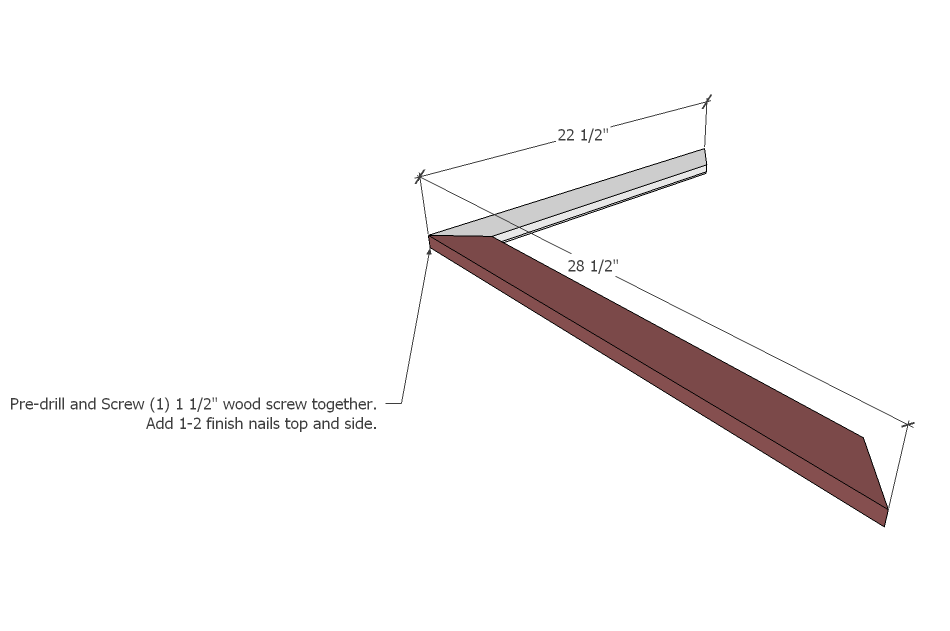
Set your miter saw @ 45-degrees. Cut (2) 1×3 @ 22 ½”, with the miter cuts non-parallel. Pay attention to your rabbeted edge as you are cutting. You want the rabbet edge to line up on the inside edge of the frame. Cut (2) 1×3 @ 28 ½”. Mock the frame up to ensure everything matches up and your miters are true and square. Using wood glue on the miters, attach your top board with a side board. Check for square. Counter sink a 1 ¼” wood screw to strengthen the joint, followed by one or two 2” finish nails top and side.
STEP 3:
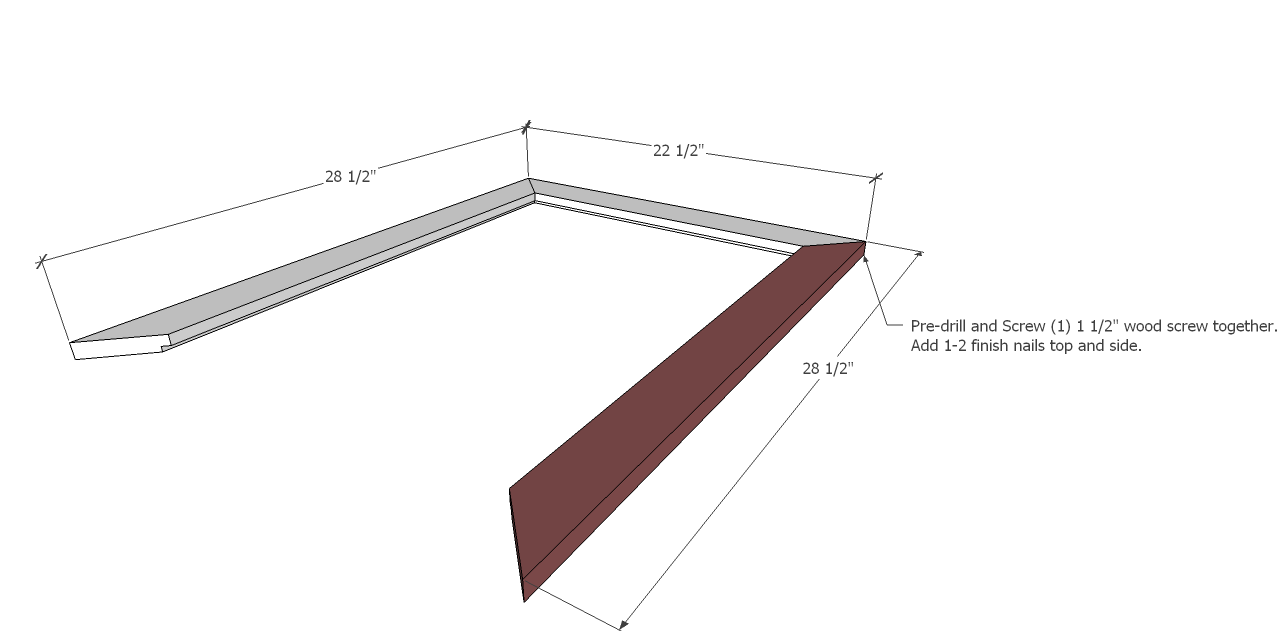
Repeating the process from step 2, attach the other side board. Again, check for square.
STEP 4:
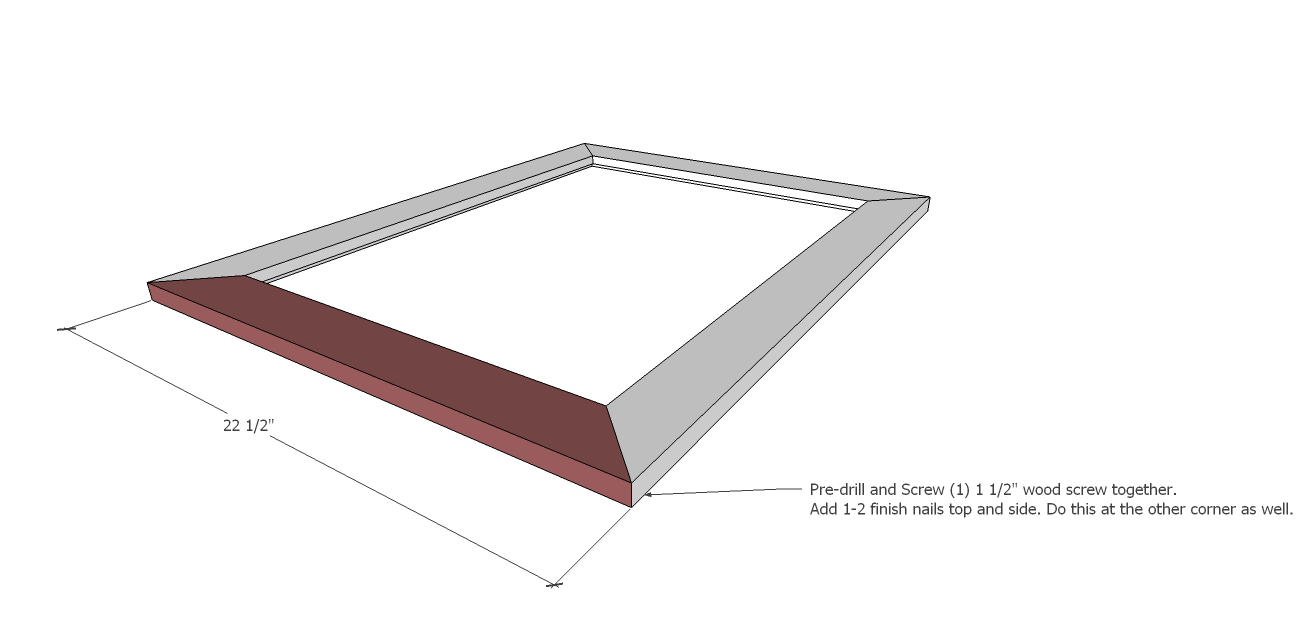
Using the same steps above, attach the bottom board to complete the frame inlay. Check for square.
STEP 5:

It’s time to cut the trim. Keeping your miter at 45-degrees, cut your 1×2 boards to fit. Again, you want non-parallel miters. In this case I cut (2) @ 30” for the sides and (2) @ 24” for the top and bottom trim pieces. Once your trim is cut, place the frame on a 3/8” spacer.
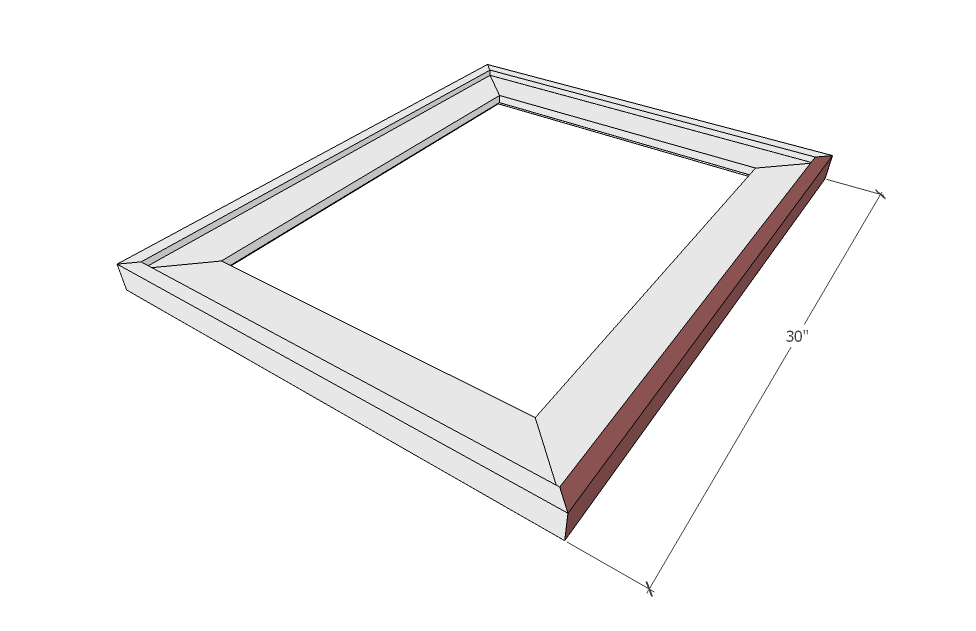
Use glue on the edge of the frame as you add the trim. Also glue the miters together as well. Being careful not to blow a nail through the front (or back) of the frame, nail the trim to the frame with 1 ¼” finish nails. Put (2) nails in the miters as well.
STEP 6:
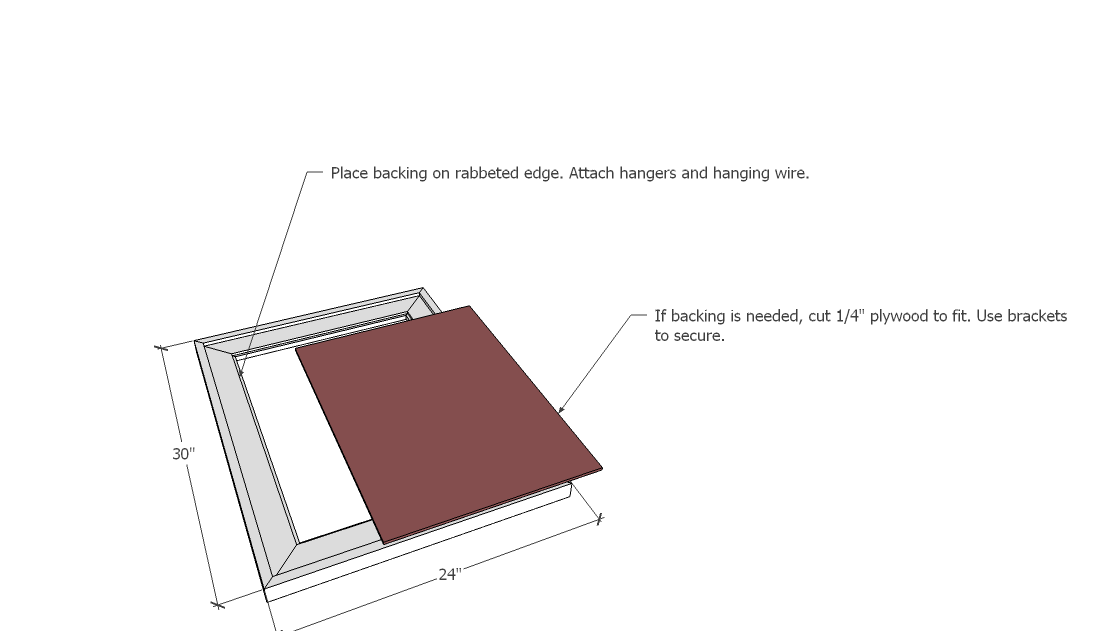
If you need a backing for the frame, measure the size you will need. Measuring to the edge of the rabbet joint, I had a bit more (1/8”) than 18”x24”. Using a table saw or circular saw with an edge guide, cut your backing. Add 1-2 brackets to secure the backing to the frame. Attach mounting hangers and hanging wire if desired.
FINISHING STEPS:
All that’s left at this point is to fill the holes with wood filler (if desired) and sand the project. Be sure to vacuum the sawdust off the project, and wipe down with soft, damp cloth. Add stain, paint or both depending on your desired look.
