

Stay in the loop! Be sure to follow-me on Instagram and Facebook! You can also follow me on Pinterest to see what I’m inspired by and find inspiration of your own!
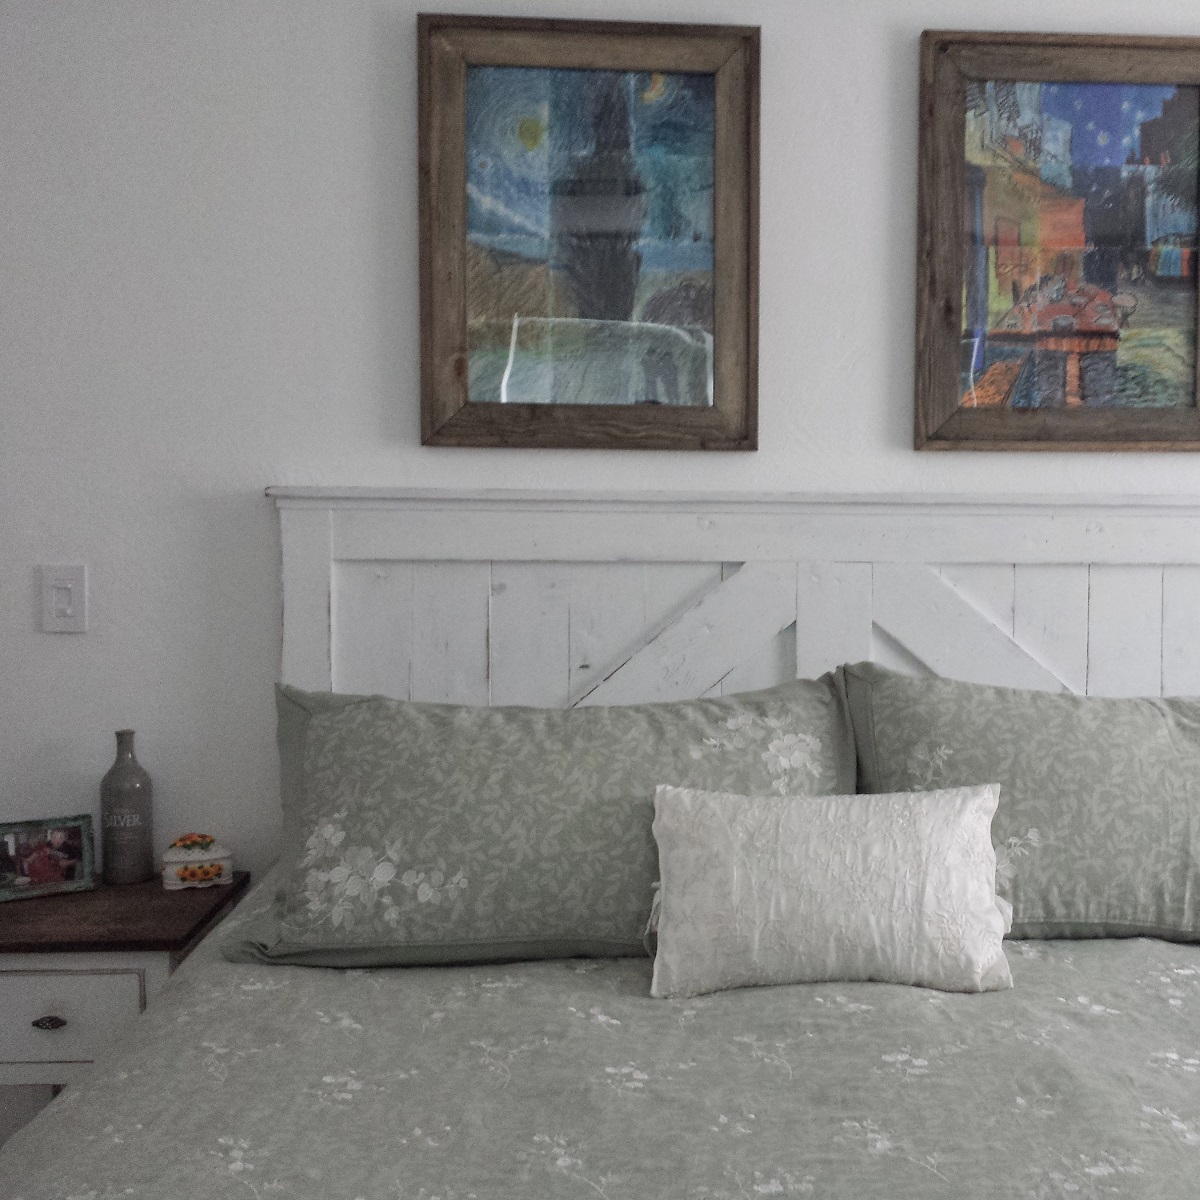
Ever since I finished the barndoor headboard, the frames of my daughter’s artwork from school have been driving me crazy. We won the artwork at a fundraiser auction for her school, and all they used were super cheap, black plastic frames (which would make sense as they need as much money to go to the school) and I knew at some point I would change them out for something that fit in better with our décor. I thought about buying some, but couldn’t really find any 18″x24″ frames that I liked. I had started thinking about making them, but a few things were holding me back. For one my miter saw had never cut completely square. I’m not sure why, as I have spent what seems to be countless hours messing with it. I’ve tried adjusting the fence on more than one occasion with my speed square, two different combination squares, handmade plywood squares, and even tried replacing the saw blade. I borrowed an engineers square, bought a miter saw stand to get it off the ground in the event the unevenness of the concrete was causing this (which, regardless of the saw still cutting off square, was one of the best purchases I’ve made recently). No matter what I did, the saw always seemed to cut with a slightly negative miter by a degree or so even though is shows completely square to the blade. I just chalked it up to having some crazy engineering flaw due to purchasing a cheap miter saw (by miter saw standards) and figured I’d replace the saw as soon as I could. Even recent reviews of the saw note that it doesn’t cut square. This has been a major pain on every project and there is no way I wanted to try to make some frames when my miters are off. I hit my breaking point prior to my last build. I decided that I would either find a way to make it cut completely square or I was taking it back as I discovered it has a 3-year no haggle warranty. I threw logic out the window, got my combination square out again, marked up a board and fiddled around, adjusting the fence each cut for a solid 15+ cuts before I finally got to a square cut. I wanted to break out doing the running man or cabbage patch, but being that my buddy Adrian was with me at the time, I simply played it off as if this was what I knew would happen all along. We built his benches and every cut stayed true.
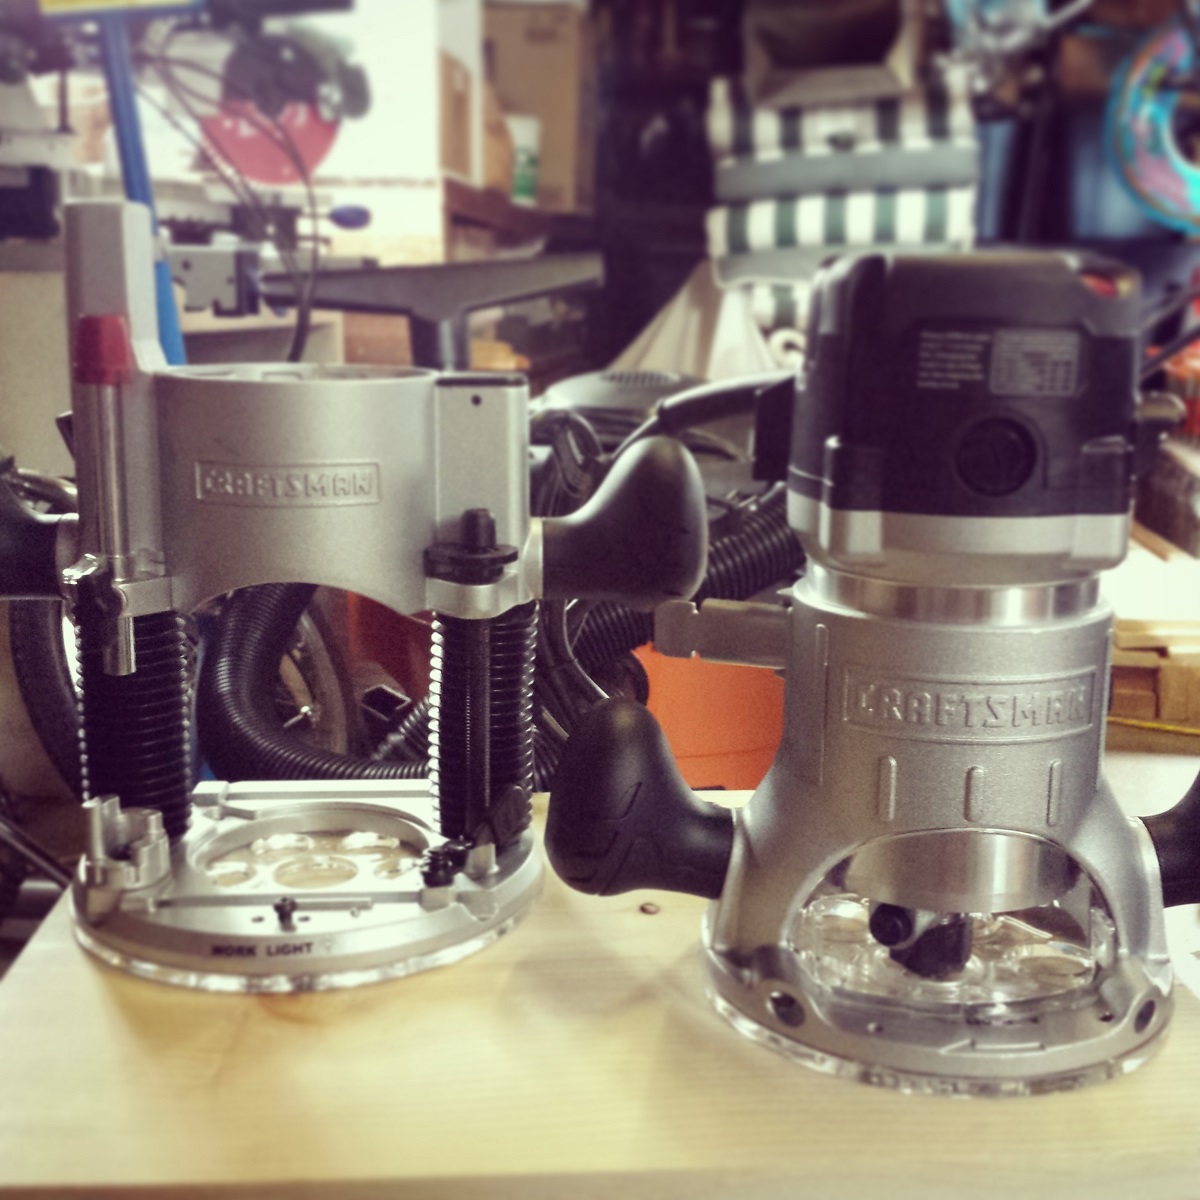
Now that my saw was cutting square the only thing holding me back was a router. While I didn’t know what style of frame I wanted, I knew that I wanted to salvage the clear plastic and backing of the existing frames if possible. This would require rabbeting the inside edge of the frame, and without a router or even table saw, would be quite difficult. A router has been on my list of tools to get, but I just didn’t feel like spending an extra $200-$250 for the ones I wanted. Then, as if being guided from above, I just so happened to end up at Sears, checking out some grills. “Might as well check out the tool section while I’m here,” I thought to myself (the worst part is that I also answered with a “Yes… yes you should.”). I moseyed over to the table saws and found myself next to the routers. Out of the corner of my eye I noticed a pretty decent looking Craftsman fixed base/plunge base combo unit. It had the features I wanted (2hp, soft start, 1/4″ collet and 1/2″ collet, variable speed, edge guide, vacuum adapters, etc.), but it also didn’t have a price tag. Considering that all the other ones I had been pricing out were in the $225 range, I figured this would be the same. No salesmen were around so I brought out my phone and checked it out on Sears.com. I plugged the model number in and found it for $109. This had to be a typo so I double checked. Sure enough, it was on sale, marked down from $213. I grabbed the package, walked up to the counter (I envision that I walked, I’m pretty sure I may have skipped all the way up there) and paid for my new toy.
As soon as I got home I fired up my laptop and began looking for DIY frames online. I found a few I liked, but none were large enough for what I wanted, and none of them had a rabbeted edge either so I just decided to see how many different ways various bloggers put them together and figured I’d come up with something. I settled on a design, and began sketching up my “plans”. I couldn’t wait to hit up the lumber yard so I could start building.

But then it happened. We finally got some rain. If you haven’t already seen it, let me clue you in on a little secret. While the rest of the United States has been knee deep in snow this winter, California and Nevada are in the midst of the deepest droughts they’ve been in for over 100-years. We need every bit of rain we can get, and we finally got some. Not nearly enough to pull us out, but it rained for most of the week, delaying my ability to go out and build. We needed the water, and I needed to build. Stuck in a rock and a hard place, and it’s not exactly like I could negotiate with mother nature, although I did try. Very, very hard. After a couple of days the sun eventually came up and I hustled out the door to build a couple of frames before it started raining again (which it did, a couple of hours after I finished building).
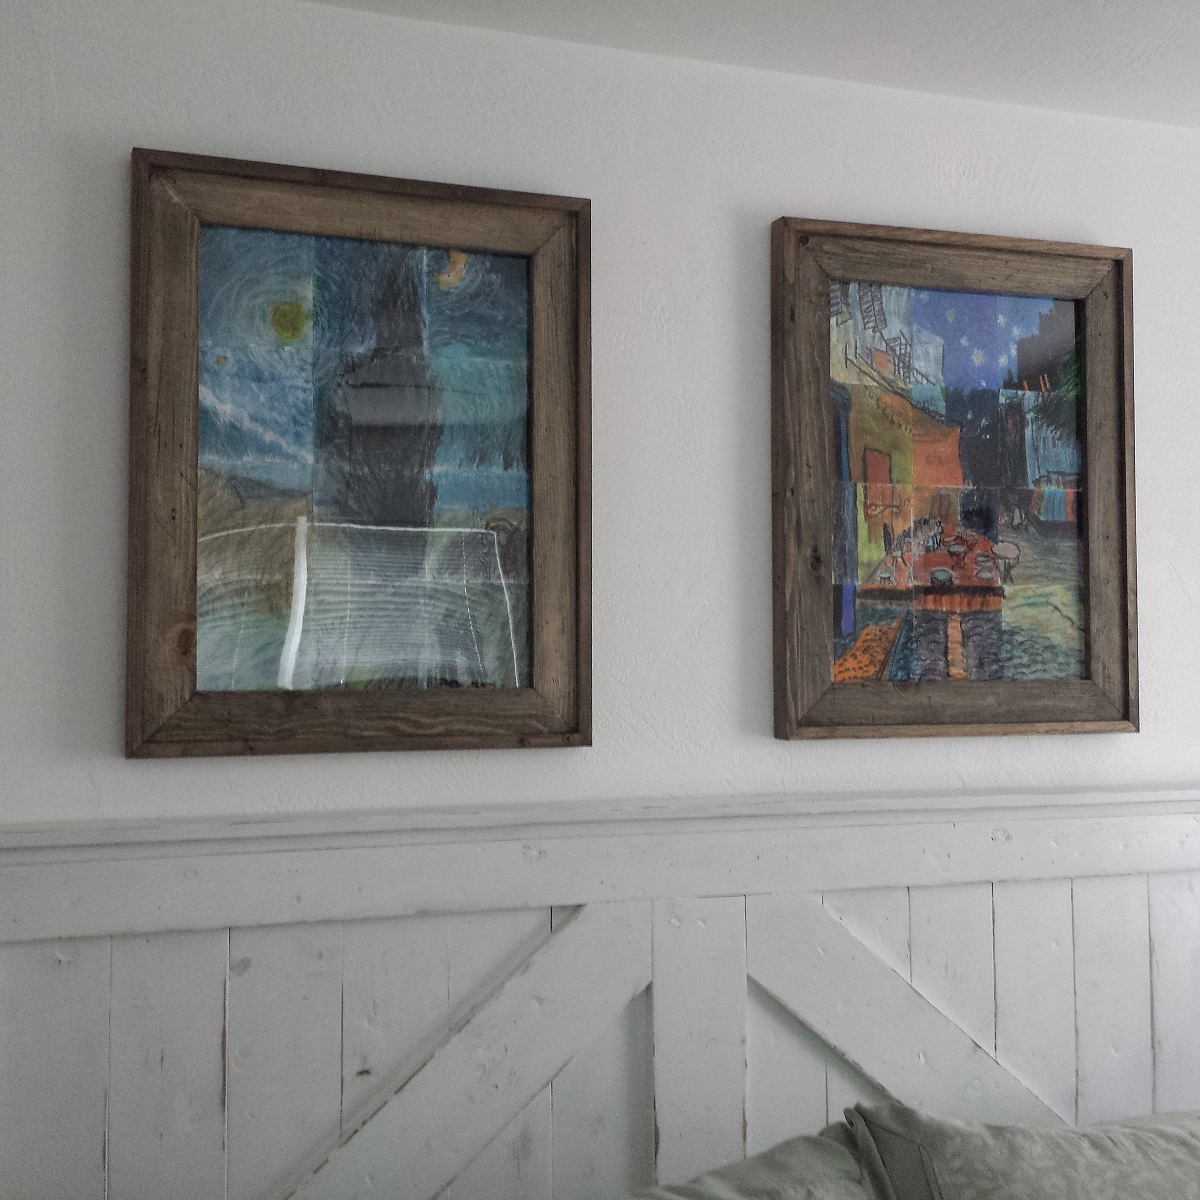
While I looked at several ideas and designs, I particularly focused on a style by Ana White. It seemed easy enough, but I kept looking for additional designs. When figuring out how to construct the frames, I gleamed ideas from Ana White’s plans along with Jenna + Calder, Shanty-2-Chic, Lindsay and Drew and many more.
I’m incredibly happy with the way they turned out. I wasn’t sure how they’d end up due to the fact I had never used a router before, I was worried about my miters, and making everything fit the artwork properly was a concern as well, but in the end, I’m extremely pleased. I’ll have more on how I got the distressed look (it’s incredibly easy) and also my plans for these same frames over the next week so stay tuned.


Love to read your articles
LikeLiked by 1 person